Contents
hide
2022 Kawasaki KX112 Steering
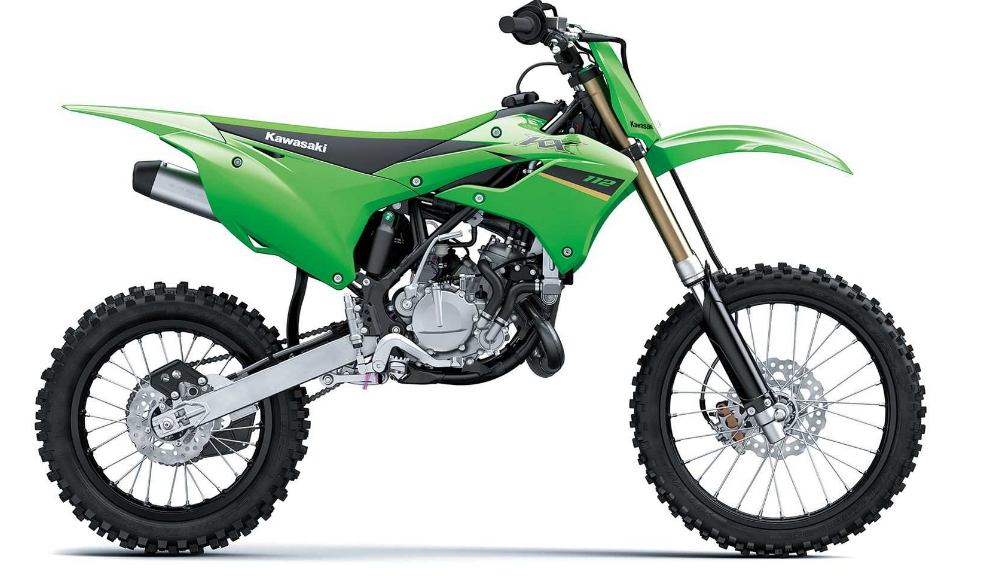
Steering
The steering should always be kept adjusted so that the handlebars will turn freely but not have excessive play.
Steering Inspection
- To check the steering adjustment, raise the front wheel off the ground using a jack (special tool: 57001-1238) and attachment (special tool: 57001-1608)
- Push the handlebars lightly to either side. If the handlebars continue moving under its own momentum, the steering is not too tight.
- Squatting in front of the motorcycle, grasp the lower ends of the front fork at the axle, and push and pull the front fork back and forth. If play is felt, the steering is too loose and needs to be adjusted.
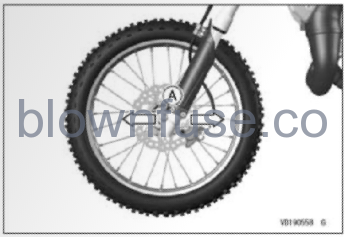
- A. Push and Pull
Steering Adjustment
- Raise the front wheel off the ground using a jack (special tool: 57001-1238) and attachment (special tool: 57001-1608).
- Unlock the clamp of the number plate.
- Remove the number plate mounting bolt.
- Clear the projections and remove the number plate.
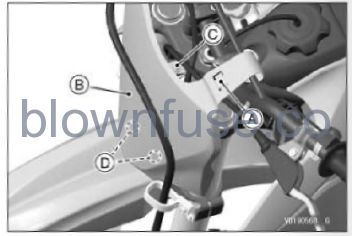
- A. Clamp
- B. Number Plate
- C. Number Plate Mounting Bolt
- D. Projections
- Remove the handlebars (see Adjustable Ergonomics section).
- Loosen the front fork clamp bolts (upper) on both sides (see Front Suspension section).
- Loosen the steering stem head nut.
- Turn the steering stem nut with an adjustable hook wrench (special tool: 57001-1863) to obtain the proper adjustment.
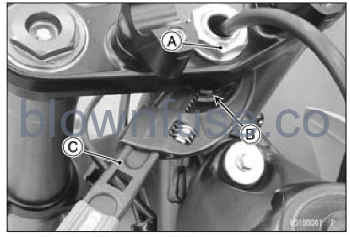
- A. Steering Stem Head Nut
- B. Steering Stem Nut
- C. Adjustable Hook Wrench (Special Tool: 57001-1863)
- If the steering is too tight, loosen the stem nut a fraction of a turn; if the steering is too loose, tighten the nut a fraction of a turn.
- Turn the nut 1/8 turn at a time maximum.
- Tighten the steering stem head nut and the front fork clamp bolts (upper) to the specified torque.
- Tightening Torque
- Steering Stem Head Nut: 65 Nm (6.6 kgfm, 48 ftlb)
- Front Fork Clamp Bolts (Upper): 20 Nm (2.0 kgfm, 15 ftlb)
- Install the handlebars (see Adjustable Ergonomics section), and check the steering again and read just it if necessary.
- Check the front brake for the proper brake effect, or no brake drag.
- Check the clutch lever and throttle for the proper operations.
- Install the number plate so that the projections on the front fender fit into the holes in the number plate.
NOTE
Run the brake hose through the front of the number plate.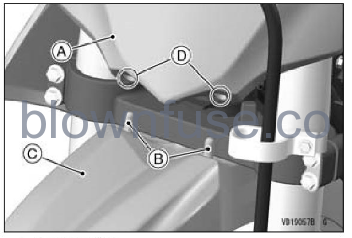
- A. Number Plate
- B. Projections
- C. Front Fender
- D. Holes
- Tighten the number plate mounting bolt.
- Lock the clamp of the number plate.
