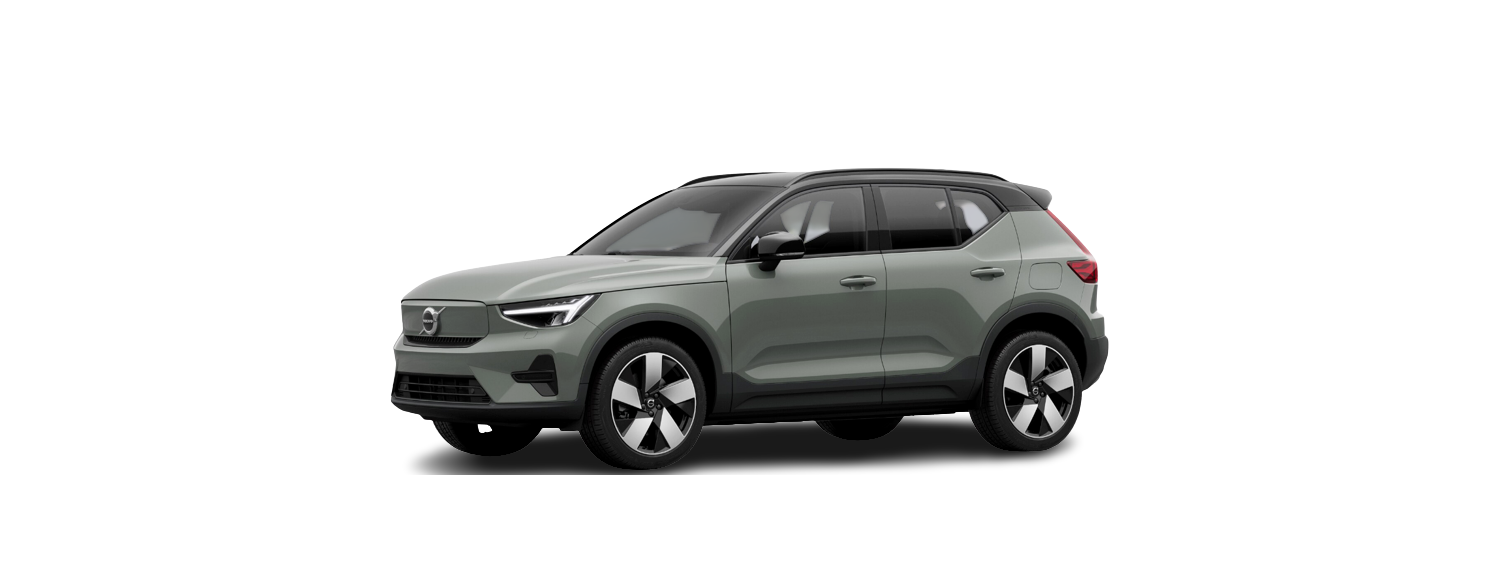
XC40 Recharge Plug-in Hybrid

2023 Volvo XC40 Recharge Plug-in Hybrid Wiper blades and washer fluid Owners Manual

Volvo-logoVolvo-logo

2023 Volvo XC40 Recharge Plug-in Hybrid Wiper blades and washer fluid

2023-Volvo-XC40-Recharge-Plug-in-Hybrid-product-img2023-Volvo-XC40-Recharge-Plug-in-Hybrid-product-img

Wiper blades and washer fluid

Together with the washer fluid, the wipers aim to improve visibility as well as headlamp pattern.
The washer nozzles are heated automatically in cold weather to prevent the washer fluid from freezing.
Information indicating that the washer fluid needs topping up appears in the driver display when there is approx. 1 liter (1 qt) of washer fluid remaining.

Setting the wiper blades in service position

In some situations, the windscreen’s wiper blades must be set in service position (vertical position), e.g. when they shall be replaced.
Wiper blades in the service position.
In order to change, clean or lift the wiper blades (e.g. for scraping off the ice from the windscreen) they must be in the service position.
Important
Before placing the wiper blades in the service position, make sure that they are not frozen down.

Activating/deactivating service mode

Service mode can be activated/deactivated when the car is stationary and the windscreen wipers are not on. Service mode is activated/deactivated via the function view in the centre display:

Press the Wiper Service Position button. The light indicator in the button illuminates when service mode is activated. When activated, the wipers move to the service position. To deactivate the service mode, press Wiper Service Position again. The light indicator in the button extinguishes when service mode is deactivated.
The wiper blades also exit the service position if:

  • Windscreen wiping is activated.
  • Windscreen washing is activated.
  • The rain sensor is activated.
  • The car is driven away.
Important
If the wiper arms in service position have been folded up from the windscreen, they must be folded back down onto the windscreen before the activation of wiping, washing or the rain sensor, as well as before driving. This is to avoid scraping the paint on the bonnet.

Topping up washer fluid

Washer fluid is used for cleaning the headlamps as well as the windscreen and rear window. Washer fluid with antifreeze must be used when the temperature is under the freezing point.Washer fluid is filled into the reservoir with the blue cap. The reservoir is used for windscreen washers, rear window washers and headlamp washers.

Note
When approx. 1 litre (1 qt) of washer fluid remains in the reservoir, the message Washer fluid Level low, the refill is shown in the driver display, together with the symbol.
Prescribed grade: Washer fluid recommended by Volvo – with frost protection during cold weather and for temperatures below freezing point.

Important

Use Volvo genuine washer fluid or equivalent with a recommended pH of between 6 and 8, in working dilution (e.g. 1:1 with neutral water).

Important
Use washer fluid with antifreeze when the temperature is below freezing to avoid the fluid freezing inside the pump, reservoir and hoses.

Volume:

  • Cars with headlamp washing: 5.5 litres (5.8 qt).
  • Cars without headlamp washing: 3.5 litres (3.7 qt).

Replacing the wiper blade, rear window

The wiper blades sweep the water away from the windscreen and rear window. Together with washer fluid, they aim to clean the windows and ensure visibility while driving. The windscreen and rear window wiper blades can be replaced.

Replacing the wiper blade, rear window

  1. Lift the wiper arm from the window and pull the lower section of the blade to the right.

  1. Grip the centre of the wiper arm and lift it from the windscreen to lock position.
    Note
    There is a lock position at a half extension angle that may feel like resistance. This lock prevents the arm from falling back against the windscreen. The wiper arm must be pulled past the lock for wiper blade replacement.

  1. Grip the lower part of the blade and pull to the right until the blade loosens from the arm.
  2. Press the new wiper blade into place. You should be able to hear a click. Check that it is firmly installed.
  3. Lower the wiper arm.

Important
Check the blades regularly. Neglected maintenance shortens the service life of the wiper blades.

Replacing windscreen wiper blades

The wiper blades sweep the water away from the windscreen and rear window. Together with washer fluid, they aim to clean the windows and ensure visibility while driving. The windscreen and rear window wiper blades can be replaced.
  1. Fold up the wiper arm when it is in the service position. Service position is activated/deactivated via the function view in the centre display when the car is stationary and the windscreen wipers are not on. Press the button located on the wiper blade mounting and pull straight out parallel with the wiper arm.
  2. Slide in the new wiper blade until a “click” is heard. Check that the blade is firmly installed. Fold the wiper arm back towards the windscreen.

The wiper blades are different lengths

Note
When replacing the wiper blades, note that they have different lengths. The blade on the driver’s side is longer than on the passenger side.
Automotive Solutions

Recent Posts

VW Jetta Engine Fuse Box Diagram

Access the comprehensive 2010-2018 VW Jetta Passenger Fuse Box Diagram to troubleshoot electrical issues effectively.…

9 months ago

VW Jetta Passenger Fuse Box Diagram

Explore the comprehensive VW Jetta Passenger Fuse Box Diagram to troubleshoot electrical issues effectively. Understand…

9 months ago

2023 Ford F-150 Lightning Fuse Box Diagram

Under Hood Fuse Box Location Remove the front luggage compartment cover. Under Hood Fuse Box…

2 years ago

2022 Kawasaki NINJA H2 SX SE Brake Lever Adjuster Owner’s Manual

2022 Kawasaki NINJA H2 SX SE Brake Lever Adjuster Owner's Manual NOTICE Only adjust the front…

2 years ago

2023 Land Rover Range Rover Evoque Exiting The Vehicle Owners Manual

2023 Land Rover Range Rover Evoque Exiting The Vehicle SINGLE LOCKING WARNING Before exiting the…

2 years ago

2023 Land Rover Range Rover Evoque Front Seats Owners Manual

2023 Land Rover Range Rover Evoque Front Seats FRONT SEAT SAFETY Make sure to read…

2 years ago