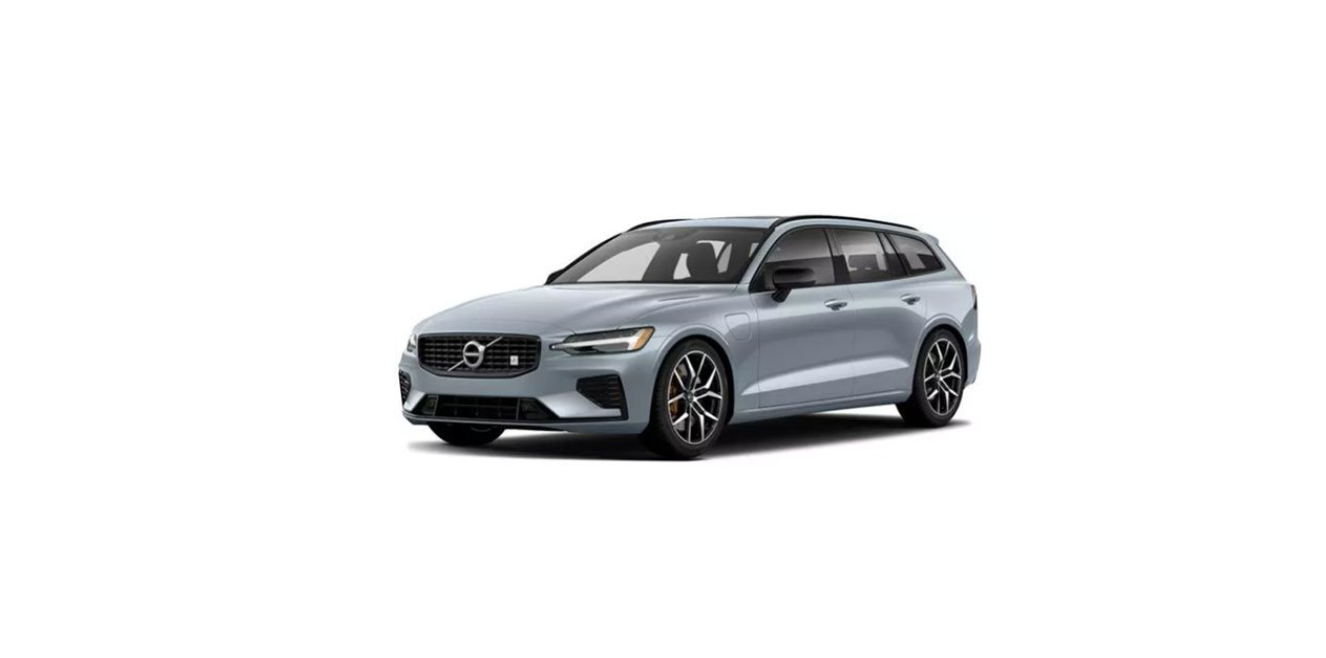
The car’s driving properties change depending on the weight and positioning of the load.
Loading in the cargo area
Good things to remember when loading:
- Position the load firmly against the rear seat’s backrest.
- Heavy objects should be placed as low as possible. Avoid placing heavy loads on lowered backrests.
- Cover sharp edges with something soft to avoid damaging the upholstery.
- Secure all loads to the load retaining eyelets with straps or web lashings.
A loose object weighing 20 kg (44 pounds) can, in a frontal collision at a speed of 50 km/h (30 mph) carry the impact of an item weighing 1000 kg (2200 pounds).
Leave 10 cm (4 inches) space between the load and the side windows if the car is loaded to above the top edge of the door windows. Otherwise, the intended protection of the inflatable curtain, which is concealed in the headlining, may be compromised.
Always secure the load. During heavy braking the load may otherwise shift, causing injury to the car’s occupants.
Cover sharp edges and sharp corners with something soft.
Switch off the engine and apply the parking brake when loading/unloading long items. Otherwise you may accidentally knock the gear lever or gear selector with the load into a drive position – and the car could then move off.
Increasing the space in the cargo area
A through-load hatch in the rear seat can be folded down for carrying long and narrow loads.
Bag hooks
Along the sides
The bag hooks may be loaded with a maximum of 5 kg (11 lbs).
Under the floor hatch (Option/accessory)
Lift up the cover in order to use the bag hooks. Fasten the bags in a suitable position with the enclosed elastic strap. If the bags have handles and are a suitable height – hang them in the hooks.
Operating cargo cover (Option/accessory)
Full-cover position
- Grip the handle and pull the cargo cover out to the end position.
- Hook the attachment pins into the recesses at the cargo area’s rear pillars.
- The cargo cover is locked in the full-cover position.
- The cargo cover is locked in the full-cover position.
Cargo cover in full-cover position.
Do not load objects on top of the cargo cover.
Loading mode
From the full-cover position:
- Press the cargo cover’s handle section upwards slightly.
- The cover goes up until it stops in the loading position.
- The cover goes up until it stops in the loading position.
Returning to full-cover position from loading position:
- Grip the handle and pull the cargo cover down to the end position. To facilitate, angle up the handle slightly so that the attachment pins pass the stops.
- Release the handle so that the attachment pins engage.
- The cover is locked in the full-cover position.
The cargo cover may obscure the view to the rear when in the loading position. Make sure the cargo cover is fully extended or fully retracted when driving.
Retracting
- From the full-cover position:
Lift up the handle and pull it backward to disengage the cargo cover’s attachment pins and then release.
From loading position:
Grip the handle and pull out the cargo cover in the grooves – pull to the full-cover position. Lift up the handle and pull it backward to disengage the attachment pins and then release. - Retract the cover with its attachment pins outside of the side panels until it stops in the retracted position.
Fitting and removing cargo cover (Option/accessory)
In the extended position, the cargo cover prevents visual access to the cargo area.
Fitting cargo cover
- Insert one of the cargo cover’s end pieces in the recess in the side panel in the cargo area.
- Then insert the other end piece in the recess in the side panel on the opposite side.
- Press down the end pieces on both sides – one by one.
- When a “click” is heard and the red marking on each end piece has disappeared, the cargo cover is attached – check that it is affixed securely.
Removing cargo cover
In retracted position:
- Depress the button on one of the retracted cargo cover’s end pieces and lift out that end.
- Angle the cover up/out carefully.
- The other end piece loosens automatically and the cover can be lifted out of the cargo area
Load retaining eyelets
Hard, sharp and heavy objects that are loose or protrude may cause injury during heavy braking.Always secure large and heavy objects with a seatbelt or cargo retaining straps.
Fitting and removing safety grilles (Option/accessory)
The safety grille is crash-tested in accordance with the ECE R17 legal requirement and fulfils Volvo’s strength requirements.
Under no circumstances may anybody remain in the cargo area while the car is moving. This is to avoid injury in the event of heavy braking or an accident.
Installation
The safety grille must only be used in the rear position (behind the rear seat) described here.
Before first installing the safety grille, the existing plastic roof mountings must be replaced with steel roof mountings. Volvo recommends that replacing roof mountings is performed at an authorised Volvo workshop or retailer.
- Fold the rear seat’s backrest forward.
- Make sure that the safety grille is turned in the right direction. Lift in the safety grille through one of the rear side doors.
- Position the safety grille’s brackets on the roof mountings.
The next step is facilitated if two people hold the safety grille in the right position.
- Insert the supplied screw and tighten using the supplied 6 mm Allen key. Repeat on the other side. Recommended tightening torque: 20 Nm (15 foot-pounds).
- Restore the backrest to the upright position.
For more information about the tools required and methods for fitting/removal, see the installation instructions that were included with the initial purchase.
The protective grille cannot be folded up or down when a cargo cover is fitted.
Fitting and removing the safety net (Option/accessory)
The safety net is fitted into four mounting points.
- Rear fitting – behind the rear seat.
- Front fitting – behind the front seats.
Warning
Loads in the luggage compartment must be anchored well, and also using a correctly fitted safety net.
Fitting the safety net
Warning
Check that the safety net’s upper mountings are correctly fitted and that the puller-straps are securely hooked on.
Damaged safety nets must not be used.
With forward mounting, the safety net is most easily mounted via the rear doors.
- Unfold the safety net and make sure that the split upper rod in the net is locked in its extended position.
- Hook one retaining hook of the net into the front or rear roof mounting with the anchoring strap locks turned towards you.
- Hook the net’s second attachment hook to the roof bracket on the opposite side. The telescopically sprung attachment hooks make it easier to fit. Take care to press forward the net’s retaining hooks for each respective roof mounting’s front end position.
- .
For rear fitting: With the net fitted in the rear roof mountings, hook the safety net’s puller straps into the front load retaining eyelets in the cargo area.
For front fitting: With the net fitted in the front roof mountings, hook the puller-straps into the outer eyes on the rear of all seat slide rails. The procedure is facilitated if the backrests are straightened and the seats are moved forward slightly. Pay attention to make sure that you do not exert hard pressure on the net when the seat and backrest are moved back again. Only adjust until the seat or backrest makes contact with the net.
Important If a seat or backrest is pushed backwards hard into the safety net, the net and roof mounts may be damaged. - Tension the safety net with the anchoring straps
Removing the safety net
The safety net can be easily removed and folded up.
- Reduce safety net tension by pressing the button in the anchoring strap lock and feeding out a little of the anchoring strap on each side.
- Press in the catches and detach both of the anchoring strap’s hooks.
- Undo the upper attachments and release the net from the roof mountings.
- Press the red button on the rod to enable folding and then roll up the net. Store the net in its case.
Roof load and loading on load carriers
Carefully follow the installation instructions supplied with the carriers.
- Distribute the load evenly over the load carriers. Put the heaviest objects at the bottom.
- Check periodically that the load carriers and load are properly secured. Lash the load securely with retaining straps.
- If the load is longer than the car at the front, e.g. a canoe or kayak, fit the towing eye to its front socket and attach the bungee to this.
- The size of the area exposed to the wind, and therefore fuel consumption, increase with the size of the load.
- Drive gently. Avoid quick acceleration, heavy braking and hard cornering.
The car’s centre of gravity and driving characteristics are altered by roof loads.
Follow the car’s specifications with regard to weights and maximum permitted load.
Towbar-mounted bicycle rack
This is in order to avoid damage to the car and in order to achieve the maximum possible safety during a journey. Volvo’s bicycle racks are available for purchase at authorised Volvo dealers.
Carefully follow the instructions enclosed with the bicycle rack.
- Bicycle rack including load must weigh a maximum of 75 kg (165 pounds).
Incorrect use of the bicycle rack may cause damage to the towbar and car.
The bicycle rack can loosen from the towbar if it
- is incorrectly fitted on the towball
- is overloaded, see the bicycle rack’s instructions for maximum load weight
- is used for carrying something other than bicycles.
The car’s driving characteristics are affected when a bicycle rack is fitted on the towbar. For example due to:
- increased weight
- reduced acceleration capacity
- reduced ground clearance
- changed braking capacity.
Recommendations for loading bicycles on the bicycle rack
The larger the distance between the load’s centre of gravity and the towball, the greater the load on the towbar.
Load according to the following recommendations:
- Fit the heaviest bicycle furthest in, closest to the car.
- Keep the load symmetrical and as close to the centre of the car as possible e.g. by loading the bicycles facing alternately if several bicycles are loaded.
- Remove loose objects from the bicycle for transportation, e.g. bicycle basket, battery, child seat. Partly to reduce the load on the towbar and bicycle rack, and partly to reduce the wind resistance, which affects fuel consumption.
- Do not use protective covers on the bicycles. This may affect manoeuvrability, impair visibility and increase fuel consumption. It may also lead to an increased load on the towbar.


