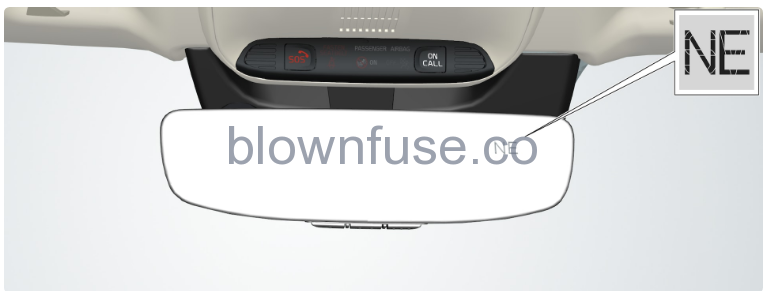
Eight different compass directions are shown by their English abbreviations:
- N – north
- NE – northeast
- E – east
- SE – southeast
- S – south
- SW – southwest
- W – west
- NW – northwest
Activating and deactivating the compass
The compass is activated automatically when the car is started.
Activating or deactivating the compass manually
Depress the button on the underside of the rearview mirror using e.g. a paper clip.
If the compass is deactivated when the car is switched off, it will not be activated the next time the car is started. In this case, the compass needs to be activated manually.
Calibrating the compass
- Stop the car in a large open area free from steel structures and high-voltage power lines.
- Start the car and switch off all electrical equipment (air conditioning, wipers, etc.), and ensure that all doors are closed.
Note - Calibration may fail or not start at all if electrical equipment is not switched off.
- Hold the button on the underside of the rearview mirror depressed for approx. 3 seconds (use a paper clip, for example). The number for the current magnetic zone is shown.
- Press the button repeatedly until the required magnetic zone (1–15) is shown. See the map of magnetic zones for the compass.
- Wait until the display returns to showing the character C, or hold the button on the underside of the rearview mirror depressed for approx. 6 seconds until the character C is shown.
- Drive slowly in a circle at a speed of no more than 10 km/h (6 mph) until a compass direction is shown on the display, indicating that calibration is complete. Then drive a further 2 circles to fine-tune calibration.
- Cars with heated windscreen: If character C is shown in the display when the heated windscreen is activated, perform the calibration in accordance with point 6 above with the heated windscreen activated.
Repeat the above procedure as necessary.


