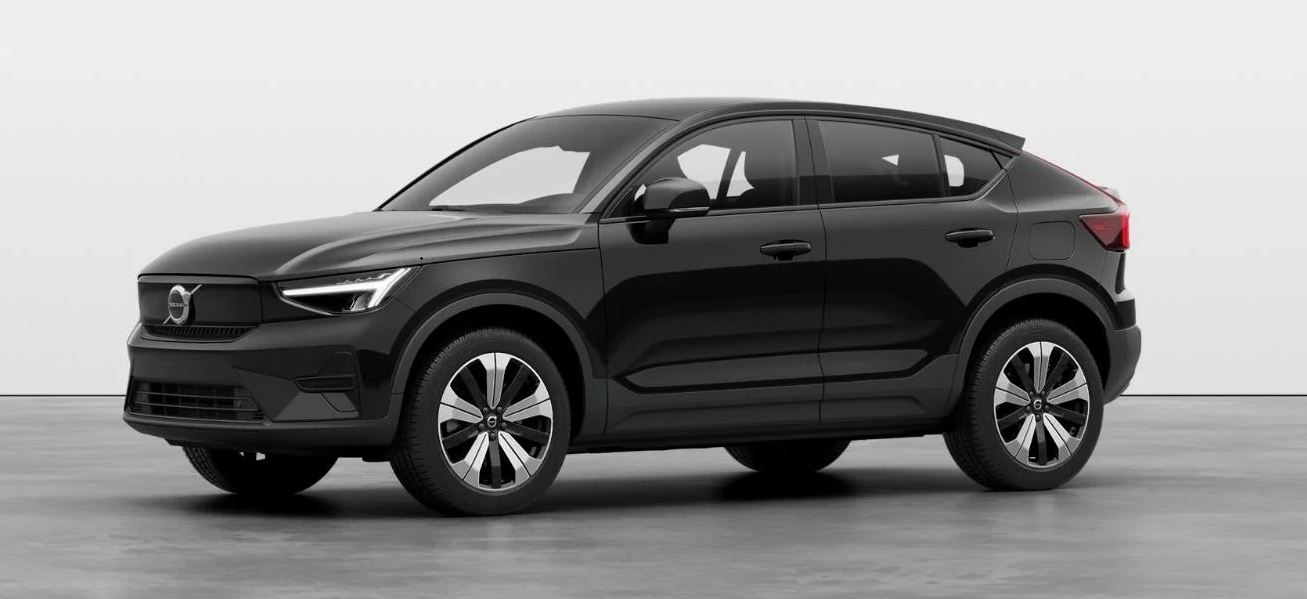
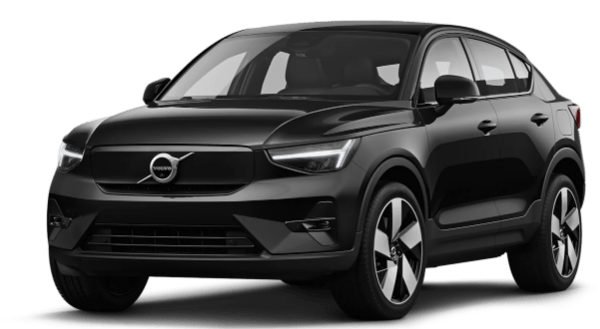
C40 Recharge

2023 Volvo C40 Recharge Center Display Owners Manual

2023 Volvo C40 Recharge Centre display

Overview of the center display

Many of the car’s functions are controlled from the center display. Presented here is the center display and its options.

Home view 

The home view is the first view that is shown when the screen is started.The home view consists of four tiles that show the most recently used apps. The different views of the center display, such as climate view, camera view, app view and notification view, are reached from the home view.

Camera view 
Camera view shows the park assist cameras (PAC (Park Assist Camera) ), which displays a composite 360° view and separate views for each of the four cameras: rear, front, left or right camera view.
App view

The view for apps that have been downloaded (third-party apps) or for the car’s built-in functions.
Note: If necessary, climate control can be used to cool the media system in the center display. In these cases, the message Cooling infotainment system is shown in the driver display.

Managing the center display

Many of the car’s functions are controlled and regulated from the center display. The center display is a touch screen that reacts to touch.

Using the touch screen functionality in the center displayThe screen reacts differently depending on whether it is touched by dragging, swiping, or tapping. Actions such as browsing between different views, marking objects and scrolling in a list can be performed by touching the screen in different ways. The center display is an optical touchscreen. Two people can interact with the screen at the same time, e.g. to adjust the climate for the driver and passenger side respectively.

Important
Do not use sharp objects on the screen as they may scratch it.
Note
Wearing gloves may limit or prevent touch screen response.
Returning to home view from another view
Briefly press the home button below the centre display. The last position of the home view is shown.

Charging in the car’s centre display

From the centre display it is possible to set the State Of Charge (SOC), unlock the charging cable, set amperage and schedule charging. To access the charging view in the car’s centre display, tap on  and then on Charging. The charging view in the centre display is also activated when charging is started.

Important
Volvo strongly recommends against charging the car with an alternating current of 100-120 V in combination with an amperage below 10 A.
Setting the charge limit 
  1. Battery’s current State Of Charge (SOC).
  2. Charge limit – Swipe to set a limit for the State Of Charge (SOC) at which the charging should be ended. The set value remains the same until it is changed again in the centre display or via the Volvo Cars app.

Important
Follow the recommendations regarding handling the high voltage battery in order to optimise its service life and performance.

Schedule charging
When charging with alternating current, it is possible to schedule charging and set start and stop times for when charging should take place. 
Select ChargingSet timer in the centre display and then activate the scheduling with Schedule charging. Use the controls at  and to set the desired start and stop time for charging. Use the control at Schedule charging to deactivate scheduling of charging.
Temporarily bypassing the settings for scheduled charging
There is the option to temporarily bypass the settings for activated scheduled charging without the need to deactivate scheduling. For example, it may be useful if the car has charging scheduled for during the night but charging is also necessary outside of this time, e.g. when parking after using the car.
  1. Plug the charging cable into the car – the LED lamp by the car’s charging input socket will illuminate in blue, when the car is set to charge according to the set schedule. Charging will not take place if this is done outside the scheduled time.
  2. Unplug the cable and plug it in again.

The LED lamp by the car’s charging input socket flashes/illuminates in green and the car is charged. The scheduled charging will still be activated next time the car is plugged in for charging.

NoteThe charging input socket’s LED lamp indicates status for charging the high voltage battery and not whether the car is consuming power, such as when the climate control is in use. Even if the LED lamp indicates that charging has finished, or that scheduled charging is activated, the car may still draw current from the socket. To avoid affecting the car’s range, current is firstly drawn from the socket and not the battery in order to supply any additional load from the car (such as parking heater, etc.).

Locking and unlocking the charging cable
Tap on Unlock cable in the centre display to unlock the charging cable and end the charging in progress. You can lock the cable into the charging input socket by tapping on Lock cable in the centre display. Charging is then resumed automatically when charging via wall socket/charging station (AC charging). Charging will not be resumed automatically during fast charging (DC charging).
Setting the amperage
Set amperage.
When charging with alternating current (Refers to charging via charging station (mode 3) and charging via wall socket (mode 2)) there is the option to set the amperage. Select Charging and the arrow at Current limit (amps). Tap on + to increase the amperage or to reduce the amperage (The set amperage applies per phase from the alternating current source). When charging with more than 1-phase, an average value for set amperage (Applies to certain markets) is shown in the driver display.
Note
The amperage may be limited by the charging station, charging cable, or the car’s high voltage system. There is no guarantee that the car can be charged with the specified amperage if it is higher than permitted by the charging station or charging cable.

Centre display views

The centre display is started automatically when the driver’s door is opened.

Home view
Home view is the view that is shown when the screen is started. This consists of four subviews. It is possible to choose which apps you want to be displayed in the home view’s subviews. An app selected from app view is launched in the relevant subview in home view. The subviews are dynamic and show the latest apps used, e.g. navigation, media or phone. Tap on the desired app to expand it, or swipe from the left in the tile to view additional apps.
Status field
The activities in the car are shown at the top of the screen. The status field shows active user profile, network and connection information and the clock, among other things.
Notification view
The car’s notifications are collected together at the top of the screen. Drag the tab down to access notification view. Missed calls or information regarding the car, for example, are shown here. User profiles are also accessible from the notification view. Leave notification view by tapping outside notifications or on the home button, or swipe up. The underlying view is then visible and available for use again.
Climate view
Buttons for app view, settings, and the most common climate settings, such as setting temperature and seat heating, are available at the bottom of the screen. Tap on the temperature button at the bottom centre of the centre display to open the climate view with more setting options. Press the home button to close the climate view.
Camera view
Camera view starts automatically when gear position R is used. Camera view shows the park assist cameras (PAC (Park Assist Camera) ), which displays a composite 360° view and separate views for each of the four cameras: rear, front, left or right camera view. Camera view is closed automatically when the car is moving at a certain speed, or is closed by tapping on or pressing the home button.
App view
Tap on down in the centre display. The app view provides access to the car’s pre-installed and downloaded apps. From the app view, there is the option to download and install additional apps. The owner’s manual is also available from here. Tap on an app to open it in full screen mode.
User profiles
Drag down the notification view to access user profiles. Many of the settings made in the car can be adapted according to the user’s personal preferences and can be saved in different user profiles. Settings that can be saved in a user profile include, amongst other things, screens, mirrors, front seats, navigation, audio and media system, language and voice control. You can add profiles, log out, or switch between profiles in the notification view.

Managing subviews in centre display

Home view and app view in the centre display include subviews that can be expanded.

Expanding an app in home view

Expanding an app: Tap on the desired app. When an app is opened, the other apps are suppressed temporarily. The open app provides access to its basic functions.
Closing an app: Briefly press the physical home button below the centre display.

Expanding a tile in the app view

Expanding a subview:

Press . The subview is expanded and provides access to further apps.

Closing an expanded subview:
The subview can be closed in two ways.

  • Press .
  • Briefly tap on the home button at the bottom of the centre display.

Home button for the centre display. There is always the option to go back to home view by pressing the home button.

Symbols in the centre display’s status bar

Overview of the symbols that can be shown in the centre display’s status bar. The status bar shows activities in progress and, in some cases, their status. Not all symbols are shown all the time due to the limited space in the status bar. Here are some examples.

Symbol Specification
Connected to the Internet.
    R Roaming activated.
Bluetooth device connected.
Information sent to and from GPS.
15:45 Clock.
Wireless phone charging.

Moving apps in the centre display

The app view is made up of four tiles where the apps can be moved and organised as preferred. Expand a tile for access to apps other than just the ones displayed. New apps installed are placed in app view.

Open app view.

  1. Press .
  2. Tap on an app and hold it down.
    It is then possible to move it.
  3. Drag the app to the preferred place in the app view.

Swipe across the screen to scroll up or down in the view.

Note
A tile cannot be left empty without apps.
Note
Apps cannot be added to locations that are already occupied.

Keyboard in the centre display

The centre display keyboard makes it possible make entries using keys. It is also possible to “draw in” letters and characters on the screen by hand. The keyboard can be used to enter characters, letters and numbers, e.g. to write text messages from the car, enter passwords or search for articles in the digital owner’s manual.

The keyboard is only shown when entries can be made on the screen 

Hides the keyboard. If this is not possible, the button is not shown.

Changes keyboard mode to write letters and characters by hand instead.
Pressing the confirmation button above the keypad confirms the entered text. The appearance of the button differs depending on context.

Variants of a letter or character
Variants of a letter or character, e.g. é or è, can be entered by holding down the letter or character. A box is displayed showing possible variants of letters or characters. Press the required variant. If no variant is selected, the original letter/character is entered.

Enter the characters, letters and words manually in the centre display

The centre display keyboard allows you to enter characters, letters and words on the screen by “drawing” by hand. 

Press the button on the keyboard to change from typing with the keys to entering letters and characters by hand.  Return to the keyboard with regular character input.

Writing characters/letters/words by hand

  1. Write a character, a letter, a word or parts of a word in the area for hand-written letters. Write a word or parts of a word above each other or on a line. A number of suggested characters, letters or words is shown. The most likely choice is found at the top of the list.
    Important
    Do not use sharp objects on the screen as they may scratch it.
  2. Enter the character/letters/word by waiting a moment. The character/letter/word at the top of the list is entered. It is also possible to select a different character by pressing the required character, letter or word in the list.

Changing keyboard language in centre display

To make it possible to switch between different languages for the keyboard, the languages must first be added under Settings.

Adding or deleting languages in settings

The keyboard is automatically set to the same languages as the system language. The language for the keyboard can be adapted manually without affecting the system language.

  1. Tap on at the bottom of the centre display.
  2. Tap on System, Languages and input, Keyboard.
  3. Select one or more languages from the list.

It is now possible to switch between the selected languages directly from the keyboard for text input. If no languages have been actively selected under Settings, the keyboard retains the same language as the car’s system language.

Switching between different languages in the keyboard 

When a number of languages have been selected in Settings, the button in the keyboard is used to switch between the different languages.

To change keyboard language with list:

  1. Give a long press on the button.
    A list opens.
  2. Select the required language. If more than four languages have been selected, it is possible to scroll in the list from the keyboard.
    The keyboard is adapted to the selected language and other word suggestions are given.

To change the keyboard language without displaying the list:
Give a short press on the button. The keyboard is adapted to the next language in the list without displaying the list.

Date and time

The clock is shown in the centre display, and it is also possible to change the date and time settings there.

Clock location 

The clock is located at the top right of the centre display’s status bar.

Date and time settings

Tap on  and then System, the select Date and time. Select the desired settings.

Automatic date and time setting
Date and time are set automatically as standard, and time zone is adjusted automatically as standard based on the location of the car. Adjust the date and time manually by disabling the automatic date and time setting. Adjust time zone manually by disabling the setting for automatic time zone. It is also possible to select the 24-hour or 12-hour clock.

Navigate in the owner’s manual in the centre display

The digital owner’s manual can be accessed from the centre display. To access the owner’s manual, tap on followed by . There is a range of different options for finding information in the owner’s manual.

Contents of the Owner’s Manual

Homepage


Tap on the symbol to go back to the start page in the owner’s manual.

Categories  

The articles in the owner’s manual are structured into main categories and subcategories. The same article can be found in several appropriate categories so that it can be found more easily.
Visual navigation
Exterior and interior overview images of the car. Different parts are designated with hotspots that lead to articles about that part of the car.
  1. Press Exterior or Interior.
    Exterior or interior images are shown with so-called hotspots in place. The hotspot leads to articles about the corresponding part of the car. Swipe horizontally over the screen to browse among the images.
  2. Tap on a hotspot.
    The title of the article about the area is shown.
  3. Tap on the title to open the article.

To go back, press the back arrow.

Quick guide
Information to help you get started with the most commonly used functions in the car.
Video

Press the symbol to view brief instruction videos for various functions in the car.
Release notes
Read more about the current version and updates implemented.
Search function
Tap on the search field at the top of the owner’s manual to access the search function from the homepage. Use at the top in the owner’s manual to access the search function from other pages.
Automotive Solutions

Recent Posts

VW Jetta Engine Fuse Box Diagram

Access the comprehensive 2010-2018 VW Jetta Passenger Fuse Box Diagram to troubleshoot electrical issues effectively.…

7 months ago

VW Jetta Passenger Fuse Box Diagram

Explore the comprehensive VW Jetta Passenger Fuse Box Diagram to troubleshoot electrical issues effectively. Understand…

7 months ago

2023 Ford F-150 Lightning Fuse Box Diagram

Under Hood Fuse Box Location Remove the front luggage compartment cover. Under Hood Fuse Box…

2 years ago

2022 Kawasaki NINJA H2 SX SE Brake Lever Adjuster Owner’s Manual

2022 Kawasaki NINJA H2 SX SE Brake Lever Adjuster Owner's Manual NOTICE Only adjust the front…

2 years ago

2023 Land Rover Range Rover Evoque Exiting The Vehicle Owners Manual

2023 Land Rover Range Rover Evoque Exiting The Vehicle SINGLE LOCKING WARNING Before exiting the…

2 years ago

2023 Land Rover Range Rover Evoque Front Seats Owners Manual

2023 Land Rover Range Rover Evoque Front Seats FRONT SEAT SAFETY Make sure to read…

2 years ago