Model S is also equipped with high-precision electronically-assisted braking and steering systems.
2021 Tesla Model S About Autopilot Owners Manual

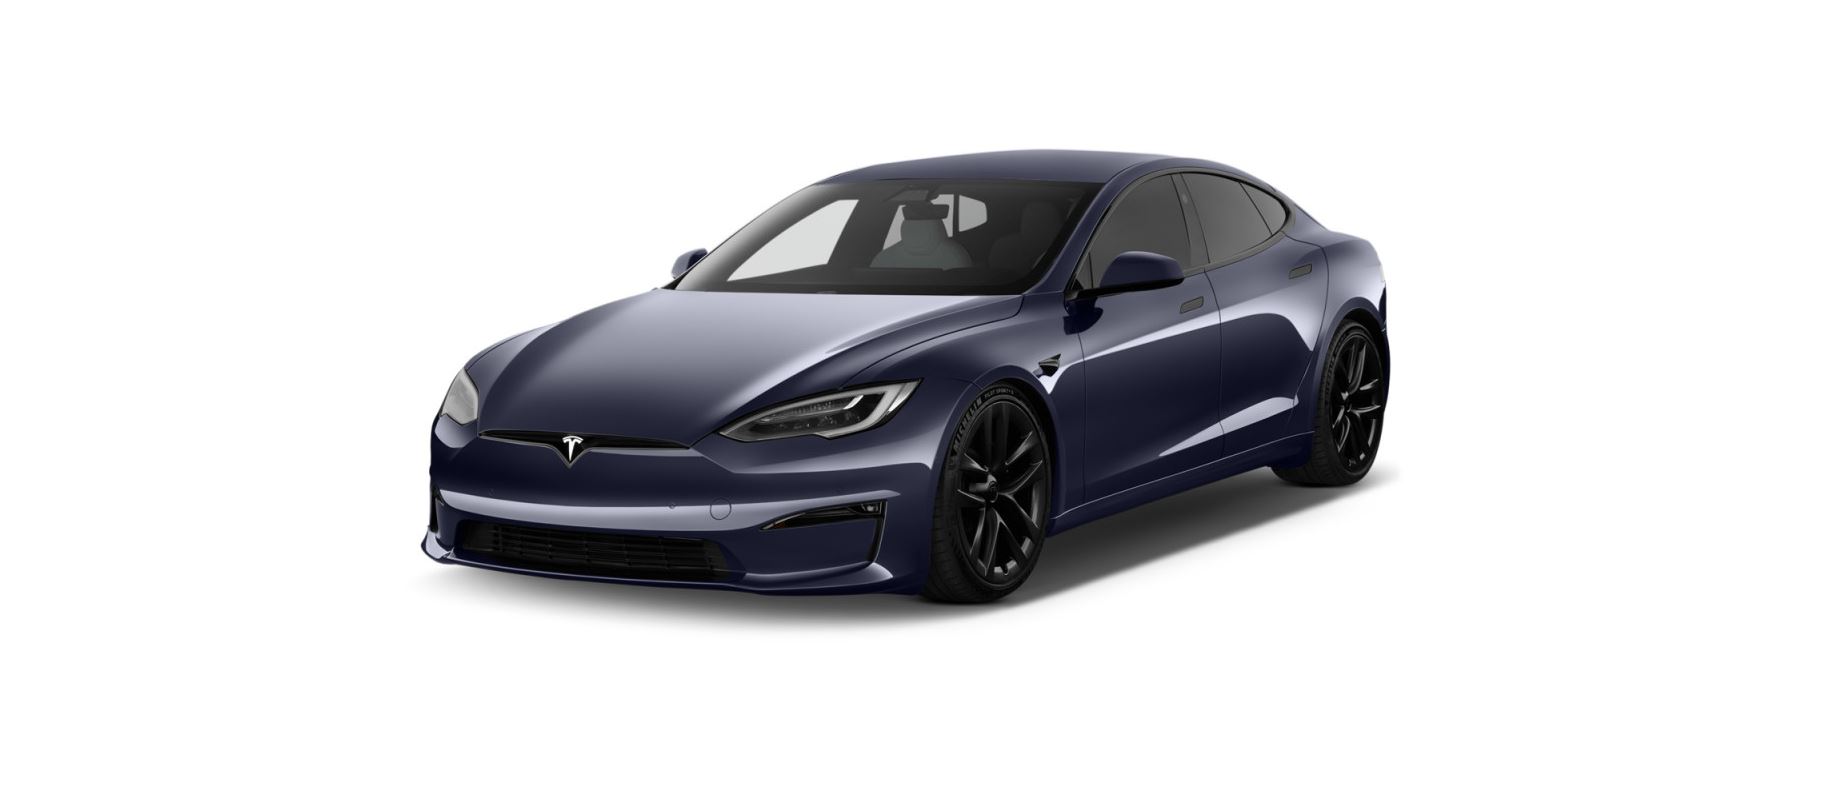


2021 Tesla Model S About Autopilot

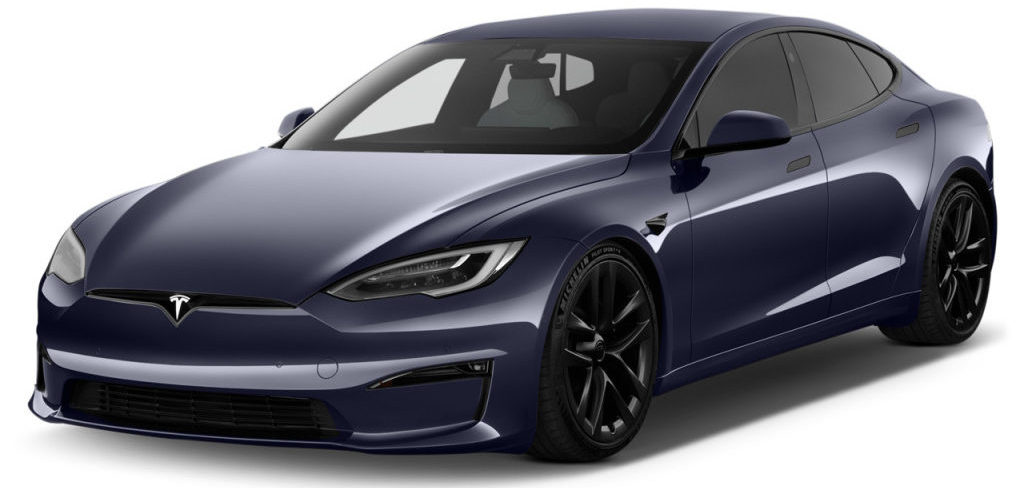
How It Works
Your Model S includes the following components that actively monitor the surrounding area:
- A camera is mounted above the rear license plate.
- Ultrasonic sensors are located in the front and rear bumpers.
- A camera is mounted in each door pillar.
- Three cameras are mounted to the windshield above the rear view mirror.
- A camera is mounted to each front fender.
- Radar (if equipped) is mounted behind the front bumper.
Active Safety Features
These Active Safety features are designed to increase your safety:
- Lane Assist (see Lane Assist)
- Collision Avoidance Assist (see Collision-Avoidance Assist)
- Speed Assist (see Speed Assist)
- Cabin Camera (see Cabin Camera)
You can enable/disable some of these features and in some cases, control how they work. To access settings for these features, touch .
Autopilot Features
These Autopilot convenience features are designed to reduce driver workload:
- Traffic-Aware Cruise Control (see Traffic-Aware Cruise Control)
- Autosteer (see Autosteer)
- Auto Lane Change (see Auto Lane Change)
- Autopark (see Autopark)
- Summon (see Summon)
- Smart Summon (Smart Summon)
- Stop Light and Stop Sign Warning (see Stop Light and Stop Sign Warning)
- Navigate on Autopilot (see Navigate on Autopilot)
- Traffic Light and Stop Sign Control (see Traffic Light and Stop Sign Control)
You can enable/disable some of these features and in some cases, control how they work. To access settings associated with these features, touch .
Drive to Calibrate Cameras
Model S must maneuver with precision when Autopilot features are being used. Therefore, before some features can be used for the first time or after some types of service repairs, cameras must complete a self-calibration process. For your convenience, the instrument panel displays a progress indicator.
When calibration is complete, Autopilot features are available for use. Calibration is typically completed after driving 20-25 miles (32-40 km), but the distance varies depending on road and environmental conditions. For example, calibration completes quicker when driving on a straight road with multiple lanes (such as a controlled-access highway), with highly-visible lane markings (in the driving lane as well as the adjacent lanes). Contact Tesla only if your Model S has not completed the calibration process after driving 100 miles (160 km) in the described conditions.
If a camera has shifted from its calibrated position (for example, the camera or windshield was replaced), you must clear the calibration. To do so, touch . When the calibration is cleared, Model S repeats the calibration process. While this helps re-calibrate the cameras in many cases, Clear Calibration may not resolve all camera and sensor concerns.
Limitations
Many factors can impact the performance of Autopilot components, causing them to be unable to function as intended. These include (but are not limited to):
- Poor visibility (due to heavy rain, snow, fog, etc.).
- Bright light (due to oncoming headlights, direct sunlight, etc.).
- Damage or obstructions caused by mud, ice, snow, etc.
- Interference or obstruction by the object(s) mounted onto the vehicle (such as a bike rack).
- Obstruction is caused by applying excessive paint or adhesive products (such as wraps, stickers, rubber coating, etc.) onto the vehicle.
- Narrow or winding roads.
- A damaged or misaligned body panel.
- Use of gray or aftermarket glass.
- Interference from other equipment that generates ultrasonic waves.
- Extremely hot or cold temperatures.
Cleaning Cameras and Sensors
To ensure the various Autopilot components can provide information that is as accurate as possible, keep them clean and free of obstructions, condensation, or damage (see Cleaning).
Condensation can form inside the camera enclosures, especially if you park your vehicle outside in cold or wet conditions. The instrument cluster may display an alert stating that a camera is blocked and that some or all Autopilot features may be temporarily restricted until the camera vision is clear. To proactively dry the condensation, precondition the cabin by setting it to a warm temperature, turning the windshield defroster on, and directing the front air vents toward the door pillars (see Mobile App).
Recent Posts
VW Jetta Engine Fuse Box Diagram
Access the comprehensive 2010-2018 VW Jetta Passenger Fuse Box Diagram to troubleshoot electrical issues effectively.…
VW Jetta Passenger Fuse Box Diagram
Explore the comprehensive VW Jetta Passenger Fuse Box Diagram to troubleshoot electrical issues effectively. Understand…
2023 Ford F-150 Lightning Fuse Box Diagram
Under Hood Fuse Box Location Remove the front luggage compartment cover. Under Hood Fuse Box…
2022 Kawasaki NINJA H2 SX SE Brake Lever Adjuster Owner’s Manual
2022 Kawasaki NINJA H2 SX SE Brake Lever Adjuster Owner's Manual NOTICE Only adjust the front…
2023 Land Rover Range Rover Evoque Exiting The Vehicle Owners Manual
2023 Land Rover Range Rover Evoque Exiting The Vehicle SINGLE LOCKING WARNING Before exiting the…
2023 Land Rover Range Rover Evoque Front Seats Owners Manual
2023 Land Rover Range Rover Evoque Front Seats FRONT SEAT SAFETY Make sure to read…
