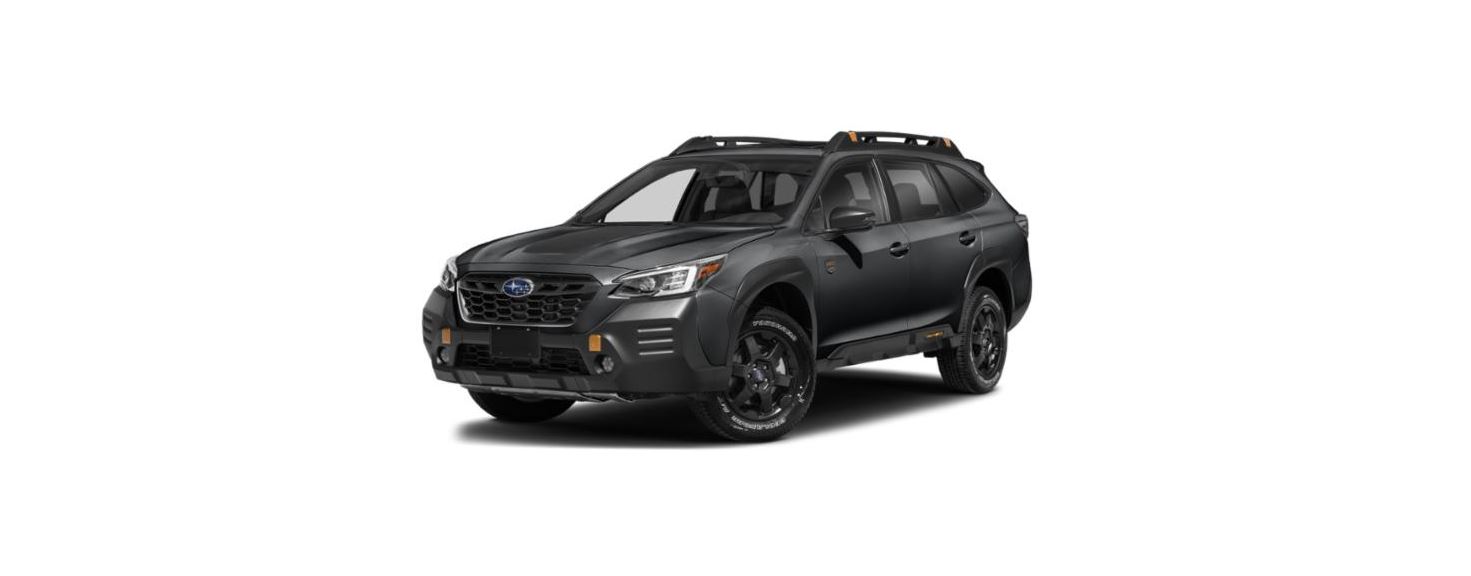
2022 Subaru Outback Replacement of Wiper Blades User Manual


2022 Subaru Outback Replacement of Wiper Blades


Replacement of Wiper Blades
Grease, wax, insects, or other materials on the windshield or the wiper blade results in jerky wiper operation and streaking on the glass. If you cannot remove the streaks after operating the windshield washer or if the wiper operation is jerky, clean the outer surface of the windshield (or rear window) and the wiper blades using a sponge or soft cloth with a neutral detergent or mild abrasive cleaner. After cleaning, rinse the windshield and wiper blades with clean water. The windshield is clean if beads do not form when you rinse the windshield with water.
CAUTION
- Do not clean the wiper blades with gasoline or a solvent, such as paint thinner or benzine. This will cause deterioration of the wiper blades.
- When you wish to raise the passenger-side wiper arm, first raise the driver-side wiper arm. Otherwise, the passenger-side wiper assembly and driver-side wiper assembly will touch each other, possibly resulting in scratches.
- Return the passenger-side wiper arm to its original position before returning the driver-side wiper arm to its original position. Otherwise, the passenger-side wiper assembly and driver-side wiper assembly will touch each other, possibly resulting in scratches.
- When returning the raised wipers to the original positions, return the wipers slowly on the windshield by hand. Returning the wipers from the detached positions by the spring operation might change the shape of the wiper arm or scratch the windshield.
- While removing the wiper blades from the wiper arms, do not return the wiper arms to their original positions. Otherwise, the windshield surface may be scratched.
If you cannot eliminate the streaking even after following this method, replace the wiper blades using the following procedures.
Windshield Wiper Blade Assembly
NOTE
Do not lower the wiper arm while the wiper blade assembly is removed.
- Raise the wiper arm off the windshield. First, raise the driver’s side wiper arm and then raise the front passenger’s side wiper arm.
CAUTION
Hold the wiper arm when replacing the wiper blade. Holding the wiper blade may result in blade deformation.- Lock knob
- Hold the wiper blade connection by hand, push the lock knob to release the lock, and then pull out the wiper blade assembly.
NOTE
Do not use a hard object to push the lock knob. The lock knob may be scratched. - When installing the wiper blade assembly, align it with the wiper arm connection part and then slide it in the opposite direction of removal to install. After installing the wiper blade assembly, check that the connection part is locked completely.
- Hold the wiper arm by hand and slowly lower it in position.
Window Wiper Blade Rubber
Replace the wiper blade rubber according to the following procedure.
- Pull the wiper blade rubber until the slit on the underside of the wiper blade is in the removal position, as shown in the illustration so that it can be removed.
- Pull the end of the wiper blade rubber through the slit to remove it.
- To install a new wiper blade rubber, perform the removal procedure in reverse order. After installation, check that the tip of the wiper rubber has reached the end of the cap.
NOTE
It may be difficult to perform the wiper blade rubber replacement. We recommend that you contact your SUBARU dealer for wiper blade rubber replacement if necessary.
Rear Window Wiper Blade Assembly (Outback/Subaru Outback Wilderness)
- Raise the wiper arm off the rear window.
- Turn the wiper blade assembly counterclockwise.
- Pull the wiper blade assembly toward you to remove it from the wiper arm.
Rear Window Wiper Blade Rubber (Outback/Subaru Outback Wilderness)
- Pull out the end of the blade rubber assembly to unlock it from the plastic support.
- Pull the blade rubber assembly out of the plastic support.
- Metal spines
- If the new blade rubber is not provided with two metal spines, remove the metal spines from the old blade rubber and install them in the new blade rubber.
- Align the claws of the plastic support with the grooves in the blade rubber assembly, then slide the blade rubber assembly into place.
Securely retain both ends of the rubber with the stoppers on the plastic support ends. If the rubber is not retained properly, the wiper may scratch the rear window glass. - Install the wiper blade assembly to the wiper arm. Make sure that it locks in place.
- Hold the wiper arm by hand and slowly lower it in position.
Recent Posts
VW Jetta Engine Fuse Box Diagram
Access the comprehensive 2010-2018 VW Jetta Passenger Fuse Box Diagram to troubleshoot electrical issues effectively.…
VW Jetta Passenger Fuse Box Diagram
Explore the comprehensive VW Jetta Passenger Fuse Box Diagram to troubleshoot electrical issues effectively. Understand…
2023 Ford F-150 Lightning Fuse Box Diagram
Under Hood Fuse Box Location Remove the front luggage compartment cover. Under Hood Fuse Box…
2022 Kawasaki NINJA H2 SX SE Brake Lever Adjuster Owner’s Manual
2022 Kawasaki NINJA H2 SX SE Brake Lever Adjuster Owner's Manual NOTICE Only adjust the front…
2023 Land Rover Range Rover Evoque Exiting The Vehicle Owners Manual
2023 Land Rover Range Rover Evoque Exiting The Vehicle SINGLE LOCKING WARNING Before exiting the…
2023 Land Rover Range Rover Evoque Front Seats Owners Manual
2023 Land Rover Range Rover Evoque Front Seats FRONT SEAT SAFETY Make sure to read…