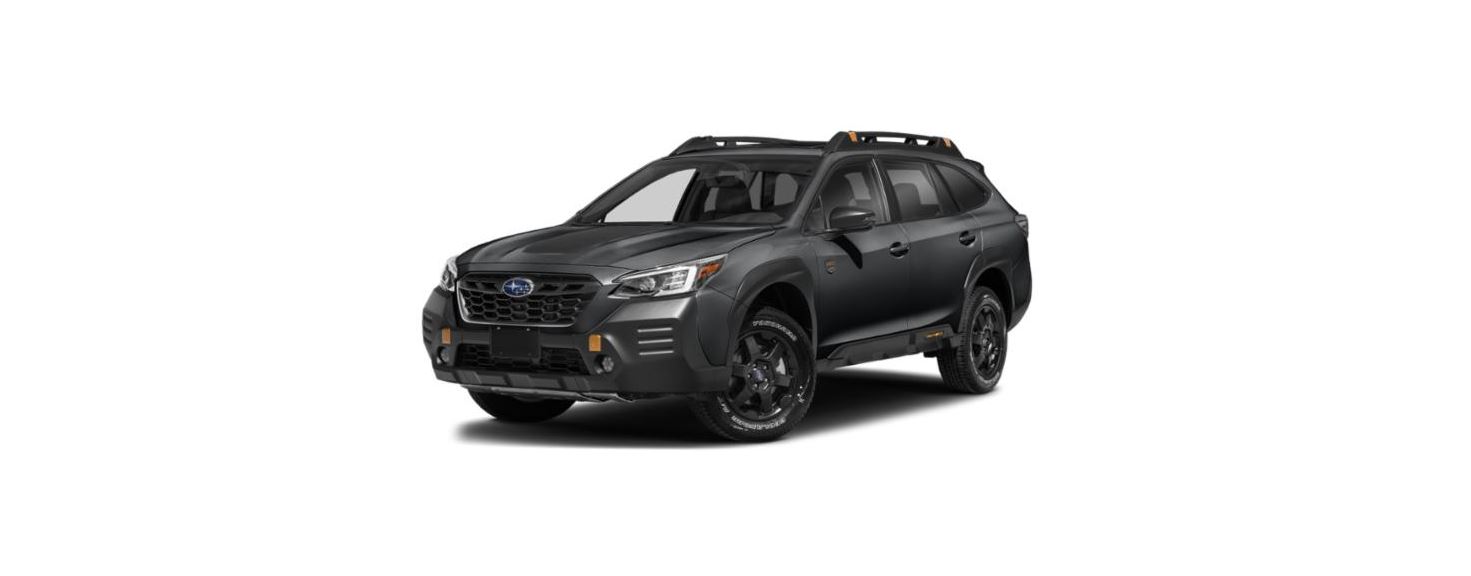
2022 Subaru Outback Meters and Gauges User Manual


2022 Subaru Outback Meters and Gauges


NOTE
Liquid crystal displays are used in some of the meters and gauges in the combination meter. You will find their indications hard to see if you wear polarized glasses.
Speedometer
The speedometer shows the vehicle’s speed.
NOTE
- The initial movement of the meter needles and gauge needles that occurs when the ignition switch is turned to the “ON” position can be activated or deactivated.
- For details, refer to “General settings” P219 (11.6-inch display models) or “General settings” P237 (dual 7.0- inch display models).
Tachometer
The tachometer shows the engine speed in thousands of revolutions per minute.
CAUTION
Do not operate the engine with the pointer of the tachometer in the red zone. In this range, fuel injection will be cut by the engine control module to protect the engine from overrevving. The engine will resume running normally after the engine speed is reduced below the red zone.
NOTE
- The initial movement of the meter needles and gauge needles that occurs when the ignition switch is turned to the “ON” position can be activated or deactivated.
- For details, refer to “General settings” P219 (11.6-inch display models) or “General settings” P237 (dual 7.0- inch display models).
Odometer
- TRIP RESET switch
- Odometer
This meter displays the odometer when the ignition switch is in the “ON” position. The odometer shows the total distance that the vehicle has been driven.
NOTE
If you press the TRIP RESET switch when the ignition switch is in the “LOCK”/“OFF” or “ACC” position, the odometer/trip meter will light up. The indicators will turn off when the TRIP RESET switch is not operated for approximately 10 seconds
Double Trip Meter
- TRIP RESET switch
- Trip meter
- This meter displays the two trip meters when the ignition switch is in the “ON” position.
- The trip meter shows the distance that the vehicle has been driven since you last set it to zero.
- The display can be switched as shown in the following sequence by pressing the TRIP RESET switch.
- To reset the trip meter, select either the A trip or B trip meter, then press and hold the TRIP RESET switch.
CAUTION
To ensure safety, do not attempt to change the function of the indicator during driving, as an accident could result.
NOTE
- If the connection between the combination meter and the battery is broken for any reason such as vehicle maintenance or fuse replacement, the data recorded on the trip meter will be lost.
- If you press the TRIP RESET switch when the ignition switch is in the “LOCK”/“OFF” or “ACC” position, the odometer/trip meter will light up. It is possible to switch between the A trip meter and B trip meter indications while the odometer/trip meter is lit up.
- In addition, it is possible to reset the trip meter by pressing and holding the TRIP RESET switch.
- The indicators will turn off when the TRIP RESET switch is not operated for approximately 10 seconds.
Fuel Gauge
- The fuel gauge shows the approximate amount of fuel remaining in the tank.
- When the ignition switch is in the “LOCK”/“OFF” or “ACC” position, the fuel gauge shows “E” even if the fuel tank contains fuel.
- The gauge may move slightly due to fuel level movement in the tank (e.g., during braking, turning or acceleration).
NOTE
- You will see the “ ” sign on the fuel gauge. This indicates that the fuel filler lid is located on the right side of the vehicle.
- If you press the TRIP RESET switch while the ignition switch is in the “LOCK”/“OFF” or “ACC” position, the fuel gauge will light up and indicate the amount of fuel remaining in the tank. The gauge will turn off when the TRIP RESET switch is not operated for approximately 10 seconds.
Engine Coolant Temperature Gauge
- Normal operating range
- The temperature gauge shows engine coolant temperature when the ignition switch is in the “ON” position.
- The coolant temperature will vary in accordance with the outside temperature and driving conditions.
- We recommend that you drive moderately until the pointer of the temperature gauge reaches near the middle of the range.
- Engine operation is optimum with the engine coolant at this temperature range and high revving operation when the engine is not warmed up enough should be avoided.
CAUTION
If the pointer exceeds the normal operating range, safely stop the vehicle as soon as possible. Refer to “Engine Overheating” P470.
Combination Meter Settings
Meter settings can be set on the central information display. For details, perform the procedures described in “General settings” P219 (11.6-inch display models) or “General settings” P237
(dual 7.0-inch display models).
Recent Posts
VW Jetta Engine Fuse Box Diagram
Access the comprehensive 2010-2018 VW Jetta Passenger Fuse Box Diagram to troubleshoot electrical issues effectively.…
VW Jetta Passenger Fuse Box Diagram
Explore the comprehensive VW Jetta Passenger Fuse Box Diagram to troubleshoot electrical issues effectively. Understand…
2023 Ford F-150 Lightning Fuse Box Diagram
Under Hood Fuse Box Location Remove the front luggage compartment cover. Under Hood Fuse Box…
2022 Kawasaki NINJA H2 SX SE Brake Lever Adjuster Owner’s Manual
2022 Kawasaki NINJA H2 SX SE Brake Lever Adjuster Owner's Manual NOTICE Only adjust the front…
2023 Land Rover Range Rover Evoque Exiting The Vehicle Owners Manual
2023 Land Rover Range Rover Evoque Exiting The Vehicle SINGLE LOCKING WARNING Before exiting the…
2023 Land Rover Range Rover Evoque Front Seats Owners Manual
2023 Land Rover Range Rover Evoque Front Seats FRONT SEAT SAFETY Make sure to read…