2022 Prime Time RV Sanibel Fifth Wheels Toilet and Black Tank Flush Owners Manual

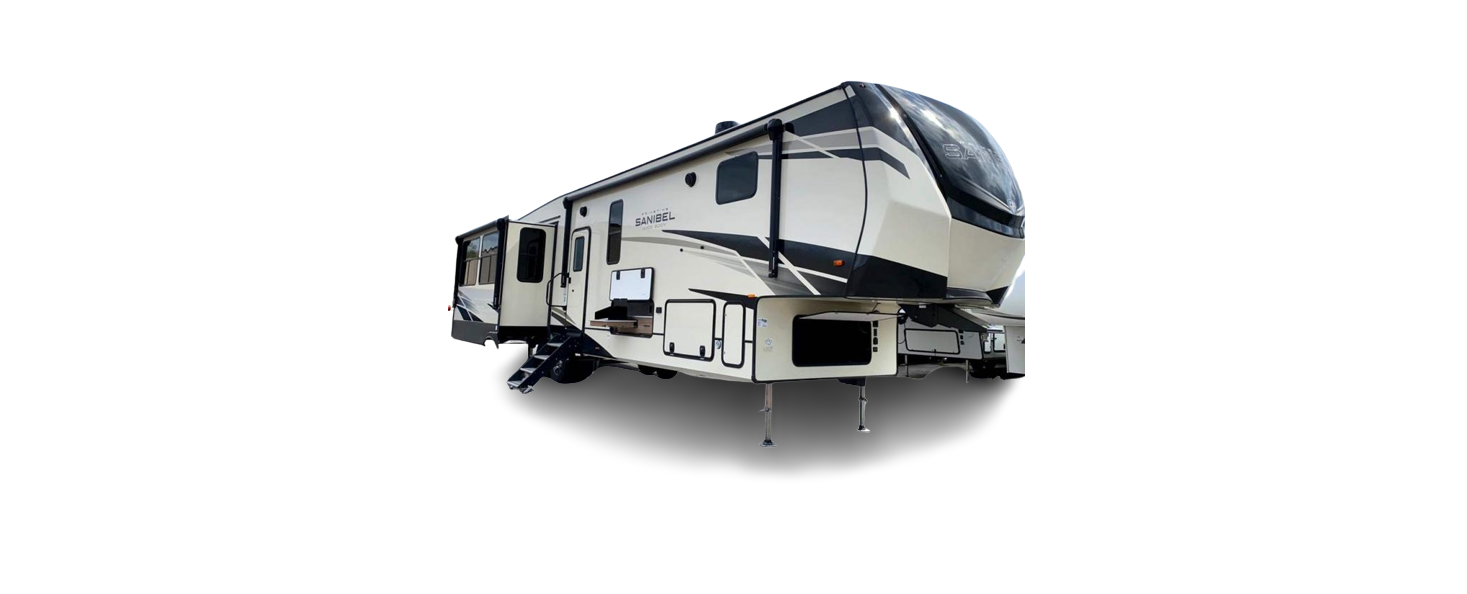


2022 Prime Time RV Sanibel Fifth Wheels Toilet and Black Tank Flush

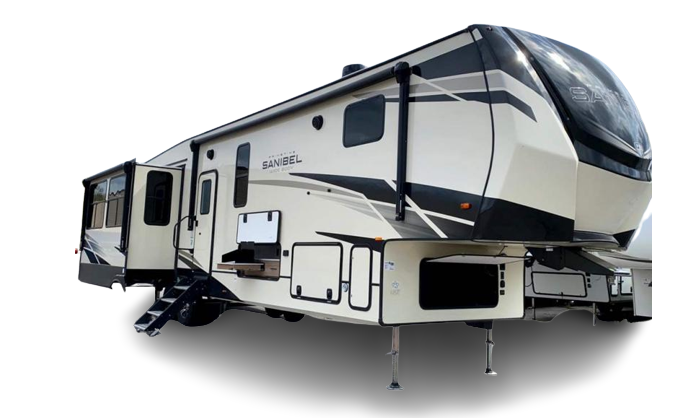
Toilet and Black Tank Flush
TOILET
The toilet installed in your recreational vehicle is connected to the pressurized freshwater system. A single lever, located on the side or a foot pedal, controls flushing and the flow of water into the bowl.
- To add water to the toilet before using, push the flush lever until the desired water level is reached. (As a general rule, more water is required when flushing solids.)
- To flush the toilet, push the lever all the way down and hold until the sewage leaves the toilet.
- Release the flush lever. A small amount of water should remain in the bowl. To add more water to the bowl, hold the lever HALFWAY down until the bowl has the desired amount of water.
- Be sure to hold the flush lever down long enough to release the contents of the bowl, but only as long as necessary, as this will result in excessive water usage.
- Unnecessary, frequent flushing of the stool will quickly deplete your fresh water supply and fill your holding tank. If the black water tank becomes full, you will no longer be able to flush the stool until the tank is drained. Be sure all occupants and guests understand this operation.
- ALWAYS use deodorizing agents, specifically designed for use in holding tank systems, and a good biodegradable tissue paper. These products are available directly from your dealer or any store that sells camp supplies.
- NEVER use chlorine or caustic chemicals, such as drain openers or laundry bleach, in your toilet.
- NEVER allow foreign objects (non-dissolving items) to be flushed through the toilet.
NOTICE
For proper operation of the toilet flush ball, routine cleaning and lubrication with a silicone spray are required. See component owner’s manual for care and maintenance.
NOTICE
For proper water flow into the toilet bowl, routine cleaning of the water line screen is required. See component owner’s manual for care and maintenance.
MACERATOR PUMP
A Macerating Pump (if equipped) works much like a household garbage disposal. Located at the termination of the RV’s waste tank drain lines, the macerator grinds and liquefies black water waste, then pumps it through a heavy-duty discharge hose. In addition, it pumps gray tank waste through the discharge hose. There is no need for a constant slope or cumbersome hose supports.
To empty your holding tanks utilizing your factory-installed Macerator Pump:
- Make sure all sewer drain tank valves are CLOSED.
- Remove the macerator pump hose and nozzle from its storage compartment.
- Remove the termination cap from the macerator pump hose nozzle.
- Attach the hose nozzle to the dump station sewer inlet.
- Drain the black water tank by pulling the termination valve handle away from the valve body to the OPEN position.
- Turn the macerator pump ON with the exterior switch.
- Allow the macerator pump to empty the black tank. An audible change to the sound of the motor and a change in the diameter of the pump house will signify that the tank has emptied.
- Rinse the black tank with several gallons of water by depressing the stool pedal, hand flush handle, or use the black tank flush (if equipped). Close the valve on the stool and let it fill before releasing it into the tank. This creates an additional force to flush the tank more completely.
- Allow the macerator pump to empty the black tank of the flushing water. An audible change to the sound of the motor and a change in the diameter of the pump house will signify that the tank has emptied.
- CLOSE the black tank drain by pushing the valve handle toward the valve body.
- Drain the gray water tanks by pulling the termination valve handle(s) away from the valve body to the OPEN position. Draining the gray tank last uses the water in the tank to rinse the drain lines and flexible sewer pump hose.
- Allow the macerator pump to empty the gray tanks. An audible change to the sound of the motor and a change in the diameter of the pump house will signify that the tanks have emptied.
- Turn the macerator pump OFF with the exterior switch.
- Starting at the RV’s termination, “lift and walk” the remaining water out of the pump hose toward the dump station inlet.
- CLOSE the gray tank drains by pushing the valve handle(s) toward the valve body.
- Starting at the RV’s termination, for a second time, “lift and walk” the remaining water out of the pump hose toward the dump station inlet.
- Remove the macerator pump hose from the dump station inlet and replace the termination cap on the nozzle.
- Replace the macerator pump hose in its storage compartment.
- NEVER empty your holding tanks directly on the ground, a roadway, river, or stream.
- ALWAYS clean up the dump site before leaving.
BLACK TANK FLUSH
After black tank dumping, some solids may be left at the bottom of the black water tank as well as on the tank sidewalls. The black tank flush (if equipped) is designed to help rinse and flush the black tank.
To utilize the black tank flush:
- Completely empty your black waste tank at an approved dump station. Leave the black tank valve OPEN.
- Connect a garden hose reserved for this task to the black tank flush outlet on your RV and to the dump station water supply. For sanitary reasons, do not use your fresh water hose for the black tank rinse.
- Turn ON the water supply and let it run for several minutes to help remove solids left in the tank.
- During the flushing process, be sure the black tank valve remains OPEN and the flexible sewer drain hose remains connected between the RV’s sewer drain outlet and the dump station inlet.
NOTICE
Do NOT use the black tank flush unless the black water tank termination valve is in the OPEN position. Improperly following this procedure, may result in an unsanitary condition leading to illness or personal injury.
Recent Posts
VW Jetta Engine Fuse Box Diagram
Access the comprehensive 2010-2018 VW Jetta Passenger Fuse Box Diagram to troubleshoot electrical issues effectively.…
VW Jetta Passenger Fuse Box Diagram
Explore the comprehensive VW Jetta Passenger Fuse Box Diagram to troubleshoot electrical issues effectively. Understand…
2023 Ford F-150 Lightning Fuse Box Diagram
Under Hood Fuse Box Location Remove the front luggage compartment cover. Under Hood Fuse Box…
2022 Kawasaki NINJA H2 SX SE Brake Lever Adjuster Owner’s Manual
2022 Kawasaki NINJA H2 SX SE Brake Lever Adjuster Owner's Manual NOTICE Only adjust the front…
2023 Land Rover Range Rover Evoque Exiting The Vehicle Owners Manual
2023 Land Rover Range Rover Evoque Exiting The Vehicle SINGLE LOCKING WARNING Before exiting the…
2023 Land Rover Range Rover Evoque Front Seats Owners Manual
2023 Land Rover Range Rover Evoque Front Seats FRONT SEAT SAFETY Make sure to read…
