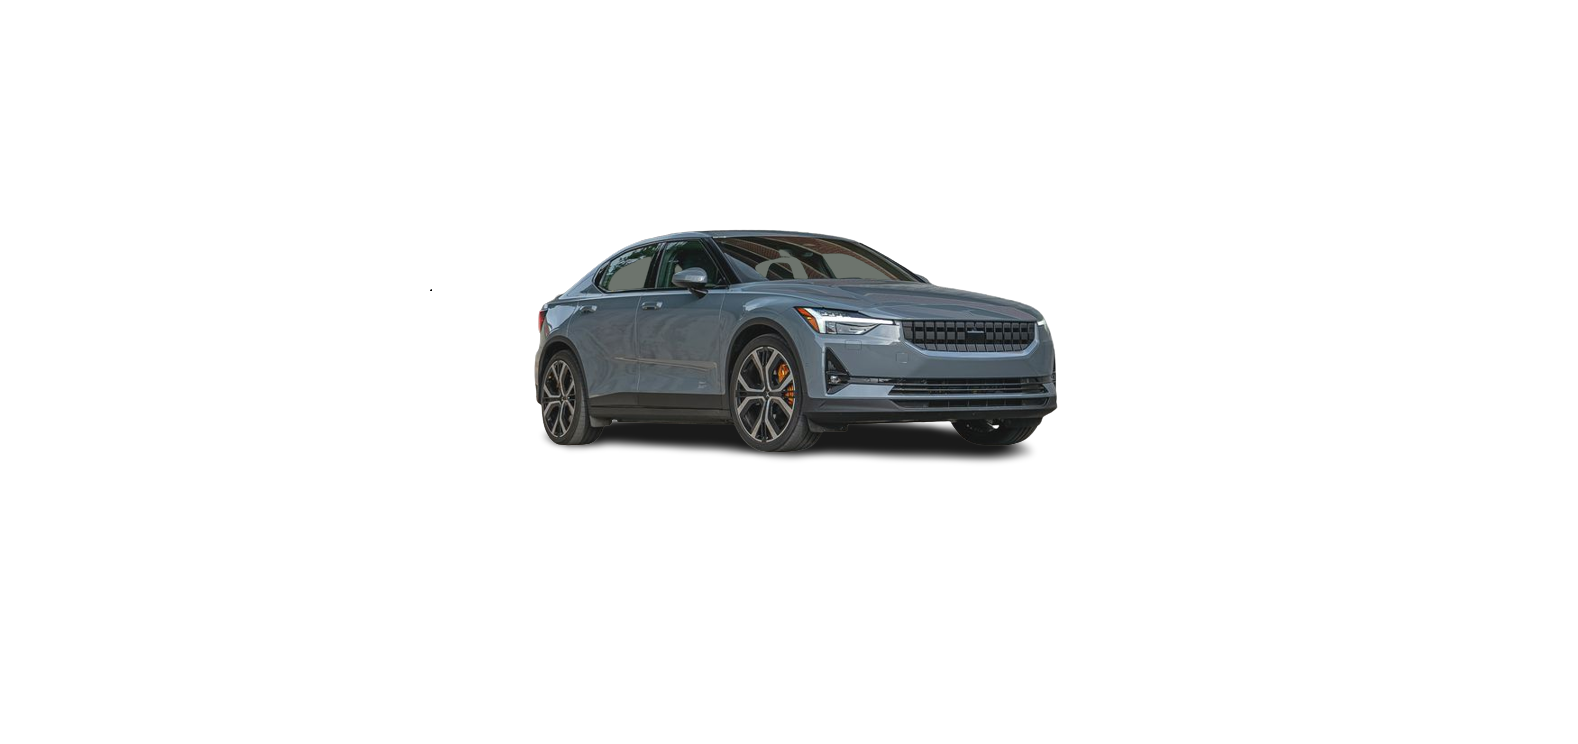
Polestar 2

2021 Polestar 2 Interior Cleaning Owners Manual

2021 Polestar 2 Interior cleaning

Cleaning floor mats and inlay mats

Contact Polestar Customer Support for information on recommended cleaning agents and car care products. Clean regularly and treat stains immediately. It is important to vacuum before using a cleaning agent.

Remove the inlay mats to clean the floor mats and inlay mats separately. Each inlay mat is secured into place with pins.

  • Remove the inlay mat by grasping it at each pin and lifting the mat straight upward.
  • Use a vacuum to remove dust and dirt.
NOTE
Do not swing or strike the inlay mats violently against another object to remove dirt as this could damage the mats.
  • After vacuuming, a specially designed textile cleaning agent should be used to remove stains on floor mats. Contact Polestar Customer Support for information on recommended cleaning agents for floor mats.
  • After cleaning, put the inlay mat back into place by pressing it in at each pin.
WARNING
  • Never use more than one inlay mat at a time on the driver’s floor. If any other type of floor mat is used, remove the original mat from the driver’s seat floor before driving. All types of mats must be securely anchored in the attachment points in the floor. Make sure the floor mat does not impede the movement of the brake pedal or accelerator pedal in any way, as this could be a serious safety hazard.
  • Polestar’s floor mats are specially manufactured for your vehicle. They must be properly secured in the attachment points in the floor to help ensure they cannot slide and become trapped under the pedals.

Cleaning interior plastic, metal, and wood surfaces

Contact Polestar Customer Support for information on recommended cleaning agents and car care products. Clean regularly and treat stains immediately. A lightly dampened microfiber cloth is recommended for cleaning interior details and surfaces. Contact Polestar Customer Support for information on suitable cleaning tools. Never scrape or rub a stain. Never use strong stain removers.
IMPORTANT
Do not use solvent-containing alcohol to clean the instrument panel glass. Keep in mind that glossy surfaces can be easily scratched. Wipe these surfaces with a clean and dry microfiber cloth using small, circular motions. If necessary, moisten the cloth lightly with clean water.

Cleaning leather upholstery

Contact Polestar Customer Support for information on recommended cleaning agents and car care products. Clean regularly and treat stains immediately. It is important to vacuum before using a cleaning agent. Polestar’s leather upholstery is treated to protect its original appearance. Over time, sunlight, grease, dirt, etc. could break down the protective layer. This could result in scratches and cracking. Leather upholstery is a natural product that changes and acquires a beautiful patina over time. Regular cleaning and treatments are required to preserve the qualities and color of the leather. Contact Polestar Customer Support for recommendations on products for cleaning and treating leather upholstery to maintain the leather’s protective coating.

Cleaning the leather upholstery

  • Apply the leather cleaner to a damp sponge and squeeze it until the cleaner foams.
  • Move the sponge in circular motions to apply the foam to the stain.
  • Dampen the stain thoroughly with the sponge. Let the sponge absorb the stain and do not rub.
  • Dry the stain using a soft towel and let the leather dry completely.

Protecting the leather upholstery

  • Apply a small amount of leather protector to a cloth and then apply the protector to the leather using light circular movements.
  • Let it dry for approximately 20 minutes.

Protecting the leather upholstery makes it better able to withstand sunlight’s harmful UV rays.

Cleaning the center display

Marks, stains, finger smudges etc. on the center display may affect its performance and readability. Clean the screen regularly with a microfiber cloth.
  • Turn off the center display by pressing and holding the Home button.
  • Wipe the screen clean with the microfiber cloth provided or use another microfiber cloth of similar quality. Wipe the screen with a clean, dry microfiber cloth using small, circular motions. If necessary, moisten the cloth slightly.
  • Reactivate the display by pressing the Home button briefly.
IMPORTANT
The microfiber cloth must be free of sand and dirt when cleaning the center display. When cleaning the center display, apply only light pressure to the screen. Pressing too hard could damage the screen. Do not spray liquid or corrosive chemicals directly onto the center display. Do not use window cleaners, cleaning agents, aerosol sprays, solvents, alcohol, ammonia or detergents that contain abrasives. Never use abrasive cloths, paper towels or tissue paper, as these may scratch the center display.

Cleaning the head-up display and instrument panel

Carefully wipe the glass covering the head-up display unit with a clean and dry microfiber cloth. If necessary, the cloth may be slightly moistened. Never use strong stain removers. For difficult stains, a special cleaning agent may be needed. Contact Polestar Customer Support for more information.

Cleaning the interior

Only use cleaning agents and car care products recommended by Polestar. Clean regularly and treat stains immediately. It is important to vacuum before using a cleaning agent.
IMPORTANT
  • Some colored clothing (for example, dark jeans and suede garments) may stain the upholstery. If this occurs, it is important to clean and treat these parts of the upholstery as soon as possible.
  • Never use strong solvents such as washer fluid, gasoline, mineral spirit or concentrated alcohol to clean the interior as this can damage the upholstery as well as other interior materials.
  • Never spray cleaning agent directly onto components that have electrical buttons and controls. Wipe instead with a damp cloth with cleaning agent.
  • Sharp objects and Velcro can damage the car’s textile upholstery.
  • Only use cleaning agent on the type of material it is intended for.

Cleaning the leather steering wheel

Contact Polestar Customer Support for information on recommended cleaning agents and car care products. Clean regularly and treat stains immediately. It is important to vacuum before using a cleaning agent. Leather needs to breathe. Never cover the leather steering wheel with a plastic protector. For recommendations on cleaning the leather steering wheel, contact Polestar Customer Support. First, remove dirt, dust, etc. with a damp sponge or cloth.
IMPORTANT
Sharp objects such as rings could damage the leather on the steering wheel.

Treating stains on the steering wheel:

Type 1 (ink, wine, coffee, milk, sweat or blood)

  • Use a soft cloth or sponge. Wipe the steering wheel using a solution of 5% ammonia. For blood stains, mix approximately 2 dl (1 cup) of water with 25 g (one ounce) of salt and wipe the stain.

Type 2 (grease, oil, sauces or chocolate)

  • Same procedure as for Type 1 stains.
  • Finish by wiping the wheel with an absorbent paper or towel.

Type 3 (dry dirt or dust)

  • Remove the dirt/dust using a soft brush.
  • Same procedure as for Type 1 stains.

Cleaning the seat belt

Contact Polestar Customer Support for information on recommended cleaning agents and car care products. Clean regularly and treat stains immediately. It is important to vacuum before using a cleaning agent. Use water and a synthetic laundry detergent. Contact Polestar Customer Support for information about special textile detergents. Make sure the belt is dry before it is retracted.
Automotive Solutions

Recent Posts

VW Jetta Engine Fuse Box Diagram

Access the comprehensive 2010-2018 VW Jetta Passenger Fuse Box Diagram to troubleshoot electrical issues effectively.…

7 months ago

VW Jetta Passenger Fuse Box Diagram

Explore the comprehensive VW Jetta Passenger Fuse Box Diagram to troubleshoot electrical issues effectively. Understand…

7 months ago

2023 Ford F-150 Lightning Fuse Box Diagram

Under Hood Fuse Box Location Remove the front luggage compartment cover. Under Hood Fuse Box…

2 years ago

2022 Kawasaki NINJA H2 SX SE Brake Lever Adjuster Owner’s Manual

2022 Kawasaki NINJA H2 SX SE Brake Lever Adjuster Owner's Manual NOTICE Only adjust the front…

2 years ago

2023 Land Rover Range Rover Evoque Exiting The Vehicle Owners Manual

2023 Land Rover Range Rover Evoque Exiting The Vehicle SINGLE LOCKING WARNING Before exiting the…

2 years ago

2023 Land Rover Range Rover Evoque Front Seats Owners Manual

2023 Land Rover Range Rover Evoque Front Seats FRONT SEAT SAFETY Make sure to read…

2 years ago