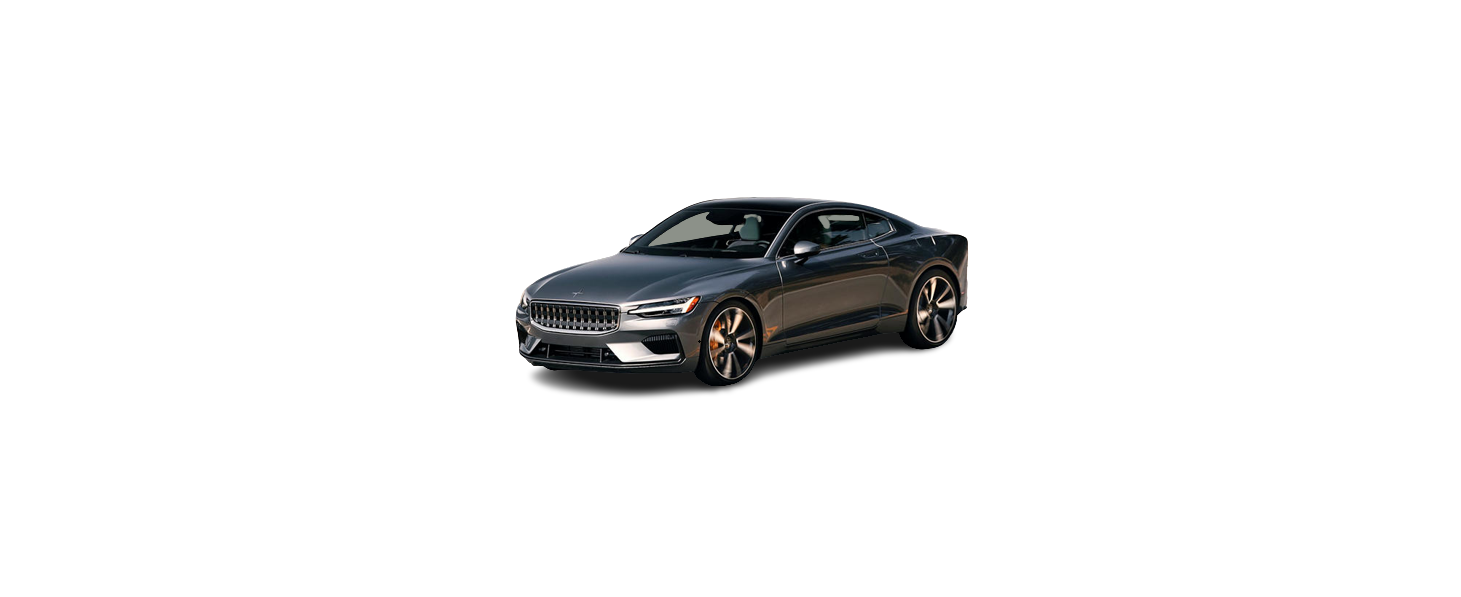
Polestar 1

2021 Polestar 1 Changing Wheels Owners Manual

2021 Polestar 1 Changing wheels

Changing wheels

Wheel changes must always be carried out correctly. The following instructions show how to remove and mount a wheel and what is important to keep in mind. Make sure that the tire dimension is approved for use on the vehicle.

WARNING

  • If a tire must be changed near passing traffic, make sure all passengers move to a safe location.
  • Use a jack intended for the vehicle when changing a wheel. For any other job, use stands to support the vehicle.
  • Never crawl under or allow any part of your body to be extended under a vehicle supported by a jack.
  • Never let anyone remain in the vehicle when it is raised on a jack.

IMPORTANT

  • When the jack is not being used, it should be stowed in its designated spot in the foam block in the frunk.
  • The jack provided with your vehicle is intended to be used only in temporary situations such as changing wheels in the event of a flat tire. Only the jack that came with your particular model should be used to lift the vehicle. If the vehicle needs to be lifted more frequently or for a prolonged period, using a garage jack or hoist is recommended. Always follow this device’s instructions for use.

Removing a wheel

Read through the instructions below before you begin. Before raising the vehicle using a jack or lift, take out all the tools you will need.

  • Turn on the vehicle’s hazard warning flashers if a wheel change must be performed in an area with traffic.
  • Apply the parking brake and put the gear selector in P.
  • Take out the jack, towing eye, lug wrench, and tool for removing the wheel bolt cover, which is stowed in the foam block under the cargo compartment floor.
  • Place chocks in front of and behind the wheels that are still on the ground. For example, use heavy wooden blocks or large stones.
  • Using the lug wrench, screw the towing eye into place as far as possible. The towing eye must be screwed into its fully tightened position.
  • Use the designated tool to remove the wheel bolt cover in the middle. Press the tool into the hole in the middle of the wheel bolt cover and pull to remove the cover.
  • With the vehicle still on the ground, use the lug wrench/towing eye to loosen the wheel bolts ½-1 turn by pressing downward (counterclockwise).
  • Follow these instructions for safe lifting of the vehicle using a jack.
  • Raise the vehicle until the wheel to be changed can move freely. Unscrew the wheel bolts and lift off the wheel.

Mounting wheels

The vehicle must be raised high enough so that the wheel you are removing can turn freely.

  • Clean the contact surfaces between the wheel and the wheel hub.
  • Lift the wheel into place. Tighten the wheel bolts securely. Do not grease the wheel bolt threads.
  • Lower the vehicle so that the wheel cannot rotate.
  • Tighten the wheel bolts in a crisscross pattern (as shown in the illustration). It is important that the wheel bolts are securely tightened. Tighten to 140 Nm (103 ft. lbs.). Use a torque wrench to check torque.
  • Replace the wheel bolt cover over the wheel bolts by aligning it with the guide marks and then pressing it into place.
  • Check the tire inflation pressure and store the new inflation pressure in the tire pressure monitoring system*.

WARNING

The wheel bolts may need to be tightened again several days after a wheel change. Temperature fluctuations and vibrations can cause them to loosen slightly.
NOTE
  • After inflating a tire, always replace the valve cap to help prevent valve damage caused by gravel, dirt, etc.
  • Use plastic valve caps only. Metal caps could corrode and become difficult to remove.

Flat tire

Turn on the hazard warning flashers if you get a flat tire near passing traffic.

Move the vehicle out of traffic if this can be done safely. Call road assistance if necessary.

If possible, exit the vehicle on the side with the least traffic.

Handling a flat tire

Your vehicle is equipped with a tire sealing system for temporarily sealing a tire. Read the instructions before use.

Jack

The jack can be used to lift the vehicle to e.g. change a wheel.

IMPORTANT

The jack provided with your vehicle is intended to be used only in temporary situations such as changing wheels in the event of a flat tire. Only the jack that came with your particular model should be used to lift the vehicle. If the vehicle needs to be lifted more frequently or for a prolonged period, using a garage jack or hoist is recommended. Always follow this device’s instructions for use.

When the jack is not being used, it should be stowed in its designated spot in the storage bag with the charging cable.

The jack needs to be cranked together to the correct position in order to fit.

For vehicles with Leveling Control*: If the vehicle is equipped with the optional pneumatic suspension, it must be turned off before the vehicle is lifted on a jack.

Snow chains

Using snow chains and/or snow tires can help improve traction in winter driving conditions.

Polestar recommends only using snow chains on the following wheel dimensions:

  • Rims: 10x21x30
  • Tires: 285/30R21

To ensure propulsion on rear wheels and for the best possible traction, the drive mode Constant AWD should be used in combination with snow chains.

Snow chains must only be used on the rear wheels (also applies to all-wheel drive cars).

WARNING

Use Polestar genuine snow chains or equivalent snow chains that are suitable for the vehicle model and the tire and wheel sizes. Only one-sided snow chains are permitted.

Contact Polestar Customer Support if you have any questions regarding the use of snow chains. The use of the wrong snow chains could cause serious damage to the vehicle and result in an accident.

Using snow chains could result in a malfunction of the system for monitoring tire inflation pressures*.

IMPORTANT

Snow chains can be used on the vehicle, with the following restrictions:

  • Always follow the manufacturer’s installation instructions carefully. Install chains as tightly as possible and retighten periodically.
  • If accessory, aftermarket, or “custom” tires, and wheels with different dimensions than the original tires and wheels are used, snow chains in some cases may NOT be used. Sufficient distance between the chains and brakes, suspension, and body components must be maintained.
  • Check local regulations regarding the use of snow chains before installing.
  • Never exceed the snow chain manufacturer’s specified maximum speed limit. Under no circumstances should you exceed 50 km/h (30 mph).
  • Avoid bumps, holes, or sharp turns when driving with snow chains.
  • Avoid driving on surfaces without snow as this wears out both the snow chains and the tires.
  • The handling of the vehicle can be adversely affected when driving with chains. Avoid fast or sharp turns as well as locked wheel braking.
  • Some types of strap-on chains affect brake components and therefore must NOT be used.

Contact Polestar Customer Support for more information about snow chains.

Snow tires

Snow tires are designed for winter driving conditions.

Polestar recommends snow tires with specific dimensions. The tire dimensions vary depending on the engine type. When driving with snow tires, the correct type of tires must be mounted on all four wheels.

Contact Polestar Customer Support for assistance determining the most suitable rims and tires.

Tips for changing snow tires

When switching between regular tires and snow tires, mark the tires according to which side they were mounted on, e.g. L for left and R for right.

Studded tires

Studded tires should be broken in by driving 500–1000 km (300–600 miles) slowly and gently to help the studs settle properly in the tires. This gives the tire, and especially the studs, a longer service life.

NOTE

Legislation concerning the use of studded tires may vary. Always follow local laws and regulations.

Tread depth

Road conditions with ice, slush, and low temperatures place considerably higher demands on tires than summer conditions. Polestar, therefore, recommends not driving on snow tires that have a tread depth of less than 4 mm (0.15 in.).

Tool kit

Tools for e.g. towing or changing wheels are provided in the vehicle’s trunk.

Examples of tools in the vehicle

  1. Jack*
  2. Tool for removing the wheel bolt cover
  3. Funnel for refilling fluids
  4. Wheel bolt key* and towing eye

The jack is located in the storage bag along with the charging cable. The funnel, tire sealing kit, and tool for removing the wheel bolt cover are located in the storage compartment on the left-hand side. The towing eyelet and wheel bolt key is located under the trunk floor.

Wheel bolts

The wheel bolts hold the wheel in place on the wheel hub.

Only use rims that have been tested and approved by Polestar and are included in Polestar’s original product range.

Use a torque wrench to check that the wheel bolts are tightened correctly.

Do not grease the wheel bolt threads

WARNING

The wheel bolts may need to be tightened again several days after a wheel change. Temperature fluctuations and vibrations can cause them to loosen slightly.
IMPORTANT
The wheel bolts should be tightened to 140 Nm (103 ft. lbs.). Over-tightening or under-tightening could damage the threaded joints.

Locking wheel bolts*

To loosen or tighten the locking wheel bolts, turn the wrench in the locking bolt until it fully engages in the code grooves. When removing a wheel, always start with the locking wheel bolts. When installing a wheel, attach using the locking wheel bolt.

IMPORTANT

Make sure you have a solid connection between bolt and wheel bolt key when loosening/tightening the wheel bolts. Applying force at an angle could damage the key groove in the wheel bolt and the wheel bolt key and make it impossible to install or remove the wheel.
When the wheel bolt key is not being used, it can be stored in its place in the trunk on the left-hand side behind the upper panel. This is important to remember so that the tool is available if the vehicle is taken to a workshop. If you lose the key, contact Polestar Customer Support.
Automotive Solutions

Recent Posts

VW Jetta Engine Fuse Box Diagram

Access the comprehensive 2010-2018 VW Jetta Passenger Fuse Box Diagram to troubleshoot electrical issues effectively.…

8 months ago

VW Jetta Passenger Fuse Box Diagram

Explore the comprehensive VW Jetta Passenger Fuse Box Diagram to troubleshoot electrical issues effectively. Understand…

8 months ago

2023 Ford F-150 Lightning Fuse Box Diagram

Under Hood Fuse Box Location Remove the front luggage compartment cover. Under Hood Fuse Box…

2 years ago

2022 Kawasaki NINJA H2 SX SE Brake Lever Adjuster Owner’s Manual

2022 Kawasaki NINJA H2 SX SE Brake Lever Adjuster Owner's Manual NOTICE Only adjust the front…

2 years ago

2023 Land Rover Range Rover Evoque Exiting The Vehicle Owners Manual

2023 Land Rover Range Rover Evoque Exiting The Vehicle SINGLE LOCKING WARNING Before exiting the…

2 years ago

2023 Land Rover Range Rover Evoque Front Seats Owners Manual

2023 Land Rover Range Rover Evoque Front Seats FRONT SEAT SAFETY Make sure to read…

2 years ago