2022 Lucid Air Wiper Blades and Washer Jets Owners Manual


2022 Lucid Air Wiper Blades and Washer Jets


Checking the Wiper Blades
CAUTION: Only use cleaning products that have been approved for use on automotive glass and rubber. Inappropriate products may cause damage, smearing, or increased glare on the Screen.

You should periodically check and clean the wiping edge of the wiper blade. Clean the blade edge using a soft cloth or sponge, and isopropyl! (rubbing) alcohol or windshield washer fluid. Also, check the blade rubber for cracks, splits, or roughness. lf any damage is found, replace the blade immediately to prevent damase to the slass.
Replacing Wiper Blades
NOTE: For optimum performance, replace the wiper blades at least every year. Life expectancy of wiper blades can vary, depending on geographical area and frequency of use. Poor wiper blade performance can result in “chattering” (that is, skipping across the glass), or leaving behind marks, streaks of water, or wet spots. If any of these conditions are present, clean the wiper blades or replace them as needed.
Replacing the front wiper blades
CAUTION: Only install wiper blades that are the same length and identical to the original specification. Failure to do s may cause poor performance and damage to the wiper system.
- Open the hood. See Hood Opening and Closing.
- Lift the wiper arm away from the windshield.
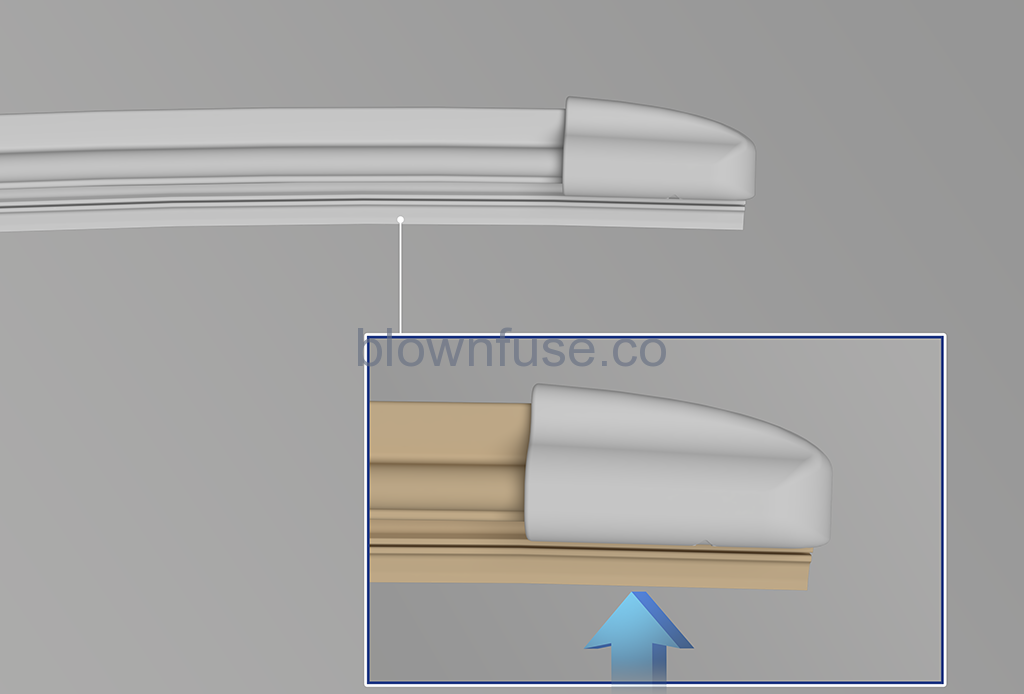
- Depress the locking tab while sliding the wiper blade away from the arm and remove.
- Installation of the new wiper blade is the reverse of removal. You should be able to hear and feel it click into place on the wiper arm.
- Gently lower wiper blade back on to the windshield.
Cleaning Washer Jets
WARNING: Do not operate the washer jets during cleaning. Windshield washer fluid may cause irritation to the eyes and skin. Always read and observe the washer fluid manufacturer’s instructions.
Because the washer jets are located on the wiper arms, it is easier to clean them by opening the hood first. See Hood Opening and Closing.
If a washer jet nozzle becomes clogged with debris or build-up, its performance can be reduced.
There are several methods for removing any blockage:
- Dip a small, soft-bristled brush (such as an old toothbrush) in warm water and scrub in and around the nozzle to clear away any dirt or debris
- Use a can of compressed air to blow a concentrated stream of air into the clog to loosen it, and to blow away any debris from the nozzle.
- For more serious clogs, slide a thin piece of wire into the nozzle to clear any blockages.
Recent Posts
VW Jetta Engine Fuse Box Diagram
Access the comprehensive 2010-2018 VW Jetta Passenger Fuse Box Diagram to troubleshoot electrical issues effectively.…
VW Jetta Passenger Fuse Box Diagram
Explore the comprehensive VW Jetta Passenger Fuse Box Diagram to troubleshoot electrical issues effectively. Understand…
2023 Ford F-150 Lightning Fuse Box Diagram
Under Hood Fuse Box Location Remove the front luggage compartment cover. Under Hood Fuse Box…
2022 Kawasaki NINJA H2 SX SE Brake Lever Adjuster Owner’s Manual
2022 Kawasaki NINJA H2 SX SE Brake Lever Adjuster Owner's Manual NOTICE Only adjust the front…
2023 Land Rover Range Rover Evoque Exiting The Vehicle Owners Manual
2023 Land Rover Range Rover Evoque Exiting The Vehicle SINGLE LOCKING WARNING Before exiting the…
2023 Land Rover Range Rover Evoque Front Seats Owners Manual
2023 Land Rover Range Rover Evoque Front Seats FRONT SEAT SAFETY Make sure to read…
