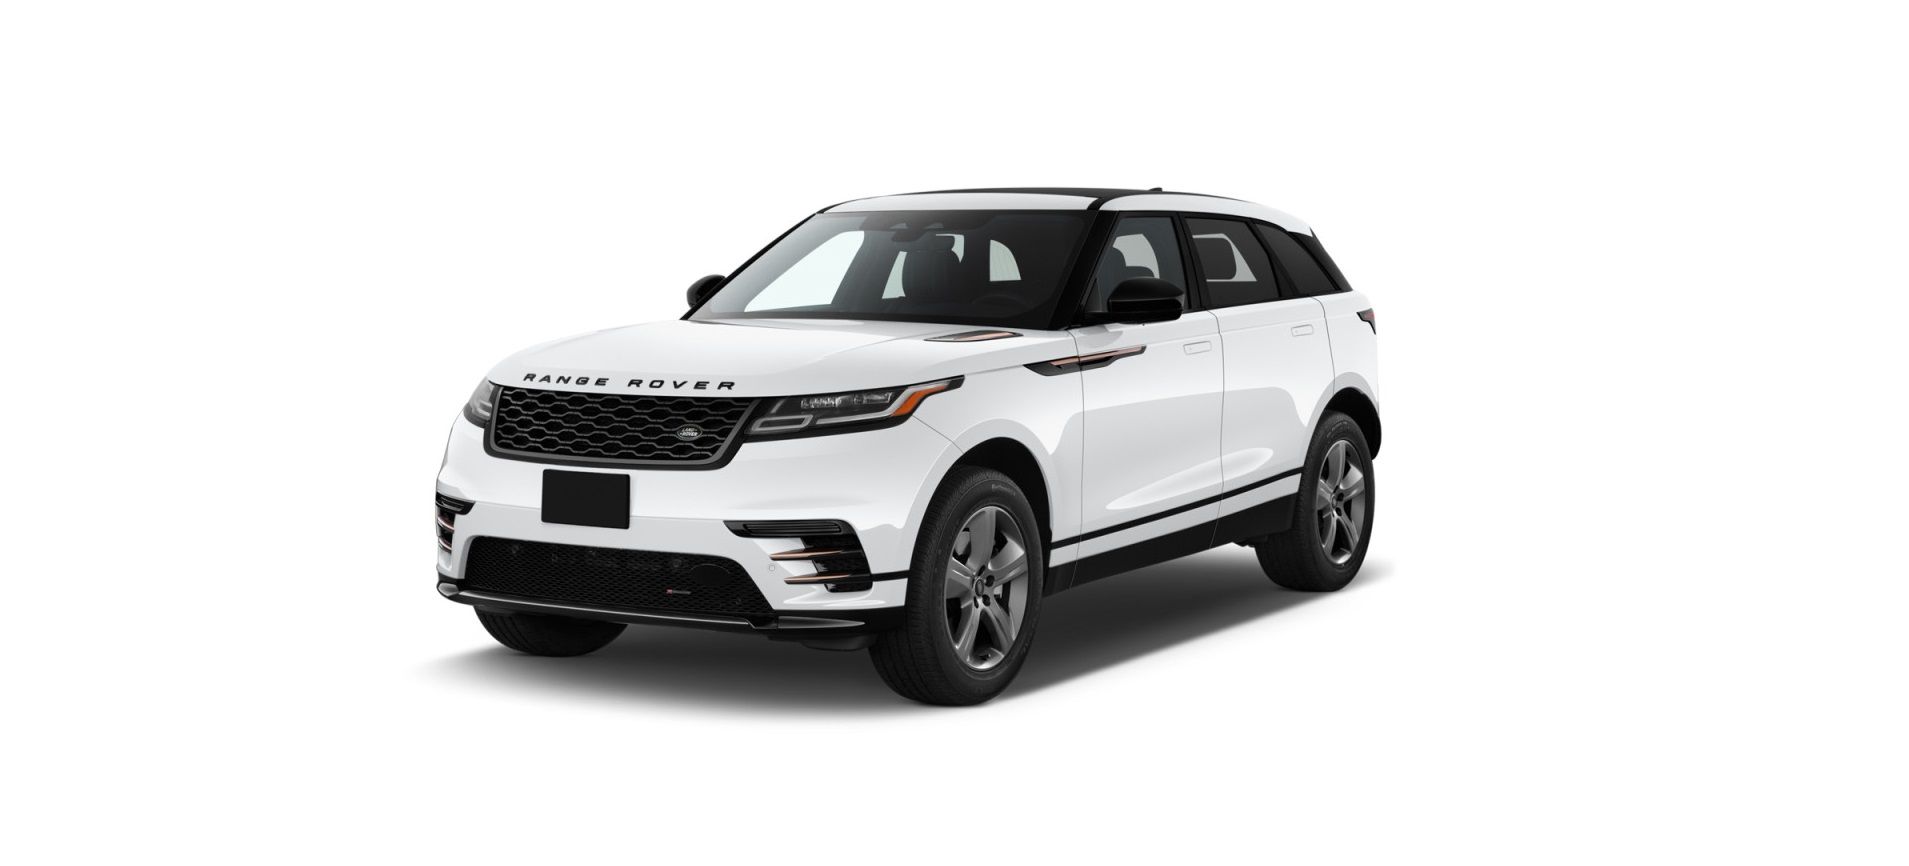
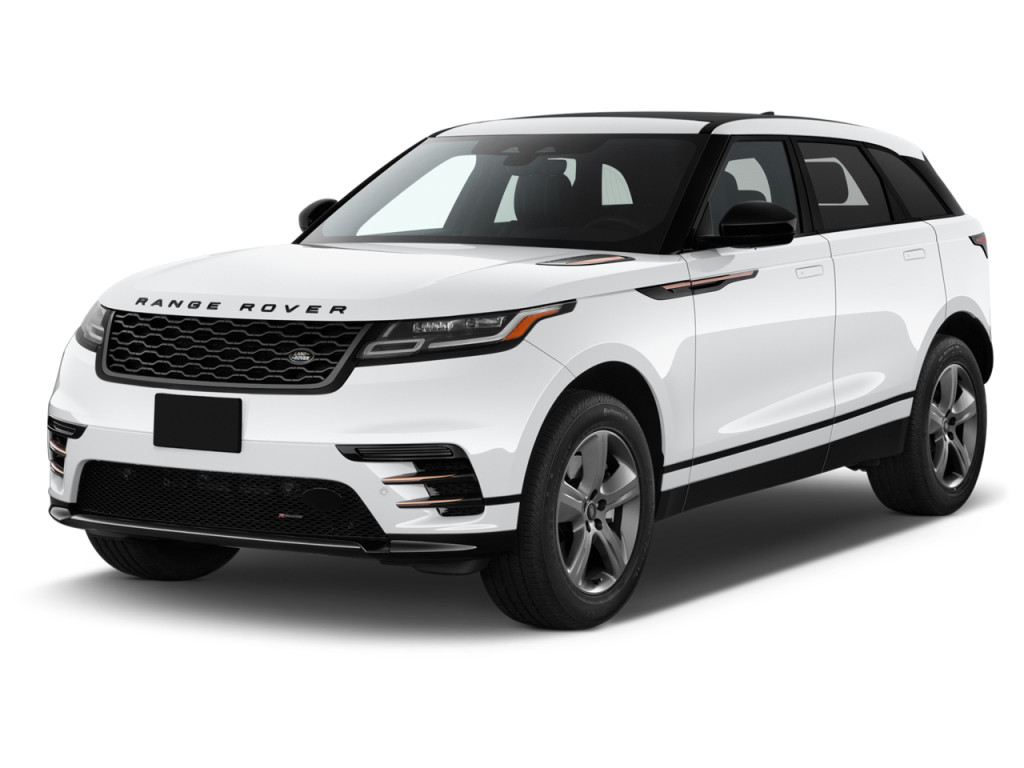
2022 Land Rover Range Rover Velar Rear Seat Screens Owners Manual


2022 Land Rover Range Rover Velar Rear Seat Screens


REAR SEAT REMOTE CONTROL
Store the remote control in the storage area provided in the rear seat center armrest, when not in use, to prevent accidental damage. See STORAGE COMPARTMENTS.
- Left screen button: Press to select or reactivate the screen when in standby mode (illuminates when selected).
- Power button: Press and release to switch the selected screen on and off (all selected audio from sources will continue).Press and hold to switch off the system completely (audio and video sources will stop).
- Right screen button: Press to select or reactivate the screen when in standby mode (illuminates when selected).
- Rear climate button: Press to toggle between the CLIMATE and seat screens.
- Up button: Press to move up the selection.*
- Right button: Press to move right.*
- OK button: Press to confirm the selection.
- Settings button: Some settings for features displayed on the rear screens are available, however, full functionality is controlled from the front touchscreen.
- DVD menu button: Press to select from the DVD menu.
- Forward button: Press to access the next track, file, channel, or station, depending on the selected media.
- Volume control button: Press to increase, decrease, or mute cabin audio volume (volume control for the headphones is on the side of the headphones).
- Cabin audio button: Press to switch the cabin audio on or off (when switched off, the headphone audio will be available).
- Play or Pause button: Press to play or pause media.
- Backward button: Press to access the previous track, file, channel, or station depending on the selected media.
- Favorite button: Press to select a favorite.
- Return button: Press to return to a higher menu level.
- Down button: Press to move down the selection.*
- Left button: Press to move left.*
- Home button: Press to select the rear HOME screen.
- Media source button: Press once to view the selected media source. Press again to access the SELECT SOURCE menu.
*These are multi-function keys, depending on the source selected.
If the remote control becomes unpaired from the rear screens, re-pair via the Rear Media Settings on the touchscreen SETTINGS pop-up menu. Once this is complete, both the left and right screen buttons will flash twice. See SYSTEM SETTINGS.
REAR SEAT REMOTE CONTROL BATTERY
Low battery power is indicated by the remote control power button flashing 3 times when pressed.
To replace the batteries:
- Remove the chrome battery cover.
- Install two AAA batteries. Make sure the polarity of the batteries matches that shown inside the remote control battery compartment. NOTES
The remote control will not operate if the batteries are fitted incorrectly.NOTES
Always use good quality batteries of the same type. - Replace the chrome battery cover.
Battery disposal: Used batteries must be disposed of correctly, as they contain harmful substances. Seek advice on disposal from a retailer/authorized repairer and/or the local authority.
REAR SEAT SCREEN – HOME SCREEN
The rear screens allow rear seat passengers to use selected features, that are also available to the front occupants.
Use the rear screen remote control to operate the rear screen displayed features. See REAR SEAT SCREENS OVERVIEW.
Some media features can also be controlled directly from the rear seat touchscreen.
The following features are available for use by the rear passengers:
- Media: The media system can be viewed from the rear screens. Adjustment of the rear media features are able to be made via the rear screen remote control. Some rear media options can also be controlled directly from rear seat touchscreen. Some of the features available are different to the front touchscreen options. See AM/FM RADIO CONTROLS, HD RADIO™ CONTROLS, SATELLITE RADIO CONTROLS , PORTABLE MEDIA CONNECTIONS, and DVD PLAYER CONTROLS.
- Navigation: The navigation system can be viewed from the rear screens. Adjustment of the navigation system feature is able to be made via the rear screen remote control. Some of the features available are different to the front touchscreen options. See REAR SEAT NAVIGATION.
- Seats: The rear seat heating or cooling temperature can be viewed from the rear screens. Adjustment of the rear seat features are able to be made via the rear screen remote control. Some of the features available are different to the front lower touchscreen options. See SEAT COMFORT AND ADJUSTMENT.
- Climate: The rear climate control system can be viewed from the rear screens. Adjustment of the rear climate control features are able to be made via the rear screen remote control. Some of the features available are different to the front lower touchscreen options. The system can be locked via the front touchscreen. A padlock icon is displayed when the rear climate control system has been locked.The rear climate control system cannot be switched off via the rear screens. See REAR CLIMATE CONTROL.
- Settings: Pressing the settings button on the rear screen remote control allows some settings to be controlled. Some media features settings can also be controlled via the settings icon on the rear seat touchscreen. Full settings functionality is controlled via the settings icon of either, the front touchscreen’s home menu or the lower touchscreen controls. See TOUCHSCREEN HOME MENU and TOUCHSCREEN HOME MENU.
REAR SEAT SCREENS OVERVIEW
To activate the system using the rear seat remote control, press the appropriate screen select option (1) or (3), followed by the power button (2). Select the desired system. Subsequent selections on the remote control will operate the last selected system.
Recent Posts
VW Jetta Engine Fuse Box Diagram
Access the comprehensive 2010-2018 VW Jetta Passenger Fuse Box Diagram to troubleshoot electrical issues effectively.…
VW Jetta Passenger Fuse Box Diagram
Explore the comprehensive VW Jetta Passenger Fuse Box Diagram to troubleshoot electrical issues effectively. Understand…
2023 Ford F-150 Lightning Fuse Box Diagram
Under Hood Fuse Box Location Remove the front luggage compartment cover. Under Hood Fuse Box…
2022 Kawasaki NINJA H2 SX SE Brake Lever Adjuster Owner’s Manual
2022 Kawasaki NINJA H2 SX SE Brake Lever Adjuster Owner's Manual NOTICE Only adjust the front…
2023 Land Rover Range Rover Evoque Exiting The Vehicle Owners Manual
2023 Land Rover Range Rover Evoque Exiting The Vehicle SINGLE LOCKING WARNING Before exiting the…
2023 Land Rover Range Rover Evoque Front Seats Owners Manual
2023 Land Rover Range Rover Evoque Front Seats FRONT SEAT SAFETY Make sure to read…
