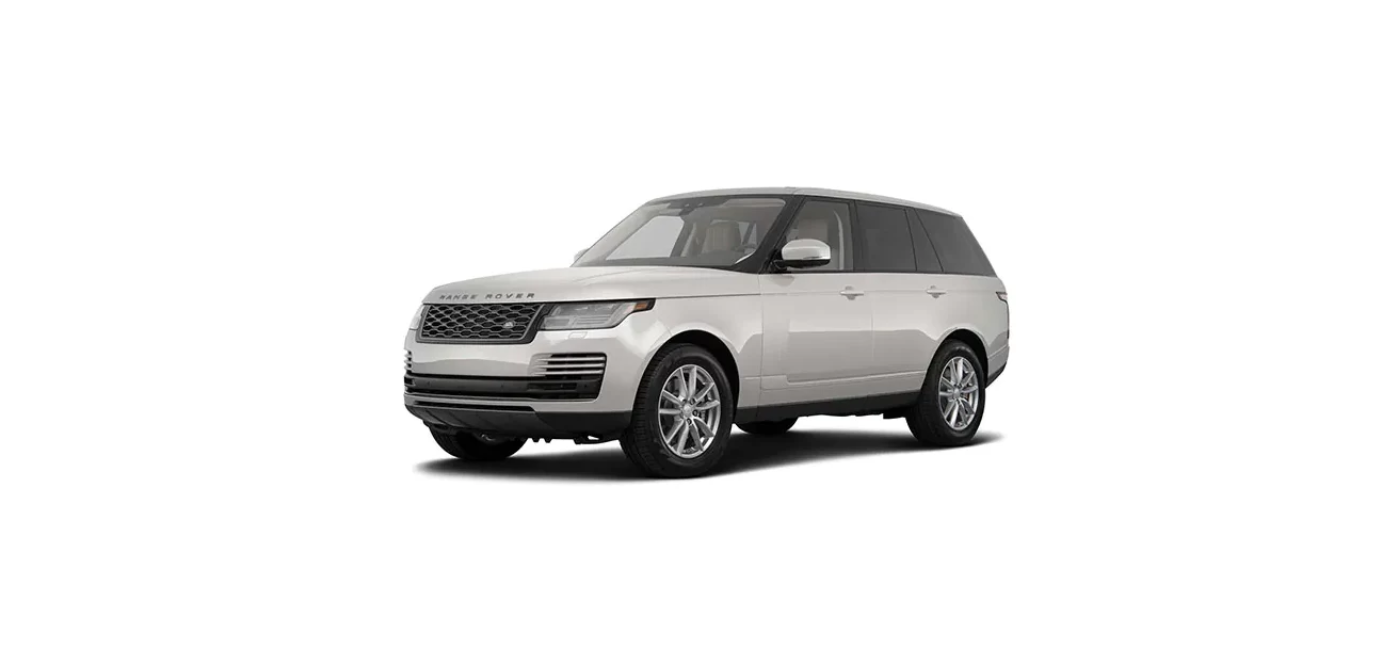
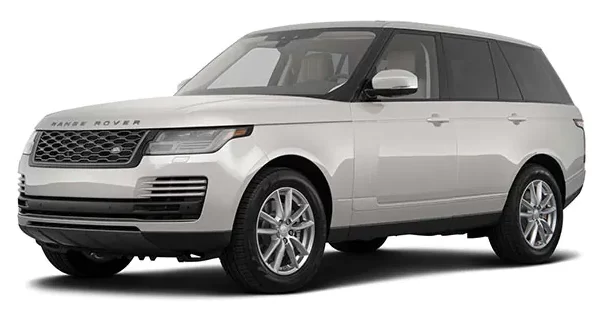
2022 Land Rover New Range Rover Load Carrying Owners Manual


2022 Land Rover New Range Rover Load Carrying


LOAD CARRYING
Never allow passengers to travel in the loadspace under any circumstances. All vehicle occupants should be seated correctly and should wear a seat belt at all times when the vehicle is in motion. Failure to do so can lead to serious injury or death in the event of an accident.
All items carried in the vehicle should be properly secured. If the vehicle is involved in an accident or subject to sudden braking or a change of direction, loose items can cause serious injury.
The ski hatch is located in the second-row seatback and can be used for transporting long objects. Depending on the specification of the vehicle, the ski hatch can be accessed in a number of ways:
- Manual operation
- Loadspace switch pack
- Rear armrest screen
To access the ski hatch, pull the strap (1) and simultaneously fold down the ski hatch panel (2) until it is flat.
Assistance may be required from another person to perform the procedure.
To access the ski hatch, press the button and simultaneously fold down the ski hatch panel until it is flat.
To access the ski hatch:
- Touch the settings icon¹ on the rear armrest screen. See REAR ARMREST SCREEN – HOME SCREEN.
- Touch the QUICK soft key.
- Touch the ski hatch icon² and simultaneously fold down the ski hatch panel until it is flat.
Settings icon.¹
Ski hatch icon.²
LOADSPACE COVER
Never place objects on top of the loadspace cover. During an accident or sudden maneuver, loose objects could cause serious injury or death.
The powered loadspace cover controls are located on the right hand side of the loadspace trim.
- Press briefly to retract the loadspace cover to its folded position.
- Press briefly to deploy the loadspace cover to its extended position.
- Auto mode. The light indicates the status of the loadspace cover system. Press to switch between different modes:
White: Auto mode ON.
Orange: Auto mode is OFF.
Flashing: Fault.
With auto mode on, the loadspace cover moves to its retracted position when the tailgate opens. When the tailgate is closed, the loadspace cover move to its extended position. With auto mode off, the loadspace cover remains in its current position. See OPENING AND CLOSING THE POWERED TAILGATE.
Ensure the front locator pegs are fully engaged in the forward position when fitting the roller blind cover. Failure to engage the locator pegs may result in an unsecured loadspace cover and/or unwanted noise.
The powered loadspace cover will stop if it detects an obstruction. If the loadspace cover does not re-initialize after the obstruction is removed, press and hold the AUTO (3) button for 6 seconds. If the loadspace cover does not re-initialize and there is no obstruction, seek assistance from a retailer or authorized repairer.
Do not store the manual loadspace cover loose in the vehicle. During an accident or sudden maneuver, loose objects can cause serious injury or death.
The manual loadspace cover fits into slots located on the sides of the loadspace. To fold the loadspace cover:
- Push firmly down and forward. Then, push upward on the underside of the loadspace cover handle.
- Fold the loadspace cover forward.
To remove the loadspace cover:
- Pull the whole assembly rearward.
- Disconnect the locating pins. Remove the loadspace cover and store safely.
Replacement parts for the loadspace cover, including locator sleeves and shuttle nozzles, are available through retailers/authorized repairers.
To access the loadspace from inside the vehicle: Push firmly down on the furthest edge of the cover while pulling it toward the rear seats. The cover folds, allowing access to the loadspace area.
Ensure the front locator pegs are fully engaged in the forward position when fitting the roller blind cover. Failure to engage the locator pegs may result in an unsecured loadspace cover and/or unwanted noise.
Spare parts for the roller blind cover, such as the nozzle shown above, are available via retailers/authorized repairers.
7-seat models are available with a roller blind cover as illustrated. Pull the handle (1) to extend the roller blind cover rearwards. Engage the pegs in the loadspace side trim (2) and (3) to retain the extended cover. Release the pegs by pulling rearwards and upwards. The cover retracts back into the casing.
Ensure the front locator pegs are fully engaged in the forward position when fitting the roller blind cover. Failure to engage the locator pegs may result in an unsecured loadspace cover and/or unwanted noise.
LOADSPACE PARTITION
Make sure the soft cargo barrier and all fasteners are safely and correctly fitted. The straps should be tight and straight. During an accident or sudden maneuver, loose objects can cause serious injury or death.
There is a cargo barrier net bracket on each side of the roof.
Before fitting the cargo barrier net, check the orientation of the net. The logo on the cargo barrier net must be visible when standing at the rear of the vehicle and looking into the loadspace.
To fit the cargo barrier net:
- Engage the end pieces into the recessed areas molded into the sides of the roof.
- Lace the straps through the lashing eye loops.
Removal of the partition net is the reverse of the fitment procedure.
LUGGAGE ANCHOR POINTS
All items carried in the loadspace area should be properly secured. If the vehicle is involved in an accident or subject to sudden braking or a change of direction, loose items can cause serious injury.
A range of approved luggage retention accessories is available from a retailer/authorized repairer.
- Bag hooks: The bag hooks should only be used for lightweight items.
- If adjustable anchor points are fitted, first turn the locking mechanism counter-clockwise to unlock. Press the mechanism and slide the anchor point to the required position in the luggage rail. Release the mechanism to latch into position. Move the anchor point slightly until a click is heard. The anchor point is now secured. Turn the mechanism clockwise to lock.
- To assist in safely securing large items of luggage, four anchor points are located in the loadspace floor.
LUGGAGE DIVIDER
The backrest is for static vehicle use only. Failure to use the backrest as described may result in injury.
The versatile loadspace floor system provides various means of retaining luggage. Use the pull loops to move the floor panels up or down as required.
Use the pull loop (1) to raise the versatile loadspace floor lid to access the storage compartment. The versatile loadspace floor lid (2) locks into position. To release, press the catches located on the sides of the versatile loadspace floor lid (3).
Use the middle pull loop (1) to deploy the partition (2). The partition locks into position (3) as shown. To fold, release the locating pegs (3) and fold down.
Move the sliders left and right to expose different lengths of elastic for retaining different-sized cargo.
If the pull loop becomes trapped, an emergency release is located as shown. Push the tab (2) to release the versatile loadspace floor panel (1).
When using the lower tailgate as a seat, the versatile loadspace floor can be positioned to provide a backrest. See below.
To access the premium cushions:
- Pull the storage area tab upwards.
- Lift the storage area lid to reveal the cushions.
- Remove the cushions.
To fit the cushions:
- Pull the backrest tab upwards.
- Move the backrest towards the rear of the car until it latches into position.
- Fit the upper cushions on the top of the backrest.
- Fit the lower cushions as shown.
Removal and stowage of the cushions is the reverse of the above procedures.
INTELLIGENT CARGO MODE
Make sure that you have read and fully understood the relevant warnings before using any of the features in this section. See REAR SEAT SAFETY.
Make sure that seat belts are correctly routed and not trapped when raising the rear seats. An incorrectly routed seat belt may not properly restrain an occupant during a collision or sudden stop.
Before folding the seats, make sure that all objects have been removed from the second and third row seats, and from the footwells. Failure to do so could potentially result in damage to the item or seat.
7 seat version controls shown.
Intelligent cargo mode allows the 2nd and 3rd row seats to be folded from the loadspace compartment:
- Push the switches second from bottom to fold the second row seats. Pull the switches second from bottom to raise the second row seats.
- Push the bottom switches to fold the third row seats. Pull the bottom switches to raise the third row seats.
Use the indicated control to fold the ski hatch electrically. See LOAD CARRYING.
The electrically operated ski hatch is only available on 5-seat models. 7 seat models use a manual ski hatch.
Use the switch marked 4 next to the seat graphic to fold 2nd and 3rd-row seats simultaneously. See FOLDING AND RAISING THE REAR SEATS FROM THE LOADSPACE.
The fold-all feature is only available on 7-seat models.
Recent Posts
VW Jetta Engine Fuse Box Diagram
Access the comprehensive 2010-2018 VW Jetta Passenger Fuse Box Diagram to troubleshoot electrical issues effectively.…
VW Jetta Passenger Fuse Box Diagram
Explore the comprehensive VW Jetta Passenger Fuse Box Diagram to troubleshoot electrical issues effectively. Understand…
2023 Ford F-150 Lightning Fuse Box Diagram
Under Hood Fuse Box Location Remove the front luggage compartment cover. Under Hood Fuse Box…
2022 Kawasaki NINJA H2 SX SE Brake Lever Adjuster Owner’s Manual
2022 Kawasaki NINJA H2 SX SE Brake Lever Adjuster Owner's Manual NOTICE Only adjust the front…
2023 Land Rover Range Rover Evoque Exiting The Vehicle Owners Manual
2023 Land Rover Range Rover Evoque Exiting The Vehicle SINGLE LOCKING WARNING Before exiting the…
2023 Land Rover Range Rover Evoque Front Seats Owners Manual
2023 Land Rover Range Rover Evoque Front Seats FRONT SEAT SAFETY Make sure to read…
