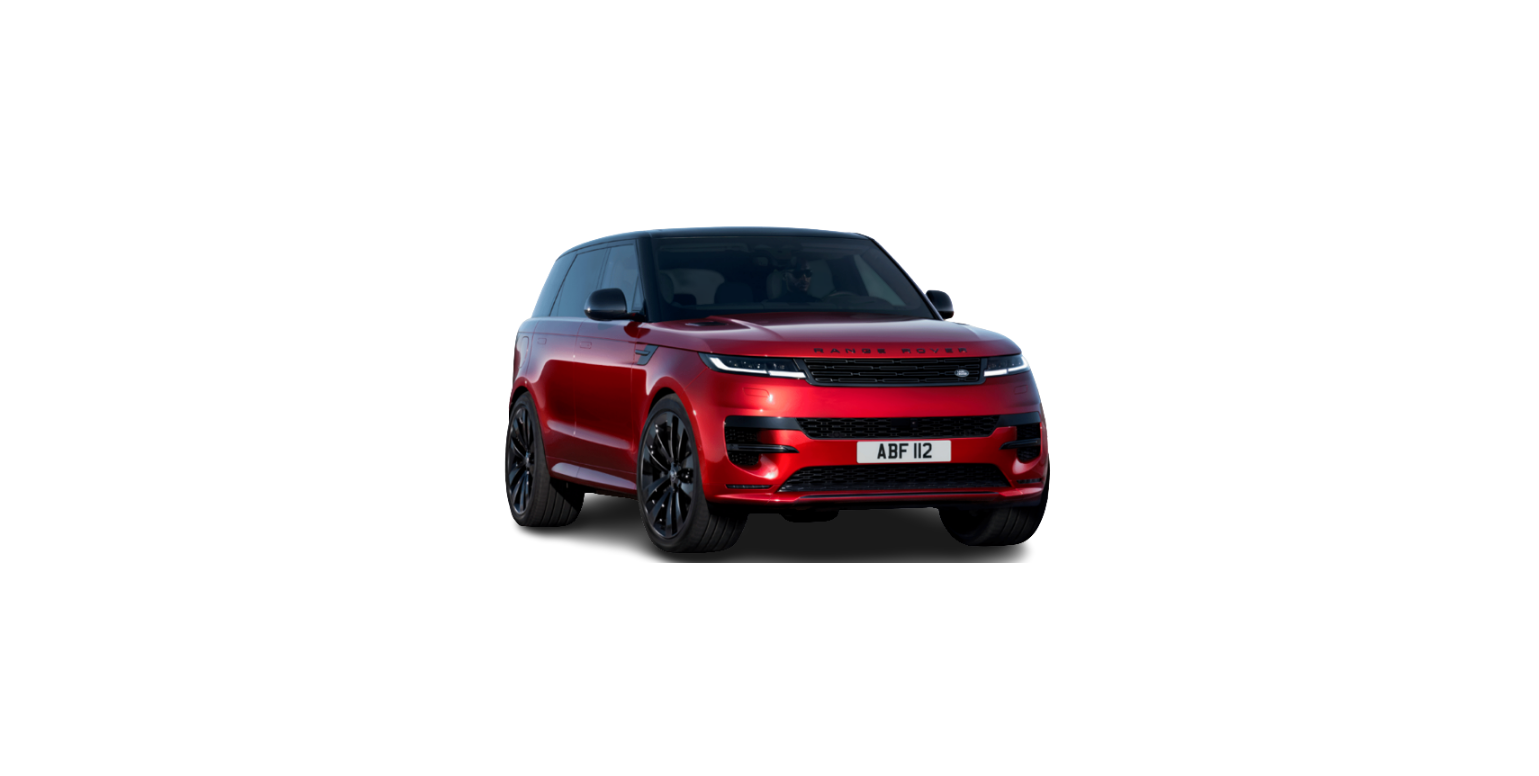
2023 Land Rover New Range Rover Sport Cameras Owner Manual


2023 Land Rover New Range Rover Sports Cameras


CAMERA FEATURES SAFETY
Make sure the following warnings and cautions have been read and fully understood before driving the vehicle.
Failure to use the camera systems safely could result in damage to the vehicle, or an accident, leading to serious injury or death.
- The camera feature is a driving aid only. The driver is responsible for driving with due care and attention.
- The driver is responsible for detecting obstacles and estimating the vehicle’s distance from them when maneuvering the vehicle.
- The cameras must be kept clean and free from debris or obstructions, e.g., ice, frost, snow, leaves, mud, or insects. Failure to keep the camera clean may result in miscalculations or false indications, which can lead to accidents, potentially causing serious injury or death.
- Do not attach stickers or objects to the cameras. Failure to keep the cameras clear from obstructions may result in miscalculations or false indications, which can lead to accidents, potentially causing serious injury or death.
- The clear sight camera display is not a live image. The driver is responsible for driving with due care and attention.
Some overhanging objects or barriers, which could cause damage to the vehicle, may not be detected by the cameras.
CAMERA SYSTEM OVERVIEW
Make sure the relevant safety warnings and cautions have been read and understood before operating the camera features. See CAMERA FEATURES SAFETY.
The camera system is available in three modes:
- On-road.
- Off-road.
- Towing.
The camera system consists of four cameras, located as follows:
- One is located in the center of the front lower grille.
- One is located underneath each of the door mirrors.
- One is located below the rear number plate.
The on-road camera mode allows the user to select the following camera views:
- Front view.
- Front junction view.
- Rear view.
- Rear junction view.
- 3D surround views.
- Plan view.
Camera views are displayed on the touchscreen. See ON-ROAD CAMERA VIEWS.
Depending on the vehicle’s specification, not all camera views are available as described above.
The off-road camera mode uses the 3D surround cameras to display off-road camera views, to assist the driver during off-road driving.
Camera views are displayed on the touchscreen. See OFF-ROAD CAMERA VIEWS.
The towing mode consists of the following camera views:
- Hitch assist. See HITCH ASSIST
- Tow assist. See TOW ASSIST
ON-ROAD CAMERA VIEWS
Make sure the relevant safety warnings and cautions have been read and understood before operating the camera features. See CAMERA FEATURES SAFETY.
- Camera view icon: Touch to select an alternative camera view.
- Volume icon: Touch to mute warning tones for the current parking aid maneuver. See PARKING AID VOLUME.
- Vehicle steering trajectory lines: Displays the projected path, based on the current steering wheel position. NOTES
The trajectories representation varies between images. For vehicles in a multi-camera display, e.g., 3D surround view, the image represents the trajectory of the vehicle body. For vehicles with a single camera image e.g., front or rear camera view, the image represents the steering wheel trajectory. - Main camera display.
- Camera icon: If parking features are also active, a P symbol displays alongside the camera icon. See SELECTING PARKING AID.
- Settings icon: Touch to select the settings menu. See SYSTEM SETTINGS.
- TOWING: Touch to display the towing camera views. See HITCH ASSIST and TOW ASSIST .
- OFF ROAD: Touch to display off-road camera views. See OFF-ROAD CAMERA VIEWS.
- ON ROAD: Touch to display on-road camera views. See ON-ROAD CAMERA VIEWS.
If an object is detected in close proximity to the vehicle, visual warnings appear on the plan view screen in the form of lines. The lines change color as the risk of a collision increases, as follows:
- Blue lines indicate that an object has been detected outside of the vehicle’s trajectory.
- Green lines indicate that an object has been detected within the vehicle’s trajectory but there is not an imminent risk of collision.
- Amber lines indicate that an object has been detected within the vehicle’s trajectory and there is a medium risk of collision.
- Red lines indicate that an object has been detected within the vehicle’s trajectory and there is a high risk of collision.
The on-road camera system activates automatically when:
- Reverse (R) is selected.
- The vehicle starts to roll backwards.
- An automatic collision threat is detected by the parking aid system.
The default setting for automatic collision alerts is on when the vehicle is maneuvering.
If automatic collision alerts are disabled via the settings menu, the automatic camera views are not displayed if a collision risk is detected.
When the camera system is active, the camera views automatically switch, under the following circumstances:
- A rear view displays when Reverse (R) is selected.
- A rear view displays if the vehicle rolls backwards.
- A front view displays when Drive (D) is selected.
To activate the on-road camera system manually:
- From the home menu screen, touch the camera icon¹,². See TOUCHSCREEN HOME MENU.
- Select ON ROAD.
When manually activating the camera system, the default camera view displayed is dependent on the selected gear.
The previously selected camera view is displayed, if the camera system has been re-enabled.
Depending on the user’s requirement, alternative camera views can be manually selected. To select an alternative camera view, touch the camera view icons on the plan view area of the touchscreen.
- Front left camera view icon: Touch to display a front left 3D surround view.
- Front toggle camera view icon: Touch to display a front view. Touch again to display a front junction view.
- Front right camera view icon: Touch to display a front right 3D surround view.
- Right camera view icon: Touch to display a right curb 3D surround view.
- Rear right camera view icon: Touch to display a rear right 3D surround view.
- Rear toggle camera view icon: Touch to display a rear view. Touch again to display a rear junction view.
- Rear left camera view icon: Touch to display a rear left 3D surround view.
- Left camera view icon: Touch to display a left curb 3D surround view.
The selected camera view icon illuminates on the plan view area and an image displays on the main display. Alternatively, swipe the main camera screen left or right to move to the next 3D surround view, or touch the left and right arrows displayed.
Camera icon with automatic collision alerts.¹
Camera icon without automatic collision alerts.²
OFF-ROAD CAMERA VIEWS
Make sure the relevant safety warnings and cautions have been read and understood before operating the camera system. See CAMERA FEATURES SAFETY.
Touch the camera icon on the touchscreen in order to select the off-road camera mode. See TOUCHSCREEN HOME MENU.
Select OFF ROAD to activate the off-road camera mode.
Alternatively, the 4X4i screen can be used to select and activate the off-road camera mode. See 4X4i OVERVIEW.
The off-road camera mode comprises the following views:
- The drive assist view uses the surround camera system to display forward vehicle images, to assist the driver during off-road driving. NOTES
The touchscreen displays a message to confirm the images displayed are not live.
Drive assist icon: Touch to display the drive assist view.
CAMERA SYSTEM LIMITATIONS
Make sure the relevant safety warnings and cautions have been read and understood before operating the camera features. See CAMERA FEATURES SAFETY.
The camera system is not active when a fault occurs in the camera system.
The camera system does not perform to the best of its ability if:
- Any of the cameras become blocked by stickers, mud, snow, debris, etc.
- In adverse weather conditions. For example, heavy fog, rain, or snow.
- The system is operating in low ambient light levels. For example, from dark to bright ambient light conditions.
The following may be a reason why the camera system views are no longer displayed on the touchscreen:
- All automatic camera views deactivate when the vehicle speed stays above 18 km/h (12 mph) for 5 seconds.
- Manually activated camera views stay activated until the user exits the camera view, a warning message will be displayed to the user when the camera view is displayed above 40 km/h (24mph).
- A door is open.
The touchscreen displays warning messages to inform the driver of any performance or system issues.
When there is a camera failure e.g., rear camera, the camera not available icon¹ appears on the touchscreen.
If all of the cameras are clean and the fault is not rectified after an ignition cycle, contact a retailer/authorized repairer.
Camera not available icon.¹
CLEAN CAMERA
The clean camera feature uses the vehicle’s washer system to remove dirt and dust from the rear camera. To activate the feature, select the icon on the touchscreen. The clean camera feature is only available in conjunction with rear camera and rear junction camera views.
The clean camera feature can also be activated when the rear windshield wash is triggered.
Recent Posts
VW Jetta Engine Fuse Box Diagram
Access the comprehensive 2010-2018 VW Jetta Passenger Fuse Box Diagram to troubleshoot electrical issues effectively.…
VW Jetta Passenger Fuse Box Diagram
Explore the comprehensive VW Jetta Passenger Fuse Box Diagram to troubleshoot electrical issues effectively. Understand…
2023 Ford F-150 Lightning Fuse Box Diagram
Under Hood Fuse Box Location Remove the front luggage compartment cover. Under Hood Fuse Box…
2022 Kawasaki NINJA H2 SX SE Brake Lever Adjuster Owner’s Manual
2022 Kawasaki NINJA H2 SX SE Brake Lever Adjuster Owner's Manual NOTICE Only adjust the front…
2023 Land Rover Range Rover Evoque Exiting The Vehicle Owners Manual
2023 Land Rover Range Rover Evoque Exiting The Vehicle SINGLE LOCKING WARNING Before exiting the…
2023 Land Rover Range Rover Evoque Front Seats Owners Manual
2023 Land Rover Range Rover Evoque Front Seats FRONT SEAT SAFETY Make sure to read…
