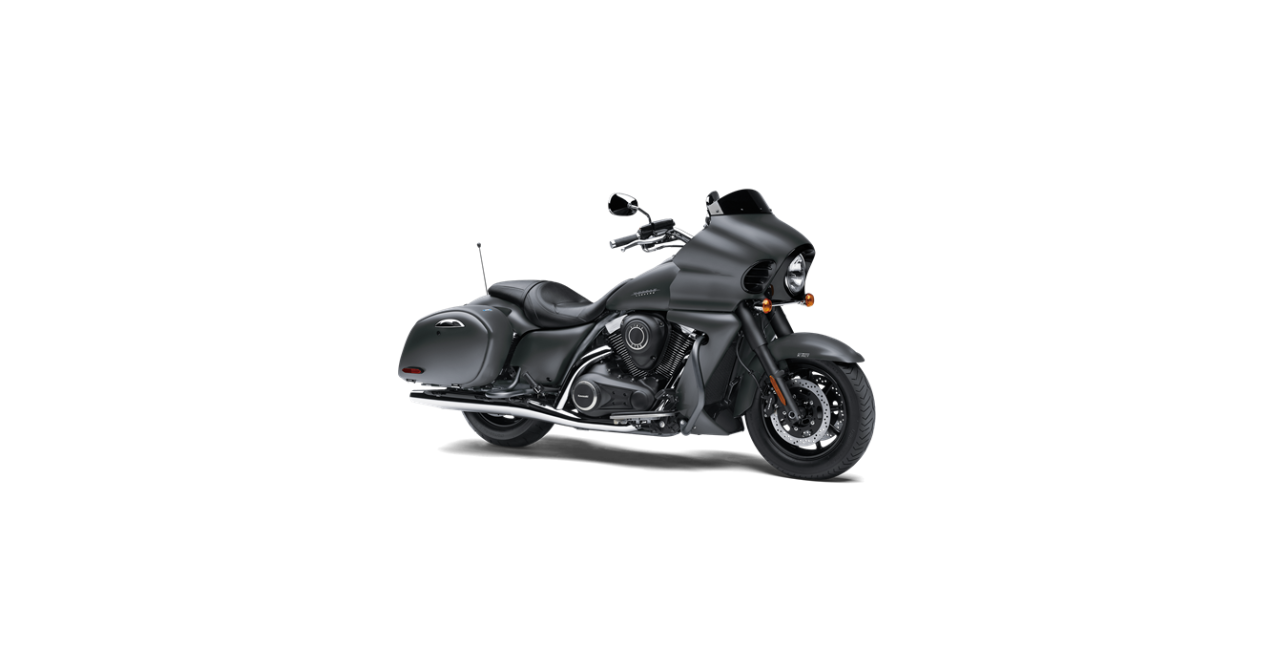
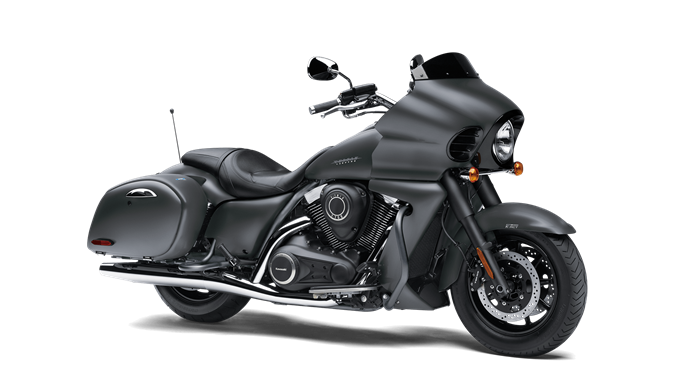
2022 Kawasaki Vulcan 1700 Vaquero ABS Rear Shock Absorbers Owners Manual


2022 Kawasaki Vulcan 1700 Vaquero ABS Rear Shock Absorbers


Rear Shock Absorbers
The rear shock absorber should be checked for operation and oil leakage in accordance with the Periodic Maintenance Chart. For various riding or load conditions the rear shock absorber can be ad- justed for:
- Air pressure
- Rebound damping force
WARNING
Improper shock absorber adjustment can cause poor handling and loss of stability, which could lead to an accident. Always ad- just the shock absorbers on the left and right side to the same setting.
Rear Shock Absorber Inspection Remove the saddlebag (see the Sad- airbags section).
- Press down on the seat several times to inspect the stroke.
- Visually inspect the rear shock absorber for oil leakage.
- If there is any doubt about the rear shock absorber, it should be checked by an authorized Kawasaki dealer.
Air Pressure
The air pressure in the rear shock absorber can be adjusted for different roads and loading conditions. The following table shows an ex-ample of air pressure adjustment. To obtain stable handling and a suitable ride, adjust the air pressure as indicated. The standard air pressure is atmospheric pressure. Ordinarily, the heavier the total load becomes, the higher the air pressure should be set.
Air Pressure Adjustment
To adjust the air pressure
NOTE
- Check and adjust the air pressure when the rear shock absorbers are cold (room temperature).
- Remove the seat (see Seat section in the GENERAL INFORMATION chapter).
- Raise the rear wheel off the ground by using a suitable jack.
- Take off the air valve caps of the left and right shock absorbers.
Check the air pressure with the air pressure gauge.
NOTE
- Do not use tire gauges for checking air pressure. They may not indicate the correct air pressure because of air leaks that occur when the gauge is applied to the valve.
- To lower the air pressure, push the valve core slightly. To raise the pressure, inject air through the valve with a tire pump. Change the air pressure within the range specified in the preceding table to suit various riding conditions.
NOTICE
Inject air little by little so that air pressure does not rise rapidly. Air pressure exceeding 290 kPa (3.0 kg/cm2, 43 psi) may damage the oil seal. Try to set the air pressure of the left and right shock absorbers as equally as possible.
WARNING
Excessively high or low air pressure can adversely affect handling, creating the potential for a crash resulting in serious in- jury or death. Be sure to adjust the air pressure within the specified range. Only use compressed air or nitrogen gas for filling the shocks. Under normal use heat is generated within the shock, so never use oxygen or any other kind of explosive gas to prevent the possibility of explosion. Do not incinerate the rear shock absorber since it may explode.
Rebound Damping Force
The rebound damping force adjuster is located at the upper end of the rear shock absorber.
B. TO increase damping force
C. To decrease damping force
The rebound damping force adjuster on each rear shock absorber has 4 positions so that the rebound damping force can be adjusted for different roads and loading conditions. The numbers on the adjuster show the setting position. The following table shows an example of damping force adjustment. To obtain stable handling and a suitable ride, adjust the damping force as indicated. The damping force can be left soft for average riding. But it should be adjusted harder for high-speed riding or riding with a passenger. If the damping feels too soft or too stiff, adjust it in accordance with the following table. The standard setting position under the same conditions as in air pressure adjustment is No. II.
To adjust the damping force
- Turn the adjusters to the desired position until you feel a click.
- Check to see that both adjusters are turned to the same relative position.
Rebound Damping Force Adjustment
If both damping force adjusters are not adjusted equally, handling may be impaired and a hazardous condition may result. Set all suspension adjusters equally to the recommended settings.
Recent Posts
VW Jetta Engine Fuse Box Diagram
Access the comprehensive 2010-2018 VW Jetta Passenger Fuse Box Diagram to troubleshoot electrical issues effectively.…
VW Jetta Passenger Fuse Box Diagram
Explore the comprehensive VW Jetta Passenger Fuse Box Diagram to troubleshoot electrical issues effectively. Understand…
2023 Ford F-150 Lightning Fuse Box Diagram
Under Hood Fuse Box Location Remove the front luggage compartment cover. Under Hood Fuse Box…
2022 Kawasaki NINJA H2 SX SE Brake Lever Adjuster Owner’s Manual
2022 Kawasaki NINJA H2 SX SE Brake Lever Adjuster Owner's Manual NOTICE Only adjust the front…
2023 Land Rover Range Rover Evoque Exiting The Vehicle Owners Manual
2023 Land Rover Range Rover Evoque Exiting The Vehicle SINGLE LOCKING WARNING Before exiting the…
2023 Land Rover Range Rover Evoque Front Seats Owners Manual
2023 Land Rover Range Rover Evoque Front Seats FRONT SEAT SAFETY Make sure to read…
