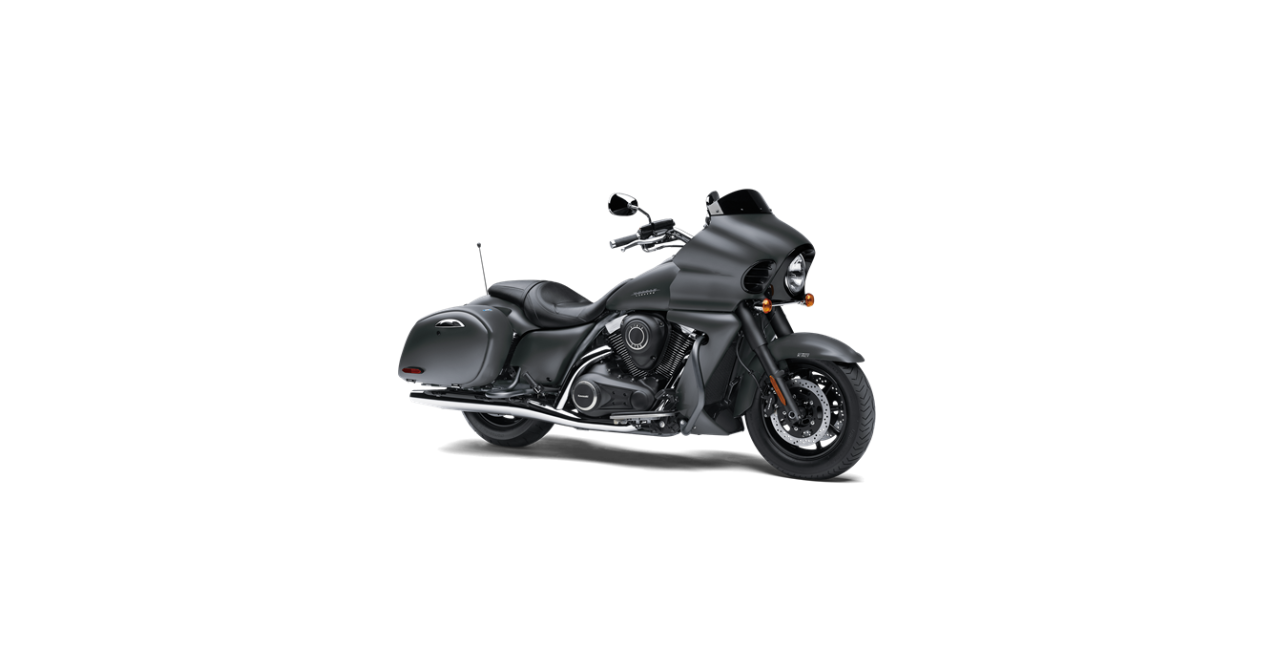
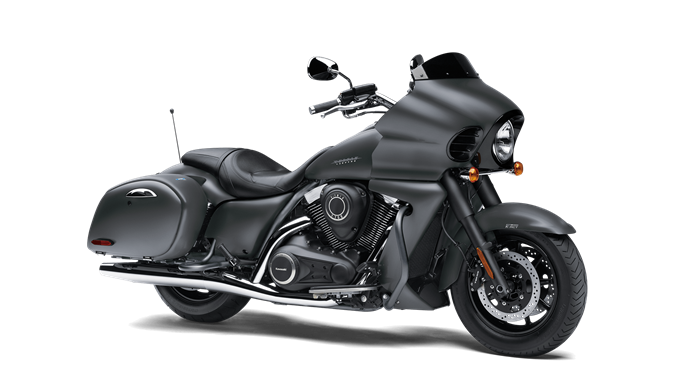
2022 Kawasaki Vulcan 1700 Vaquero ABS Meter Instruments Owners Manual


2022 Kawasaki Vulcan 1700 Vaquero ABS Meter Instruments


Meter Instruments
- Speedometer
- Fuel Level Warning Indicator Light
- Left Turn Signal Indicator Light
- Neutral Indicator Light
- Right Turn Signal Indicator Light
- High Beam Indicator Light
- Tachometer
- Fuel Level Gauge
- K-ACT ABS Indicator Light
- Electronic Cruise Control Indicator Light
- Electronic Cruise Control Set Indicator Light
- Warning Indicator Light
- Multifunction Meter
- Coolant Temperature Gauge
WARNING
For Safety, do not operate the meter buttons while riding the motorcycle.
Speedometer and Tachometer
The needle of the speedometer and tachometer momentarily sweeps from the minimum to maximum and back to a minimum when the ignition key is turned to “ON”. This checks the operation of the meter needles. So if they do not operate correctly, have the function checked by an authorized Kawasaki dealer. The speedometer shows the speed of the vehicle. The tachometer shows the engine speed in revolutions per minute (r/min, rpm). On the right side of the tachometer face is a portion called the “red Engine r/min (rpm) in the zone. red zone is above the maximum recommended engine speed and is also above the range for good performance.
NOTICE
Engine r/min (rpm) should not be allowed to enter the red zone; operation in the red zone will overstress the engine and may cause serious engine damage.
Fuel Level Gauge
The fuel level gauge shows the amount of fuel in the fuel tank. When the needle comes near the E (empty) position, refuel at the earliest opportunity. When a vehicle stands with Side Stand, Fuel Level Indicator Light/Fuel Level Gauge cannot show the amount of fuel in the fuel tank exactly. Stand upright in the vehicle to check the fuel
NOTE
If the motorcycle is held horizontally while refueling, the fuel level gauge may not show the rightmost needle on the gauge.
Coolant Temperature Gauge
This gauge shows the temperature of the coolant. Ordinarily, the needle should stay within the white zone. If the needle reaches the red zone, stop the engine and check the coolant level in the reserve tank after the engine cools down.
NOTICE
Do not let the engine continue running when the coolant temperature gauge shows “H”. Pro- longed engine operation will result in severe engine damage from overheating.
Meter Unit Switch
The Meter unit switch is located on the right handlebar switches. Select the meter unit switch function by pushing the knob of the meter unit switch. “Push the S button” means to push the knob. ‘Push the MODE-A switch” means to push the knob to the left. “Push the MODE-B switch” means to push the knob to the right.
B. “S” Button
C. “MODE-A” Switch
D. “MODE-B” Switch
E. Knob
Multifunction Meter
The multifunction meter displays the following functions: oil pressure warning symbol, battery warning symbol, fuel injection warning symbol, odometer, trip meters (TRIP A, TRIP B), clock, average mileage, cruising range, idle speed and gear positions. When the ignition key is turned to “ON”, all the LCD segments are displayed for three seconds, then, depending on the mode selected, the clock or meters operate normally.
WARNING
For Safety, do not operate the meter buttons while riding the motorcycle.
B. Odometer, Trip Meters (TRIP A, TRIP B)
C. Cruising Range/Average Mileage/idle Speed
D. Clock
E. Warning Indicator
Pushing the “MODE-A” switch shifts the display in the multifunction meter through the following two modes: cruising range and average mileage.
Odometer (ODO)
- Push the “MODE-B” switch to display the ODO.
- The ODO shows the total distance in kilometers (km) or miles (mile) that the motorcycle has run. This meter cannot be reset.
NOTE
- The data are maintained even if the battery is disconnected.
- When the figures come to 999999, the display is locked.
- The measurement unit of the odometer can be changed by referring to the “Setting Menu” in this section.
Trip Meters (TRIP A, TRIP B)
- The trip meters show the distance in kilometers (km) or miles (mile) traveled since they were last reset to zero.
- TRIP A: 0.0 9999.9
- TRIP B: 0.0 999.9
- Push the “MODE-B” switch to display TRIP A or TRIP B.
B. Trip B
- Push the “MODE-B” switch to display TRIP A or TRIP B.
- Push the “MODE-B” switch and hold it there.
- After two seconds, the display turns to 0.0 and then starts counting when the motorcycle is operated. The meter counts until it is reset.
NOTE
- The data are maintained by the backup power even if the ignition key is turned to “OFF”.
- When the trip meter display reaches 9999.9 (TRIP A) or 999.9 (TRIP B) while running, the meter is reset to 0.0 and continues counting.
- When the battery is disconnected, the meter display is reset to 0.0.
- The measurement unit of the trip meters can be changed by referring to the “Setting Menu” in this section
Gear Position Indicator
The gear position indicator shows the corresponding gear position where the transmission is shifted.
- When the transmission is in 1st gear, “I” is displayed.
- When the transmission is in 2nd gear, “2” is displayed.
- When the transmission is in 3rd gear, “3” is displayed.
- When the transmission is in 4th gear, “4” is displayed.
- When the transmission is in 5th gear, “5” is displayed.
When the transmission is in OverDrive gear, “OD” is displayed.
Clock
The hour adjusting mode and minute adjusting mode can be shifted by referring to the “Setting Menu” in this section.
Average Mileage (AVERAGE)-
This display shows the average mileage by numerical value and indicates the average fuel consumption counted from the start of measuring to the present time.
Push the “MODE-A” switch to display the average mileage.
NOTE
- The data are maintained by backup power even if the ignition key is turned off.
- The measurement unit of mileage can be changed by referring to the “Setting Menu” item in this section.
- Push the “MODE-A” switch for more than two seconds while the average mileage is displayed, and the average mileage is reset to “— —. —”.
Cruising Range (RANGE)-
This display shows the cruising range by numerical value and indicates the cruising range from the remaining fuel in the fuel tank. This cruising range display is renewed every 10 seconds.
- Push the “MODE-A” switch to display the cruising range.
- When the fuel warning message “FUEL” blinks in the digital meter, the cruising range value also blinks “
B. “FUEL” Blinks
NOTE
- The measurement unit of the cruising range can be changed by referring to the “Setting Menu” in this section.
- The display range for cruising range is O – 999.
Setting Menu
- Push the “S” button for more than two seconds.
- The clock adjusting mode, distance unit setting mode and idle adjusting mode can be shifted to, by pushing the “S” button.
NOTE
Push the “S” button for more than two seconds to return to the standard display.
Clock Adjust
- Push the “S” button to display the clock adjusting mode.
- The hour-adjusting mode and minute-adjusting mode can be shifted by pushing the “MODE-A” switch.
- Pushing the “MODE-A” switch to display the hour-adjusting mode. When only the hour display blinks, pushing the “MODE-B” switch to advance the hours.
- Pushing the “MODE-A” switch to display the minute adjusting mode. When only the minute display blinks, pushing the “MODE-B” switch to advance the minutes.
NOTE
- Pushing the “MODE-B” switch momentarily advances the hour or minute in steps. Keep pushing the switch to advance the hour or minute continuously.
- Pushing the “MODE-A” switch to display no select mode. Push the “S” button for more than two seconds for return to the standard display.
Distance Unit Set
- Push the “S” button to display the distance unit setting mode.
- Change the distance unit of “AVERAGE” by pushing the “MODE-B” switch.
- The distance unit shifts in the following order.
NOTE
- Do not operate the motorcycle with the multifunction meter displaying in the wrong unit
- AS in the list below, “ODO”, “TRIP A”, “TRIP B” and “RANGE” are changed together after changing the distance unit in “AVERAGE!
Idle Speed Adjust
Refer to the Idle Speed for detailed information.
Warning/indicator Lights
HJ: The fuel level warning indicator light goes on when approximately 4.0
L (1.1 US gal) of usable fuel remains. Refer to the Fuel Level Gauge in this chapter for more information. N : When the transmission is in neutral, the neutral indicator light goes on. : When the turn signal switch is pushed to the left or right, the turn signal indicator light blinks. so : When the headlight is on high beam, the high beam indicator light goes on. The K-ACT ABS indicator light in the meter goes on when the ignition switch is turned on and goes off shortly after the motorcycle starts moving. If the K-ACT ABS is normal, it stays off. If something is at fault with the K-ACT ABS, the indicator goes on and remains lit. You should have the K-ACT ABS checked by an authorized Kawasaki dealer. When the K-ACT ABS indicator light is on, the K-ACT ABS does not function but if the K-ACT ABS fails, the conventional brake system will still work normally. For more detailed information about K-ACT ABS, see the Kawasaki Advanced Coactive-braking Technology (K-ACT) Anti-lock Brake System (ABS) section in the HOW TO RIDE THE MOTORCYCLE chapter
NOTE
When the K-ACT ABS indicator light is blinking, the K-ACT ABS has been in the low voltage mode (the battery voltage decreases). When it is in the low voltage mode, the K-ACT system does not function, but the ABS functions. The ignition switch is turned off to recover the K-ACT system. At this time, the battery must be in normal condition. If the low voltage mode continues, you should have the K-ACT ABS checked by an authorized Kawasaki dealer.
Warning Indicator Light
The warn- ing indicator light goes on and blinks when a problem occurs in the digital fuel injection/electronic throttle valve system, oil pressure, or charging system. If the warning indicator light blinks and the warning symbol is displayed, have the digital fuel injection/electronic throttle valve system checked by an authorized Kawasaki dealer.
Warning Symbol
The warning indicator light under the warning symbols indicator and the oil pressure warning symbol (•:n) in the LCD digital meter both go on whenever the oil pressure is dangerously low or the ignition switch is in the ON position with the engine not running, and they go off when the engine oil pressure is high enough. Refer to the MAINTENANCE AND ADJUSTMENT chapter for more detailed engine oil information.
FI : The warning indicator light under the warning symbols indicator and the fuel injection warning symbol (Fl) in the LCD digital meter go on whenever the ignition key is turned to “ON” or trouble occurs in the fuel injection (FI) system. After turning the ignition key to “ON”, the fuel injection warning symbol (Fl) goes off soon after it has been mode sure that its circuit is functioning properly. If the warning indicator light and fuel injection warning symbol (Fl) stay on, have the Fl system checked by an authorized Kawasaki dealer.
The warning indicator light under the warning symbols indicator and the battery warning symbol ( – ) in the LCD digital meter go on whenever the battery voltage is less than 10 V. The battery should be charged by using an appropriate charger when the warning indicator light and the battery warning symbol ( I) go on. The warning indicator light and the battery warning symbol ( ) still go on even after the battery is charged, ask an authorized Kawasaki dealer for an inspection.
Service Code
When a failure occurs in the digital fuel injection and electronic throttle valve system, the service code is shown on the meter, and the fuel injection warning symbol (FI) and warn- ing indicator light blink or light. If the service code and warning indicator light are shown on the meter, ask an authorized Kawasaki dealer for repair.
Recent Posts
VW Jetta Engine Fuse Box Diagram
Access the comprehensive 2010-2018 VW Jetta Passenger Fuse Box Diagram to troubleshoot electrical issues effectively.…
VW Jetta Passenger Fuse Box Diagram
Explore the comprehensive VW Jetta Passenger Fuse Box Diagram to troubleshoot electrical issues effectively. Understand…
2023 Ford F-150 Lightning Fuse Box Diagram
Under Hood Fuse Box Location Remove the front luggage compartment cover. Under Hood Fuse Box…
2022 Kawasaki NINJA H2 SX SE Brake Lever Adjuster Owner’s Manual
2022 Kawasaki NINJA H2 SX SE Brake Lever Adjuster Owner's Manual NOTICE Only adjust the front…
2023 Land Rover Range Rover Evoque Exiting The Vehicle Owners Manual
2023 Land Rover Range Rover Evoque Exiting The Vehicle SINGLE LOCKING WARNING Before exiting the…
2023 Land Rover Range Rover Evoque Front Seats Owners Manual
2023 Land Rover Range Rover Evoque Front Seats FRONT SEAT SAFETY Make sure to read…
