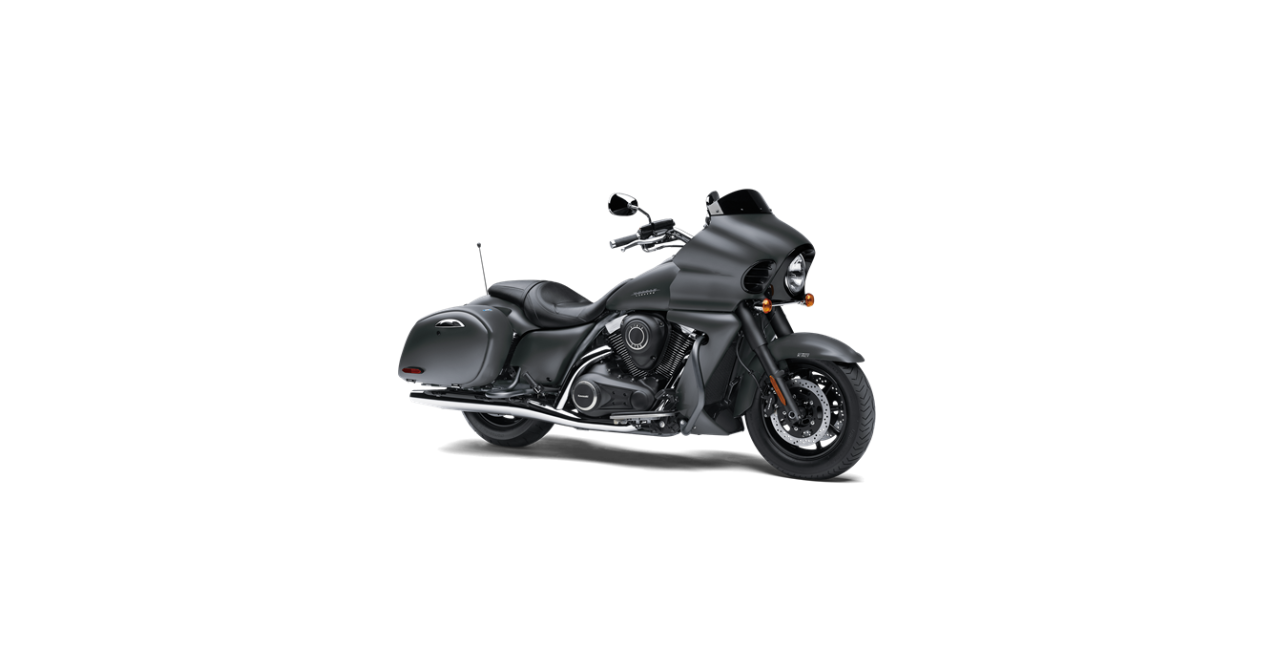
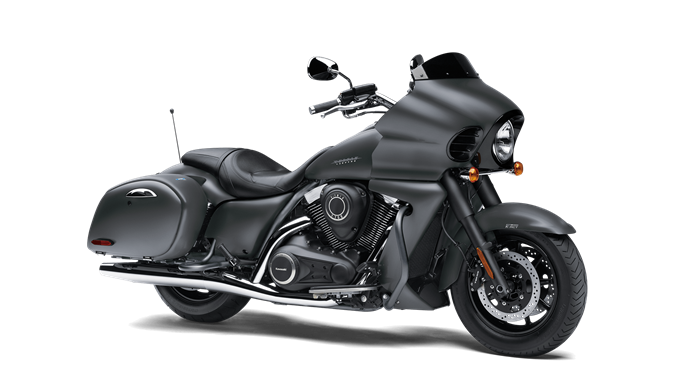
2022 Kawasaki Vulcan 1700 Vaquero ABS Audio System Owners Manual


2022 Kawasaki Vulcan 1700 Vaquero ABS Audio System


Audio System
Important Notice
Some states prohibit the wearing of “headphones “or “headsets” while operating a motor vehicle. While mounting audio speakers in motorcycle helmets does not convert them to “headphones” or “headsets”, some states may still prohibit the use of this helmet sound system under other statutes. Kawasaki advises you to determine the legality of this helmet sound system prior to using it in any state.
Operating Precautions
There are a number of important precautions that must be heeded when operating the audio system. Learn and observe all of the following rules.
WARNING
Removing your hand(s) from the handlebar while riding could result in an accident resulting in serious injury or death. Do not remove your hand(s) from the handlebar to adjust the audio system controls. Make any adjustments before riding or stop to make adjustments. Operating the audio system at loud volumes can interfere with your ability to hear sirens, horns, or other warning signals and lead to an accident resulting in serious injury or death. Do not operate the audio system at volumes so loud that they interfere with your ability to hear sirens, horns, or other warning signals. Do not operate the audio system at volumes so loud that it disturbs other people. Aftermarket accessories that are not Kawasaki Genuine Accessories may adversely affect handling or vehicle performance. Since Kawasaki Genuine Accessories have been specially designed for use on Kawasaki motorcycles and Kawasaki has no control over the design or application of other aftermarket accessories, it is strongly recommended that all parts and accessories you add to your motorcycle be Kawasaki Genuine Accessory components.
NOTICE
Do not use any substitute for the standard fuse. If a fuse is blown, inspect the electrical system to determine the cause and then replace it with a new one of the correct capacity. The audio system is designed for use with a 12 V DC negative ground system. Do not use the audio system with other voltages or a positive ground system. If you use the audio system for a long time with the engine stopped, the battery may become discharged. When you use the audio system with the engine stopped, decrease the volume as far as possible. Increasing the volume increases power consumption. When the ignition switch is turned OFF, the preset memory will continue to function with the backup power supply circuit from the battery. Avoid spraying water with great force near the audio components. To prevent surface damage, do not clean plastic parts with organic solutions such as gasoline, thinner or benzene. Use a soft cloth that has been soaked in a solution of neutral detergent to clean plastic parts, then dry them with a soft cloth.
The Kawasaki Audio System includes the following features:
- FM/AM/WX band radio
- Automatic volume control (AVC)
- Auxiliary input (AUX) for a portable audio device (optional)
- Rider/passenger intercom with voice activation (VOX) (optional)
- CB radio (optional)
- XM@ satellite radio (optional)
WARNING
Failure to read to the Operating Precautions before operating the audio system may lead to a system malfunction and/or damage to the unit. Carefully read the Operating Precautions section before operating the audio system. Learn and observe all rules.
Parts Name
B. POWER Button
C. MODE Button
D. <VOI-» Button
E. COMM Button
F. PRESET Button
G. Button
B. VOL +1— Switch and M Button
C. TUNE +1- Switch and P Button
D. SQ +1- Switch and T Button
“M” (Mode), “P” (Preset) and “T” (Talk) buttons carry out a function when pushed.
Getting Started
The motorcycle ignition switch must be in the ON or ACC position to use the audio system.
Radio Power On/Off
When the ignition switch is turned on to the ON or ACC position, the display will show the “Kawasaki” logo during initialization and then the current mode of the system.
- Push the “POWER” button to turn on the radio.
- Push the “POWER” button to turn off the radio. The backlight will remain illuminated and display the “Kawasaki” logo until the ignition is turned off.
NOTE
Turning off the ignition switch will automatically turn off the radio.
Radio (FM/AWWX BAND)
Volume Adjustment
- Push the button on the dashboard or the “VOL +1—” switch in the left handlebar switch to adjust volume from O to 30. You can push and hold the switch to quickly adjust system volume up or down.
- Push the button on the dashboard or the “VOL +1—” switch in the left handlebar switch for more than 1 second to increase or decrease volume level continuously.
Source Change
Push and release the “MODE” button on the dashboard or “M” button in the left handlebar switch to toggle between FM, AM, WX, AUX and XM (if equipped) sources.
AUX Operation Specification
The audio apparatus can be connected to listen to music. Push the “MODE” button on the dashboard or “M” button in the left handlebar switch to change to “AUX” mode.
NOTE
- The sound system will include AUX as an available entertainment source even if no device is present.
- The connection with audio apparatus is only audio signal.
Manual Tuning
Push and release the ” < TUNES button on the dashboard or the “TUNE +1—” switch in the left handlebar switch to manually change stations.
Seek Tuning
- Push and hold the ” < TUNES button on the dashboard or the “TUNE +/—” switch in the left handlebar switch until the audio stops. When you release the switch, the radio will seek the next strong station.
- Seeking is stopped when the “PRESET” button on the dashboard or “P” button in the left handlebar switch is pushed during seek tuning.
Preset Stations
12 AM and 12 FM stations can be preset in memory and channel I through 12 is displayed.
NOTE
Only positions that have stored pre-set stations are displayed — if there are only three preset stations stored, only three preset numbers will be displayed. No station is preset at initial power on.
Storing Presets
- Tune to the desired station.
- Push and hold the “PRESET” button on the dashboard or “P” button in the left-handlebar switch until “Preset Store” is displayed.
- Push the button on the dashboard or the “TUNE +/—” switch in the left-handlebar switch to select the preset number that you want to store.
B. Channel Number
Push the “PRESET” button on the dashboard or “P” button in the left handlebar switch for less than 0.5 second to store the frequency and the number is displayed beside band indicator.
NOTE
Storing a station in a preset will erase any previously stored information in that preset.
Recalling Presets
To recall the preset stations, push and release the “PRESET” button on the dashboard or “P” button in the left-handlebar switch. The radio will advance to the next stored station each time the “PRESET” button on the dashboard or “P” button in the left-handlebar switch is pushed.
NOTE
- The preset station recall can not be performed during seek tuning.
- To clear the preset, see Clear Presets (“Tuner Setup” Mode).
- When pushing the “MODE” button on the dashboard or “M” button in the left handlebar switch within 5 seconds, the display changes as follows.
- The display will return to normal after 5 seconds with no additional switch pushes or turns required.
Bass
Use the “MODE” button on the dashboard or “M” button in the left handlebar switch to find the “Bass” mode and push the button on the dashboard or the “VOL +/—” switch in the left handlebar switch to change the setting from —7 to +7.
Mid
Use the “MODE” button on the dashboard or “M” button in the left handle-bar switch to find the “Mid” mode and push the button on the dashboard or the “VOL +/—” switch in the left handlebar switch to change the setting from —7 to +7.
Treble
Use the “MODE” button on the dashboard or “M” button in the left handle-bar switch to find the “Treble” mode and push the button on the dashboard or the “VOL +/—” switch in the left handlebar switch to change the setting from —7 to +7.
Fade (Fader)
The “Fade” mode indicates the volume balance of the front and rear speakers. The rear speakers are optional parts.
- Use the “MODE” button on the dashboard or “M” button in the left handle-bar switch to find the “Fade” mode and push the “VOLE’ (up) button on the dashboard or the “VOL +” (up) switch in the left handlebar switch to shift the volume from the rear speaker to the front speaker.
- Push the “<VOL” (down) button on the dashboard or the “VOL —” (down) switch in the left handlebar switch to shift the volume from the front speaker to the rear speaker.
Spkrs (Speakers)
The “Spkrs” mode indicates the function of the speakers. Use the “MODE” button on the dashboard or “M” button in the left handlebar switch to find the “Spkrs” mode and push the button on the dashboard or the “VOL +1—” switch in the left handlebar switch to change the speakers ON or OFF.
AVC (Automatic Volume Control)
The AVC feature automatically adjusts the radio volume based on the speed of your motorcycle. The radio’s default setting has AVC activated. You can adjust the aggressiveness of the AVC or deactivate this feature completely. Use the “MODE” button on the dashboard or “M” button in the left handlebar switch to find the “AVC” mode and push the ‘ button on the dashboard or the ‘VOL +/—” switch in the left handlebar switch to change the setting from O (OFF) to 5.
NOTE
The AVC setting of I is the least aggressive and is also the radio default setting. We suggest riding with this setting first before making any adjustments. A rider with an open-face helmet may prefer a more aggressive volume increase as compared to a rider with a full-face helmet.
Clear Presets (“Tuner Setup” Mode)
All preset memories can be erased at the ‘Clear Presets” mode.
- Select the band (FM or AM) to clear.
- Use the “MODE” button on the dashboard or “M” button in the left handle-bar switch to find the “Clear Presets” mode and push the ” ” button on the dashboard or the “VOL +1—” switch in the left handlebar switch to select the band (FM or AM). Push the “PRESET” button on the dashboard or “P” button in the left handle-bar switch to erase the preset memories.
B. Clear Presets Mode
RDS (Radio Data System)
The FM radio is equipped with RDS. Some FM radio stations transmit data such as station name and song/artist name. When this data is available, it will be displayed. To enable or disable RDS, use the “MODE” button on the dashboard or “M” button in the left handlebar switch to find the “RDS” mode and push the button on the dashboard or turn the “VOL +1—” switch in the left handlebar switch to change the “RDS” ON or OFF.
B. RDS Mode
Country Indication
- When showing the “Kawasaki” logo in the display, push and hold the “POWER” button on the dashboard for about 2 seconds.
- The display will show the country that was setting already.
- The display will return to the “Kawasaki” logo after 5 seconds or pushing the “POWER” button within 5 seconds.
Country Setting Mode
The country setting is changed in the “Tuner Location” mode.
- Set the “Tuner Location” mode according to the following procedures.
- When the ignition switch is in the ON or ACC position, push the “POWER” button on the dashboard to turn the audio system off.
- Turn the ignition switch OFF and then turn the ignition switch to ON or ACC. The display will show the “Kawasaki” logo.
- Push the “PRESET” button and the “POWER” button on the dashboard at the same time. The version of the microcomputer is displayed.
- In this mode, push the “MODE” button on the dashboard to change as the following mode.
- If you want to change the country, set the “Tuner Location” mode and push the ” < TUNES’ button on the dashboard to select the country.
- To fix the country, push the “POWER” button on the dashboard.
- To exit the diagnosis mode, push the “POWER” button on the dashboard.
COMM Button
By pushing this button, the audio system can enter the intercom (ON/OFF), VOX (adjustment) and CB (Accessory) modes.
Intercom (Accessory Parts)
The intercom that allows the rider and passenger to communicate while riding is available as an accessory part.
- Push the “COMM” button on the dashboard to enter the “Icom” (Intercom) mode.
- Push the button on the dashboard or the “TUNE +/—” switch in the left handlebar switch to select ON or OFF of the intercom.
B. Icom (On/Off) Mode
- Push the “COMM” button on the dashboard to enter the “VOX” (Voice Activation) mode.
- Push the button on the dashboard or the “TUNE +/—” switch in the left handlebar switch to change the VOX sensitivity setting from O (Vox Open) to 30 (Vox Closed).
NOTE
When the system is in the “Icom Off’ mode, it does not enter the “VOX” mode.
Antenna Removal
Turn the lower end of the antenna counterclockwise and remove it from the motorcycle
B. Antenna Grip
Antenna Installation
Grasp the antenna grip and tighten in clockwise on the holder so that it will not loosen while you are riding.
XM RADIO TUNER (Accessory Part)
The Audio System fully integrates an XM satellite radio accessory. The system treats XM like another audio source. The XM radio tuner will automatically be turned on when the audio system is powered up. Push the “MODE” button on the dashboard or “M” button on the handlebar to cycle through audio sources.
CB (Citizen’s Band) (Accessory Part)
NOTE
This CB radio has been approved by the Federal Communications Commission (F.C.C.) and has the “type acceptance” labels on it.
WARNING
Failure to read to the Operating Precautions before operating the CB radio may lead to a system malfunction and/or damage to the unit. Carefully read the Operating Precautions section before operating the CB radio. Learn and observe all rules.
The Audio System supports Kawasaki’s 40-channel CB radio accessory. The CB option enables communication with other riders or vehicles that are equipped with CB radios. To activate the CB radio, push the “COMM” button on the dashboard to enter the COMM adjustment screens. Continue to push and re-lease the COMM button until the CB on/off screen is accessed. Use the ” < TUNES’ button on the dashboard or “TUNE +/—” switch in the left handlebar switch to turn the CB ON or OFF.
CB Channel
Push the “COMM” button on the dashboard until you see CB channel in the display, then push the ” < TUNES button on the dashboard or the “TUNE +/—” switch in the left handlebar switch to select the desired CB channel.
PTT (Push to Talk)
To transmit using the CB, push and hold the “T” button in the left handlebar switch. Speak into the microphone and release the “T” button to end the trans-mission.
Squelch
The CB squelch setting is used to determine the signal strength required to activate the CB receiver and interrupt the entertainment audio. If the squelch setting is too low, weak transmissions or static may constantly interrupt your audio. If the squelch setting is very high, you may only hear very strong transmissions. To adjust squelch, push tum the “SQ +/—” switch in the left handlebar switch to adjust the squelch setting from 0 (OPEN or always receiving) to 30 (CLOSED or not receiving)
NOTE
lf you are riding in a group or close to the people you are communicating with, a higher squelch setting will help reduce interruptions. If you are communicating with someone far- ther away, you may need to reduce squelch to a lower setting to keep receiving their transmission.
CB Volume
CB volume setting is independent of the entertainment and intercom volume settings. Each feature needs to be adjusted individually. To adjust CB volume, push the button on the dashboard or the “VOL +1—” switch in the left handlebar switch while CB squelch is broken (i.e. CB is receiving a transmission).
NOTE
CB audio is only in the headset. The passenger can control CB volume independently.
Recent Posts
VW Jetta Engine Fuse Box Diagram
Access the comprehensive 2010-2018 VW Jetta Passenger Fuse Box Diagram to troubleshoot electrical issues effectively.…
VW Jetta Passenger Fuse Box Diagram
Explore the comprehensive VW Jetta Passenger Fuse Box Diagram to troubleshoot electrical issues effectively. Understand…
2023 Ford F-150 Lightning Fuse Box Diagram
Under Hood Fuse Box Location Remove the front luggage compartment cover. Under Hood Fuse Box…
2022 Kawasaki NINJA H2 SX SE Brake Lever Adjuster Owner’s Manual
2022 Kawasaki NINJA H2 SX SE Brake Lever Adjuster Owner's Manual NOTICE Only adjust the front…
2023 Land Rover Range Rover Evoque Exiting The Vehicle Owners Manual
2023 Land Rover Range Rover Evoque Exiting The Vehicle SINGLE LOCKING WARNING Before exiting the…
2023 Land Rover Range Rover Evoque Front Seats Owners Manual
2023 Land Rover Range Rover Evoque Front Seats FRONT SEAT SAFETY Make sure to read…
