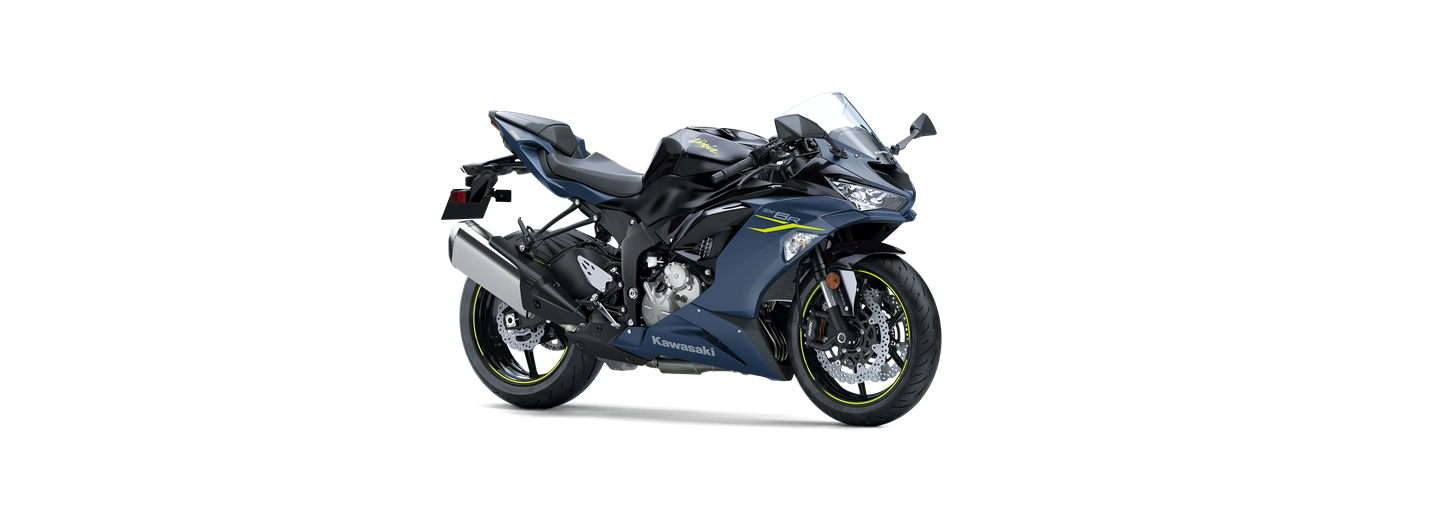
2022 Kawasaki NINJA ZX-6R Suspension System Owners Manual


2022 Kawasaki NINJA ZX-6R Suspension System


Front Fork
NOTICE
After riding on the normal road, the unpaved road and in the rainy weather, clean off any dirt(grit, mud or insect, etc.) that is stuck to the inner tube before it hardens. If the motorcycle keeps running with the dirt stuck to the inner tube, the oil seal will be damaged and it causes the oil to leak.
Spring Preload Adjustment
The adjuster is located at the top of the left front fork leg.
Standard
5 turns in
In from the fully seated position (turned fully counterclockwise).
- Turn the adjuster clockwise with a wrench to increase spring preload and stiffen the suspension.
- Turn the adjuster counterclockwise to decrease spring preload and soften the suspension.
NOTICE
Do not turn the adjuster beyond the fully seated position or the adjusting mechanism may be damaged.
NOTE
The spring preload adjuster can be turned with the Allen wrench or suitable tool.
A. Spring Preload Adjuster
B. Allen Wrench
Rebound Damping Force Adjustment
The adjuster is located at the top of the right front fork leg.
Standard
4 1/4 turns out
Out from the fully seated position (turned fully clockwise).
- Turn the adjuster clockwise with a flat tip screwdriver to increase damping force.
- Turn the adjuster counterclockwise to decrease damping force.
NOTICE
Do not turn the adjuster beyond the fully seated position or the adjusting mechanism may be damaged.
A. Rebound Damping Force Adjuster
Compression Damping Adjustment
The adjuster is located at the top of the right front fork leg.
Standard
6 turns out
Out from the fully seated position (turned fully clockwise).
- Turn the adjuster clockwise with a flat tip screwdriver to increase damping force.
- Turn the adjuster counterclockwise to decrease damping force.
NOTICE
Do not turn the adjuster beyond the fully seated position or the adjusting mechanism may be damaged.
A. Compression Damping Force Adjuster
Rear Shock Absorber
Spring Preload Adjustment
The spring adjusting nut on the rear shock absorber can be adjusted.If the spring action feels too soft or stiff, have it adjusted by an authorized Kawasaki dealer.
Rebound Damping Force Adjustment
The adjuster is located at the lower end of the rear shock absorber.
Standard
1 1/2 turns out
Out from the fully seated position (turned fully clockwise).
- Turn the adjuster clockwise with a flat tip screwdriver to increase damping force.
- Turn the adjuster counterclockwise to decrease damping force.
NOTICE
Do not turn the adjuster beyond the fully seated position or the adjusting mechanism may be damaged.
A. Rebound Damping Force Adjuster
Compression Damping Adjustment
The adjuster is located at the upper end of the rear shock absorber.
Standard
2 1/2 turns out
Out from the fully seated (turned fully clockwise).
- Tum the adjuster clockwise with a fiat tip screwdriver to increase damping force.
- Turn the adjuster counterclockwise to decrease damping force.
NOTICE
Do not turn the adjuster beyond the fully seated position or the adjusting mechanism may be damaged.
A. Compression Damping Force Adjuster
Setting Tables
Front Fork Spring Preload Setting
Recent Posts
VW Jetta Engine Fuse Box Diagram
Access the comprehensive 2010-2018 VW Jetta Passenger Fuse Box Diagram to troubleshoot electrical issues effectively.…
VW Jetta Passenger Fuse Box Diagram
Explore the comprehensive VW Jetta Passenger Fuse Box Diagram to troubleshoot electrical issues effectively. Understand…
2023 Ford F-150 Lightning Fuse Box Diagram
Under Hood Fuse Box Location Remove the front luggage compartment cover. Under Hood Fuse Box…
2022 Kawasaki NINJA H2 SX SE Brake Lever Adjuster Owner’s Manual
2022 Kawasaki NINJA H2 SX SE Brake Lever Adjuster Owner's Manual NOTICE Only adjust the front…
2023 Land Rover Range Rover Evoque Exiting The Vehicle Owners Manual
2023 Land Rover Range Rover Evoque Exiting The Vehicle SINGLE LOCKING WARNING Before exiting the…
2023 Land Rover Range Rover Evoque Front Seats Owners Manual
2023 Land Rover Range Rover Evoque Front Seats FRONT SEAT SAFETY Make sure to read…
