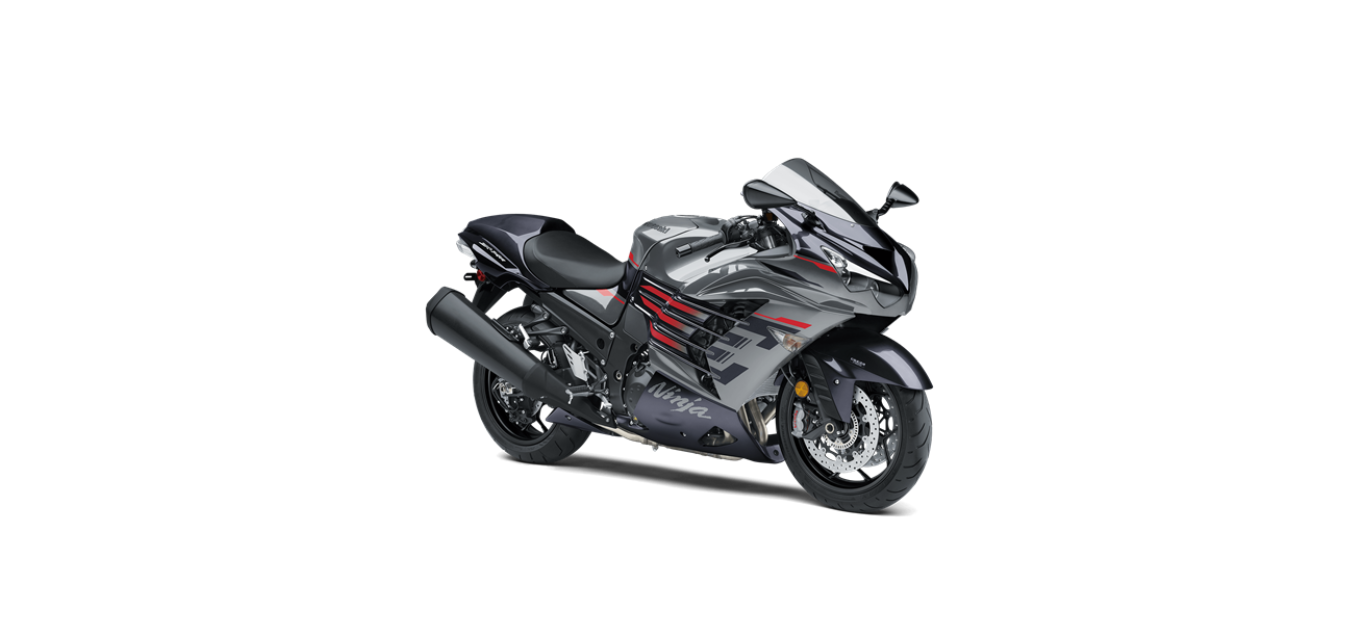
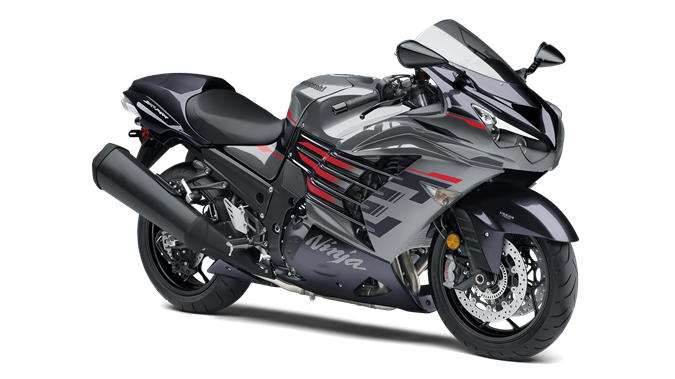
2022 Kawasaki NINJA ZX-14R Headlight Owners Manual


2022 Kawasaki NINJA ZX-14R Headlight


Headlight
Headlight aiming should be done by an authorized Kawasaki dealer.
- When adjusting the headlight beam horizontally or vertically, remove the right and left inner covers (see Air Cleaner section in this chapter).
- Remove the bolt and washer.
- Remove the quick rivets.
- Pull the upper inner fairing backward to clear the tabs of the upper fairing, and remove it.
A. Bolt and Washer
B. Quick Rivets
C. Upper Inner Fairing
D. Tabs
E. Upper Fairing
NOTE
The upper inner fairing uses quick rivets. The quick rivets can be removed by pushing the center pin into the quick rivets, and when installing them, pull the center pin fully up first, and then push into the center pin after inserting them.
Quick Rivet Removal
A. Quick Rivet
B. Center Pin
C. Push in.
Quick Rivet Installation
A. Quick Rivet
B. Center Pin
C. Pull up fully.
D. Push in.
- After adjusting the headlight beam, install the upper inner fairing.
- Insert the tabs of the upper fairing into the slots of the upper inner fair- ing.
A. Tabs
B. Fairing
C. Slots
D. Upper Inner Fairing
Insert the tabs of the upper inner fairing inside of the left and right inner fairings.
A. Tabs
B. Upper Inner Fairing
C. Left and Right Inner Fairings
- Tighten the bolt with washer.
- Install the quick rivets.
Horizontal Adjustment
The headlight beam is adjustable horizontally. If not properly adjusted horizontally, the beam will point to one side rather than straight ahead. Turn the horizontal adjuster in or out until the beam points straight ahead.
A. Horizontal Adjusters
B. Vertical Adjusters
Vertical Adjustment
The headlight beam is adjustable vertically. If adjusted too low, neither low nor high beam will illuminate the road far enough ahead. If adjusted too high, the high beam will fail to illuminate the road close ahead, and the low beam will blind oncoming drivers. Turn the vertical adjuster in or out to adjust the headlight vertically.
NOTE
On high beam, the brightest points should be slightly below horizontal. The proper angle is 0.4 degrees be- low horizontal. This is a 50 mm (2.0 in.) drop at 7.6 m (25 ft) measured from the center of the headlight, with the motorcycle on its wheels and the rider seated.
A. 50 mm (2.0 in.)
B. Center Of Brightest Spot
C. 7.6 m (25 ft)
D. Height of Headlight Center
Recent Posts
VW Jetta Engine Fuse Box Diagram
Access the comprehensive 2010-2018 VW Jetta Passenger Fuse Box Diagram to troubleshoot electrical issues effectively.…
VW Jetta Passenger Fuse Box Diagram
Explore the comprehensive VW Jetta Passenger Fuse Box Diagram to troubleshoot electrical issues effectively. Understand…
2023 Ford F-150 Lightning Fuse Box Diagram
Under Hood Fuse Box Location Remove the front luggage compartment cover. Under Hood Fuse Box…
2022 Kawasaki NINJA H2 SX SE Brake Lever Adjuster Owner’s Manual
2022 Kawasaki NINJA H2 SX SE Brake Lever Adjuster Owner's Manual NOTICE Only adjust the front…
2023 Land Rover Range Rover Evoque Exiting The Vehicle Owners Manual
2023 Land Rover Range Rover Evoque Exiting The Vehicle SINGLE LOCKING WARNING Before exiting the…
2023 Land Rover Range Rover Evoque Front Seats Owners Manual
2023 Land Rover Range Rover Evoque Front Seats FRONT SEAT SAFETY Make sure to read…
