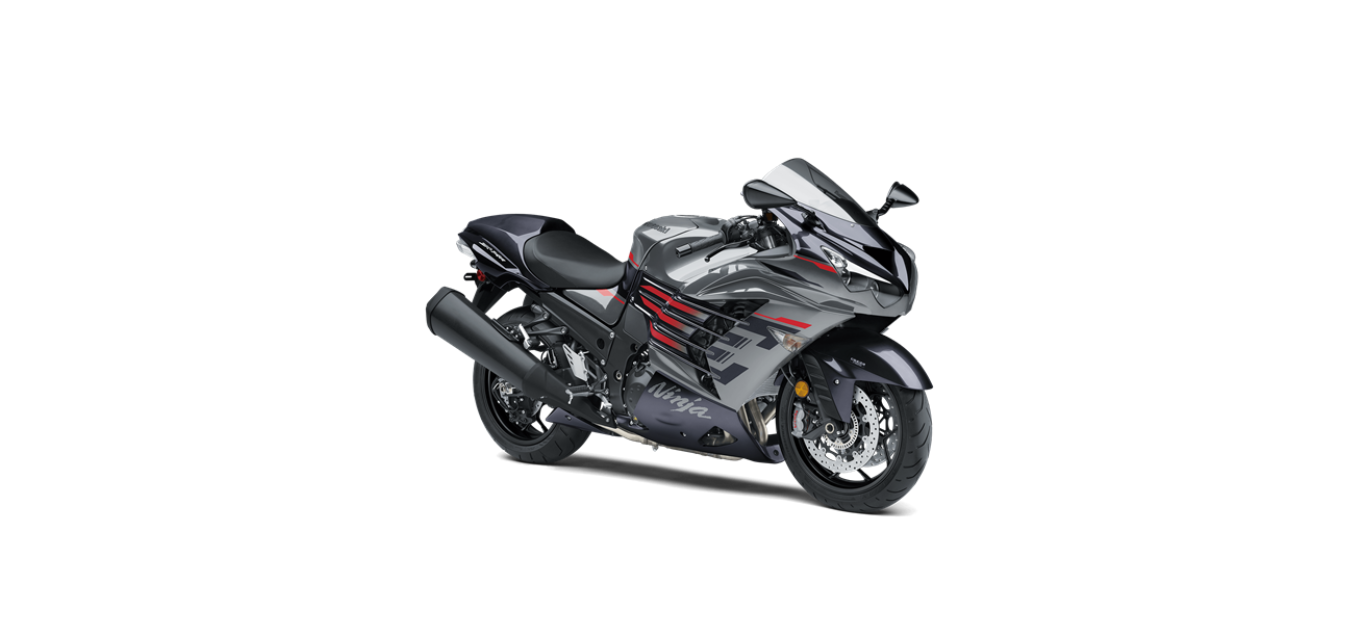
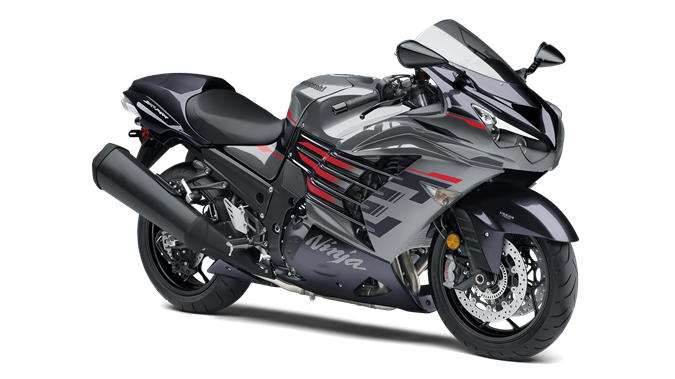
2022 Kawasaki NINJA ZX-14R Coolant Owners Manual


2022 Kawasaki NINJA ZX-14R Coolant


Coolant
Coolant Level Inspection
- Position the motorcycle so that it is perpendicular to the ground.
- Check the coolant level through the coolant level gauge on the reserve tank located to the left of the engine. The coolant level should be between the F (Full) and L (Low) level lines.
A. F (Full) Level Line
B. L (Low) Level Line
C. Reserve Tank
NOTE
- Check the level when the engine is cold (room or atmospheric temperature).
- If the amount of coolant is insufficient, add coolant into the reserve tank
Coolant Filling
Remove the bolts and washers.
A. Bolts and Washers
- Pull the left fairing cover outward to clear the projections of the left fairing cover.
- Pull the left fairing cover downward to clear the tabs of the left fairing cover.
A. Left Fairing Cover
B. Projections
C. Tabs
- Pull outward.
- Pull downward.
Remove the left fairing cover from the left inner rubber cover.
A. Left Fairing Cover
B. Left Inner Rubber Cover
Pull the left fairing cover backward to clear the ends of the left fairing cover, and remove it.
A. Left Fairing Cover
B. Ends
Remove the cap from the reserve tank and add coolant through the filler opening between the F (Full) and L (Low) level lines.
A. Reserve Tank Cap
NOTE
ln an emergency you can add water alone to the coolant reserve tank, however, it must be returned to the correct mixture ratio by the addition of antifreeze concentrate as soon as possible.
NOTICE
If coolant must be added often, or the reserve tank completely runs dry, there is probably leakage in the system. Have the cooling system inspected by your authorized Kawasaki dealer.
- Install the reserve tank cap.
- Check that the pad is in place on the left fairing cover.
A. Pad
B. Left Fairing Cover
Check that the grommet and damper are in place on the left middle fairing.
A. Grommet
B. Damper
Insert the ends of the left fairing cover into the grooves of the left middle fairing.
A. Ends
B. Left Fairing Cover
C. Grooves
D. Left Middle Fairing
Fit the left fairing cover to the left inner rubber cover.
A. Left Fairing Cover
B. Left Inner Rubber Cover
Insert the tabs of the left fairing cover under the fuel tank cover.
A. Tabs
B. Left Fairing Cover
C. Fuel Tank Cover
Insert the projections of the left fairing cover into the grommet and damper.
A. Projections
B. Left Fairing Cover
C. Grommet
D. Damper
NOTE
- In this photo, the left fairing cover has been removed for clarity.
- Tighten the bolts with washers.
A. Bolt (Length: 30 mm (1.2 in.)) and Washer
B. Bolt (Length: 14 mm (0.6 in.)) and Washer
C. Bolt (Length: 20 mm (0.8 in.)) and Washer
Coolant Change
Have the coolant changed by an authorized Kawasaki dealer.
Coolant Requirement
WARNING
Coolant-containing corrosion inhibitors for aluminum engines and radiators include harmful chemicals to the human body. Drinking coolant can result in serious injury or death. Use coolant in accordance with the instructions of the manufacturer. Use a permanent type of antifreeze (soft water and ethylene glycol plus corrosion and rust inhibitor chemicals for aluminum engines and radiators) in the cooling system. On the mixture ratio of coolant, choose the suitable one referring to the relation between freezing point and strength directed on the container.
NOTICE
If hard water is used in the system, it causes scale accumulation in the water passages, and considerably reduces the efficiency of the cooling system.
NOTE
A permanent type of antifreeze is installed in the cooling system when shipped. It is mixed at 50% and has a freezing point of—350C (—31 OF).
Recent Posts
VW Jetta Engine Fuse Box Diagram
Access the comprehensive 2010-2018 VW Jetta Passenger Fuse Box Diagram to troubleshoot electrical issues effectively.…
VW Jetta Passenger Fuse Box Diagram
Explore the comprehensive VW Jetta Passenger Fuse Box Diagram to troubleshoot electrical issues effectively. Understand…
2023 Ford F-150 Lightning Fuse Box Diagram
Under Hood Fuse Box Location Remove the front luggage compartment cover. Under Hood Fuse Box…
2022 Kawasaki NINJA H2 SX SE Brake Lever Adjuster Owner’s Manual
2022 Kawasaki NINJA H2 SX SE Brake Lever Adjuster Owner's Manual NOTICE Only adjust the front…
2023 Land Rover Range Rover Evoque Exiting The Vehicle Owners Manual
2023 Land Rover Range Rover Evoque Exiting The Vehicle SINGLE LOCKING WARNING Before exiting the…
2023 Land Rover Range Rover Evoque Front Seats Owners Manual
2023 Land Rover Range Rover Evoque Front Seats FRONT SEAT SAFETY Make sure to read…
