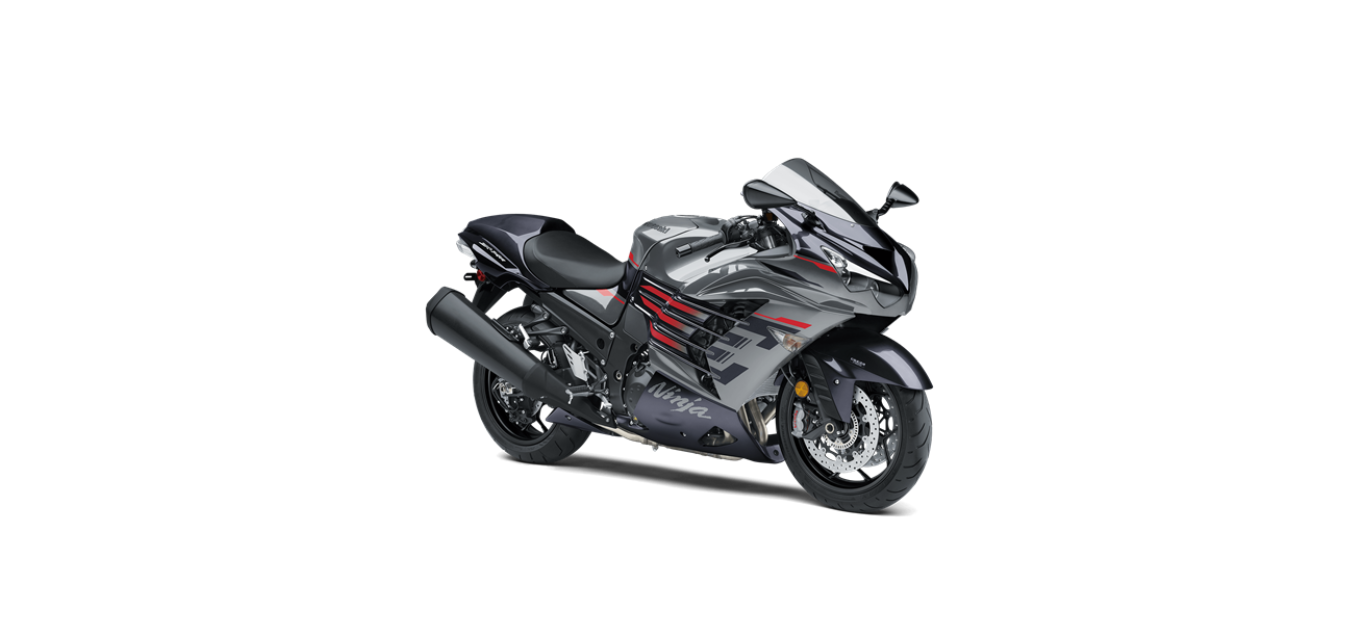
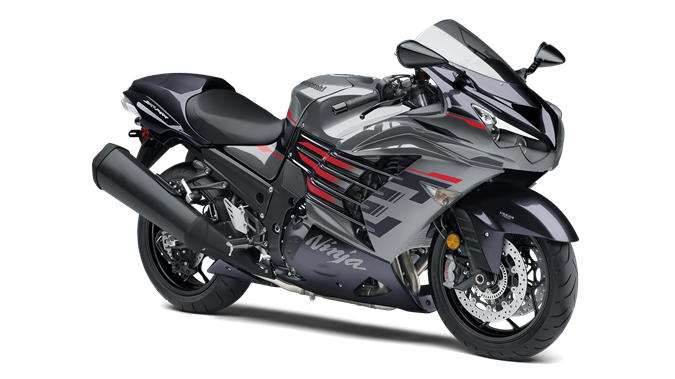
2022 Kawasaki NINJA ZX-14R Air Cleaner Owners Manual


2022 Kawasaki NINJA ZX-14R Air Cleaner


Air Cleaner
This motorcycle’s air cleaner element consists of a wet paper filter that cannot be cleaned.
Air Cleaner Element Removal
- Remove the left and right fairing covers (see the Coolant section and Battery section in this chapter).
- Remove the bolts and washers.
A. Bolts and Washers
Pull the left inner cover forward to clear the tab of the left inner cover.
A. Left Inner Cover
B. Tab
Pull the left inner cover inward to clear the tabs of the left inner cover, and remove it.
A. Left Inner Cover
B. Tabs
Remove the right inner cover.
NOTE
- Removing the right inner cover is the same as for the left inner cover.
- Remove the bolt and collar.
- Pull the fuel tank cover outward to clear the projections of the fuel tank cover on both sides.
- Pull the fuel tank cover forward to clear the tabs of the fuel tank, and remove it.
A. Bolt and Collar
B. Fuel Tank Cover
C. Projections (Both Sides)
D. Tabs
- Pull outward.
- Pull forward.
- Remove the bolts.
- Remove the air cleaner element cover.
A. Bolts
B. Air Cleaner Element Cover
Pull out the air cleaner element.
A. Air Cleaner Element
Air Cleaner Element Installation
Install a new element so that the screen side faces upward.
A. New Element
B. Screen Side
Check that the seal is in place on the air cleaner element cover,
A. Seal
B. Air Cleaner Element Cover
- Install the air cleaner element cover so that the arrow mark faces forward.
- Tighten the bolts to the specified torque.
Air Cleaner Element Cover Bolts:
8.0 N.m (0.82 kg from, 71 in.lb)
A. Air Cleaner Element Cover
B. Arrow Mark
C. Bolts
Check that the pads and grommet are in place on the fuel tank cover.
A. Pads
B. Grommet
C. Fuel Tank Cover
Check that the damper, grommets and wellness are in place on both sides.
A. Damper (Both Sides)
B. Grommets (Both Sides)
C. Wellnut (Both Sides)
Fit the slots of the fuel tank cover to the tabs of the fuel tank.
A. Tabs
B. Fuel Tank
C. Slots
D. Fuel Tank Cover
Insert the projections of the fuel tank cover into the grommets on both sides.
A. Projections (Both Sides)
B. Fuel Tank Cover
C. Grommets (Both Sides)
NOTE
- ln this photo, the fuel tank cover has been removed for clarity.
- Fit the fuel tank cover on the middle fairing on both sides.
A. Fuel Tank Cover
B. Middle Fairing
- Install the collar, and tighten the bolt.
- Check that the pads and damper are in place on the left and right inner covers.
A. Pads
B. Damper
C. Inner Cover
Insert the tabs of the left inner cover into the inside of the middle fairing.
A. Tabs
B. Left Inner Cover
C. Middle Fairing
Insert the tab of the left inner cover into the slot of the fuel tank cover.
A. Tab
B. Left Inner Cover
C. Slot
D. Fuel Tank Cover
NOTE
- ln this photo, the left inner cover has been removed for clarity.
- Tighten the bolts with washers.
NOTE
- Installing the right inner cover is the same as for the left inner cover.
- Install the left and right fairing covers (see the Coolant section and Battery section in this chapter).
Oil Draining
Inspect the transparent reservoir located to the left of the engine to see if any oil has run down.
A. Transparent Reservoir
If there is any oil in the transparent reservoir, remove the transparent reservoir from the lower end of the drain hose and drain the oil.
WARNING
Oil on tires will make them slip-pery and can cause an accident and injury. Be sure to install the reservoir in the drain hose after draining.
Recent Posts
VW Jetta Engine Fuse Box Diagram
Access the comprehensive 2010-2018 VW Jetta Passenger Fuse Box Diagram to troubleshoot electrical issues effectively.…
VW Jetta Passenger Fuse Box Diagram
Explore the comprehensive VW Jetta Passenger Fuse Box Diagram to troubleshoot electrical issues effectively. Understand…
2023 Ford F-150 Lightning Fuse Box Diagram
Under Hood Fuse Box Location Remove the front luggage compartment cover. Under Hood Fuse Box…
2022 Kawasaki NINJA H2 SX SE Brake Lever Adjuster Owner’s Manual
2022 Kawasaki NINJA H2 SX SE Brake Lever Adjuster Owner's Manual NOTICE Only adjust the front…
2023 Land Rover Range Rover Evoque Exiting The Vehicle Owners Manual
2023 Land Rover Range Rover Evoque Exiting The Vehicle SINGLE LOCKING WARNING Before exiting the…
2023 Land Rover Range Rover Evoque Front Seats Owners Manual
2023 Land Rover Range Rover Evoque Front Seats FRONT SEAT SAFETY Make sure to read…
