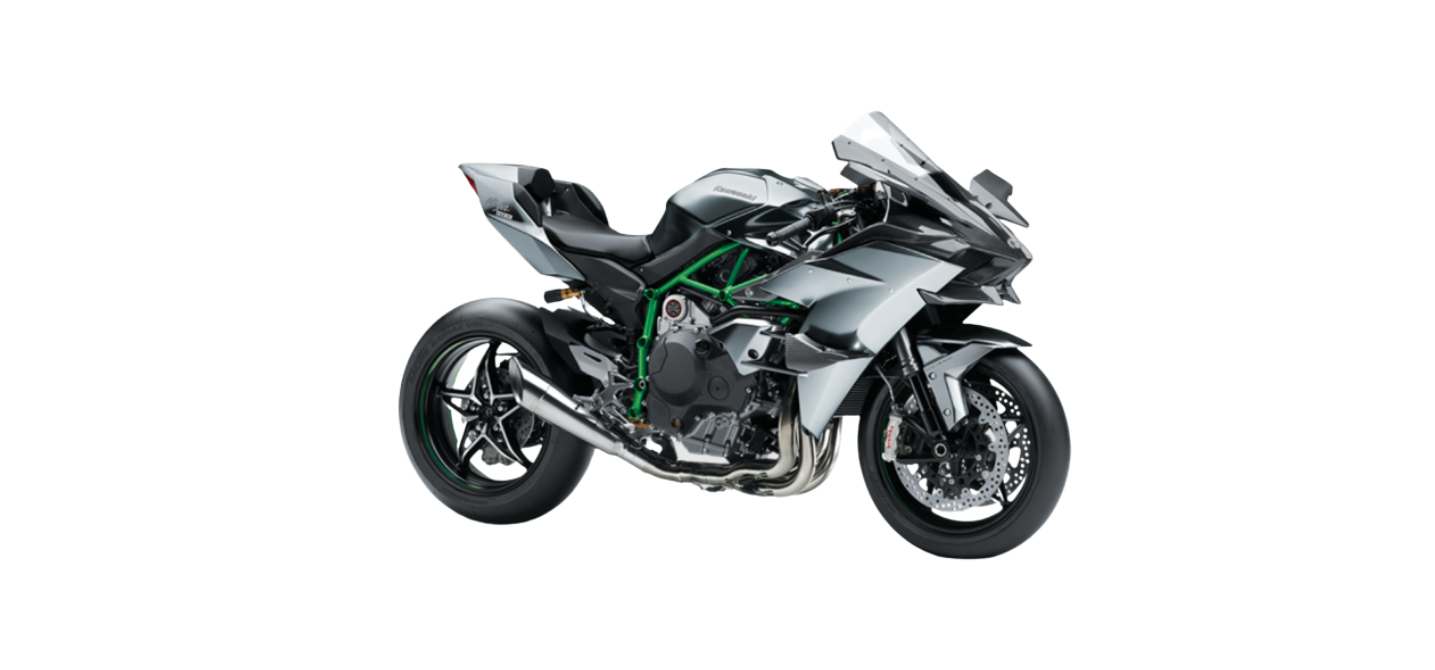
2022 Kawasaki NINJA H2 Brakes

Brakes
If you feel there is something wrong when applying the brakes, have the brake system checked by an authorized Kawasaki dealer immediately.
WARNING
Air in the brake lines diminishes braking performance and can cause an accident resulting in injury or death. If the brake lever or pedal feels mushy when it is applied, there might be air in the brake lines or the brake may be defective. Have the brake checked immediately by an authorized Kawasaki dealer?
Brake Fluid Level Inspection
With the brake fluid reservoirs held horizontal, the brake fluid level must be kept between the upper and lower level lines..
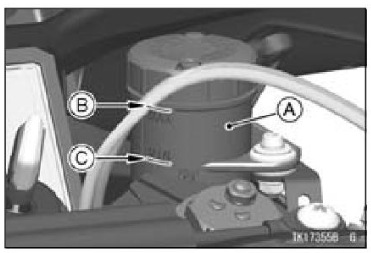
A. Front Brake Fluid Reservoir
B. Upper-Level Line
C. Lower Level Line
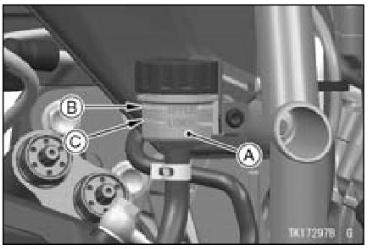
A. Rear Brake Fluid Reservoir
B. Upper-Level Line
C. Lower Level Line
If the fluid level is lower than the lower level line it may indicate that the fluid is leaking. In this case, have the brake system inspected by an authorized Kawasaki dealer.
Brake Pad Wear Inspection
Inspect the brakes for wear. For the front disc brake caliper, if the thickness of either pad lining is less than I mm (0.04 in.), replace both pads in the caliper as a set. Pad replacement should be done by an authorized Kawasaki dealer.
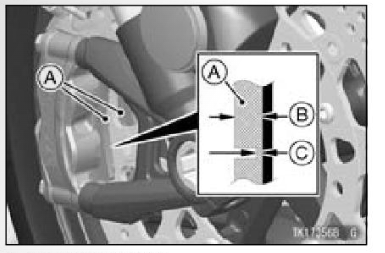
A. Front Brake Pads
B. Pad Lining
C. 1 mm (0.04 in.)
For the rear disc brake caliper, if the thickness of either pad lining including back plate is less than 4.5 mm (0.18 in.), replace both pads in the caliper as a set. Pad replacement should be done by an authorized Kawasaki dealer.
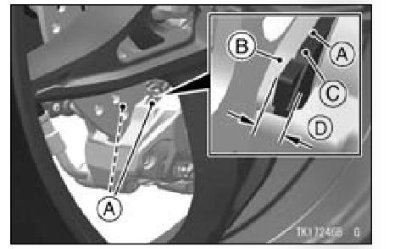
A. Rear Brake Pads
B. Pad Lining
C. Back Plate
D. 4.5 mm (0.18 in.)
Brake Light Switch Inspection
- Turn the ignition switch on.
- The brake light should appear when the front brake is applied. If it does not, ask your authorized Kawasaki dealer to inspect the front brake light switch.
- Check the operation of the rear brake light switch by depressing the brake pedal. The brake light should appear after the proper pedal travel.
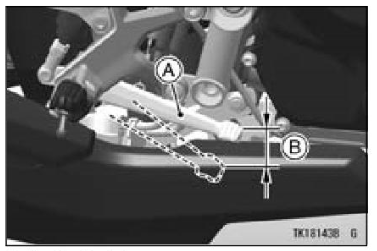
A. Brake Pedal
B. 10 mm (0.39 in.)
If the light does not come on, adjust the rear brake light switch.
Brake Pedal Travel
10 mm (0.39 in.)
Brake Light Switch Adjustment
To adjust the rear brake light switch, move the switch up or down by turning the adjusting nut.
A. Rear Brake Light Switch
B. Adjusting Nut
C. Lights sooner
D. Lights later
NOTICE
To avoid damaging the electrical connections inside the switch, be sure that the switch body does not turn during adjustment.
