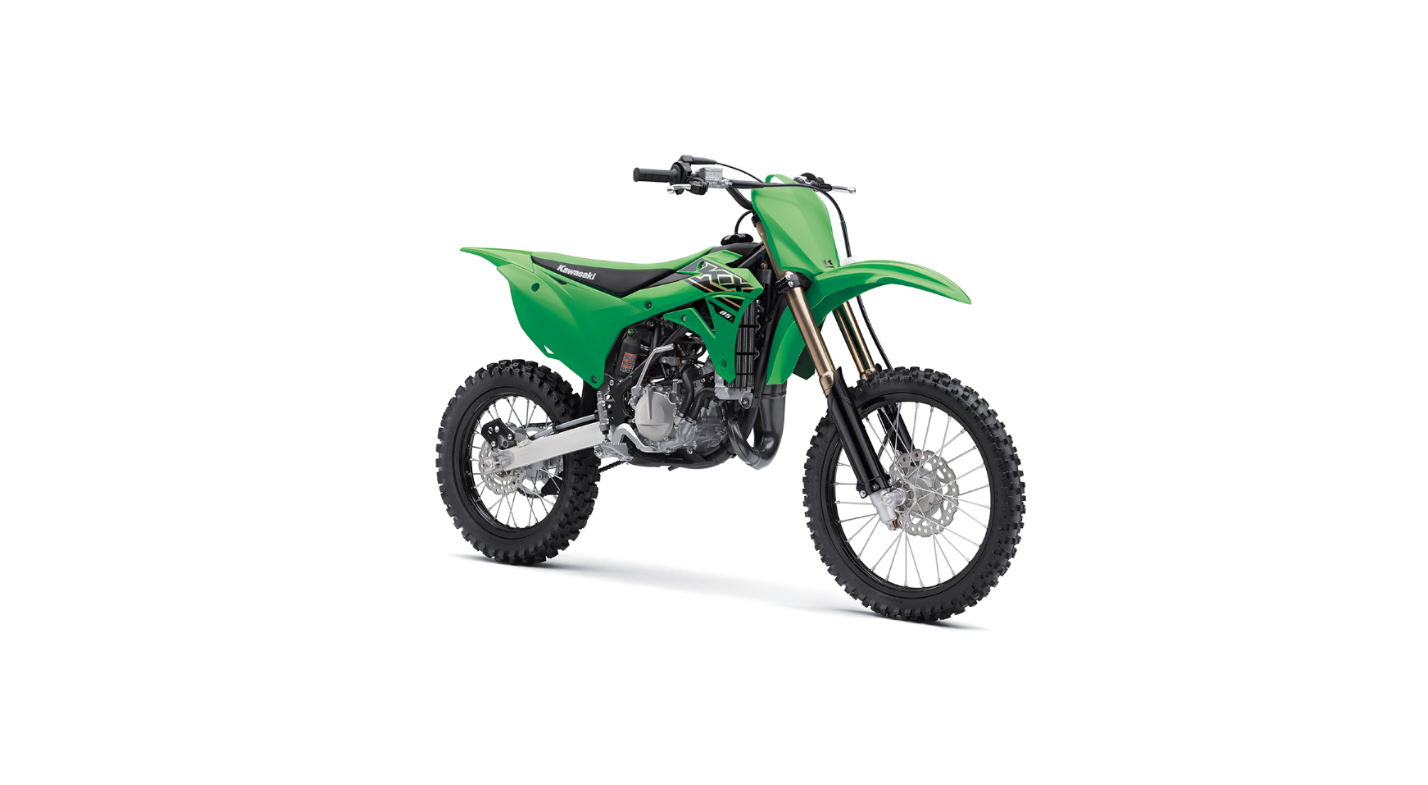
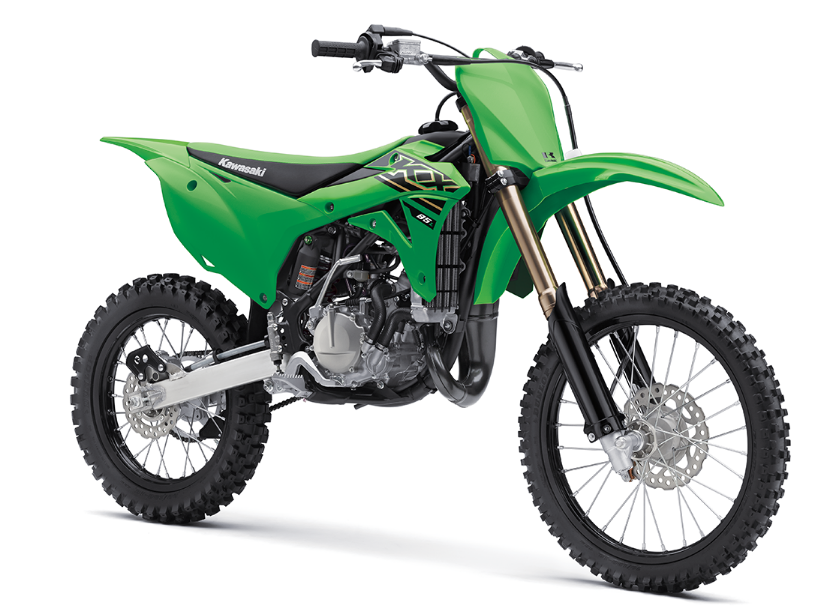
2022 Kawasaki KX85 Tuning of Carburetor Owners Manual


2022 Kawasaki KX85 Tuning of Carburetor


Carburetor
Tuning a carburetor is not the mysterious science many racers believe it to be. One only needs to establish a basic knowledge of the identification and function of carburetor components as well as how they work together to do the job well.
Temperature-and altitude-related mixture adjustment
at constant atmospheric pressure and humidity The main jet size should be increased or decreased by one to five sizes and the engine tested until its power is maximum.
Symptoms of Improper Mixture
If your machine exhibits one or several of the symptoms listed below, it may need a carburetor Before attempting any changes, however, tuning make sure that everything else is in good shape and properly tuned. spark plug, make sure the ignition timing is correct, service the air cleaner element and decarbonize the muffler. Check the condition of the If your machine has run properly on a certain track in the past and then starts running poorly with the same carburetor settings, the problem is almost certain to be elsewhere; changing the carburetor settings in such a case would probably be a waste of time.
Symptoms when the mixture is too rich
Symptoms when the mixture is too lean
With pinging or rattling, make sure that the gasoline is fresh and the octane rating sufficient. You might also try a different brand of high-octane gasoline.
Making Adjustments
Carburetor tuning is made by replacing or adjust- ing the main jet, jet needle and slow jet, which regulate the fuel flow, and the air screw, which regulates the airflow. The following chart shows the working range of each component. overlap as the throttle valve opens.
A. Main Jet
B. Jet Needle (Clip Position)
C. Jet Needle (Straight Section)
D. Air Screw and Slow Jet (Pilot Jet)
E. Closed
F. Full Open
A. Full Open
If you note a particular symptom of too rich or lean mixture ina specific operating range, use the chart to determine which components need adjusting. Use the following information to decide what changes to make.
Main Jet
The main jet has its greatest effect in the 1/2-to-full -throttle range. The number stamped on the bottom or side of the main jet indicates the size of the hole in the jet which meters fuel. jet number, the bigger the hole and the more fuel will flow; hence, larger numbers mean richer jetting: smaller numbers mean leaner jetting. Make main jet changes one size at a time.
A. Main Jet
WARNING
Gasoline is extremely flammable and can be explosive under certain conditions. Never smoke while working on the carburetor. Make sure the area is well ventilated and free from any source of flame or sparks; this includes any appliance with a pilot light.
Jet Needle
The jet needle and needle jet together have their greatest effect in the 1/4-to-3/4-throttle range. The needle moves in and out of the needle jet. Since the needle is tapered, its position in the needle jet determines the amount of fuel allowed to pass through. There are five grooves in the top of the jet needle in which a clip fits. This clip positions the jet needle in the throttle valve relative to the needle jet. Moving the clip down has the effect of pulling the needle further out of the jet; the mixture is thereby enrichened. Moving the clip up leans the mixture. Change the clip position one step at a time. After changing the clip position of the jet needle or replacing the jet needle, check if the throttle valve operates smoothly.
Clip Position
A. Jet Needle
B. Leaner
C. Richer
Slow Jet and Air Screw
The slow jet and air screw control the mixture in the closed-to-1/8-throttle range, but have little effect between that and full throttle. To adjust the mixture in this range, the air screw can be turned to change the air flow, or the slow jet can be replaced to change the fuel flow. Start by turning the air screw. Screwing the air screw in enrichens the mixture. Air screw specifications indicate the number of turns out from the lightly seated position. Make changes in 1/2-turn increments. If turning the Screw two-and-a-half turns between one and does not provide the desired results, go over to adjusting the slow jet. The slow jet has a number stamped on it, which indicates its size; the larger the jet number is, the richer the mixture. Make one-step changes of the slow jet and fine-tune with the air screw.
A. Main Jet
B. Needle Jet
C. Slow Jet
A. Air Screw
Test Runs
With all carburetor settings on standard, warm up the engine, run two or three laps of the course and examine the spark plug condition with varying throttle openings.
Fuel/Air Mixture Adjustment
- If the spark plug insulator is whitish, the fuel/air mixture is too lean. Increase the main jet size by one step.
- If the spark plug insulator is wet, the fuel/air mixture is too rich. Reduce the main jet size by one step
- Tune the carburetor so that the engine delivers satisfactory power at all throttle openings.
NOTE
lf the fuel/air mixture is too lean, the engine tends to overheat and may seize up. On the other hand, if the fuel/air mixture is too rich, the spark plug gets wet, which causes misfiring. The richness of the mixture varies depending on atmospheric conditions (pressure, humidity, and temperature). Adjust the carburetor taking these conditions into consideration. Altitude and Temperature Correction Factors
NOTE
For the following recommendations to be applicable, you must use the standard settings as a base. Do not change any of the settings until you have determined which are necessary. All specifications are based on the use of the specified fuel and oil.
A. Temperature °C (°F)
B. Altitude
C. 3 000 m (9 600 ft)
D. 2 000 m (6 400 ft)
E. 1 000 m (3 200 ft)
F. Sea Level
G. Correction Factor
Correction Factor Applied to the Jet Needle and Air Screw
Standard Carburetor Settings
- Determine the altitude and temperature correction factor.
EXAMPLE: At 1 000 m (3 200 ft) altitude and an air temperature of 30°C (86°F), the correction factor is 0.95 (see dotted line in the appropriate chart on the previous page). - Select the correct slow jet and main jet.
EXAMPLE: For a correction factor of 0.95, multiply the jet size by that number.
Main Jet Size Selection for a Correction factor of 0.95
# 140x 0.95 # 135 Change the jet needle clip position and air screw opening according to the appropriate chart on the previous page.
EXAMPLE: For a correction factor of 0.95, raise the needle clip one position and turn out the air screw one extra turn.
Jet Needle Clip and Air Screw Setting for a Correction Factor of 0.95
Recent Posts
VW Jetta Engine Fuse Box Diagram
Access the comprehensive 2010-2018 VW Jetta Passenger Fuse Box Diagram to troubleshoot electrical issues effectively.…
VW Jetta Passenger Fuse Box Diagram
Explore the comprehensive VW Jetta Passenger Fuse Box Diagram to troubleshoot electrical issues effectively. Understand…
2023 Ford F-150 Lightning Fuse Box Diagram
Under Hood Fuse Box Location Remove the front luggage compartment cover. Under Hood Fuse Box…
2022 Kawasaki NINJA H2 SX SE Brake Lever Adjuster Owner’s Manual
2022 Kawasaki NINJA H2 SX SE Brake Lever Adjuster Owner's Manual NOTICE Only adjust the front…
2023 Land Rover Range Rover Evoque Exiting The Vehicle Owners Manual
2023 Land Rover Range Rover Evoque Exiting The Vehicle SINGLE LOCKING WARNING Before exiting the…
2023 Land Rover Range Rover Evoque Front Seats Owners Manual
2023 Land Rover Range Rover Evoque Front Seats FRONT SEAT SAFETY Make sure to read…
