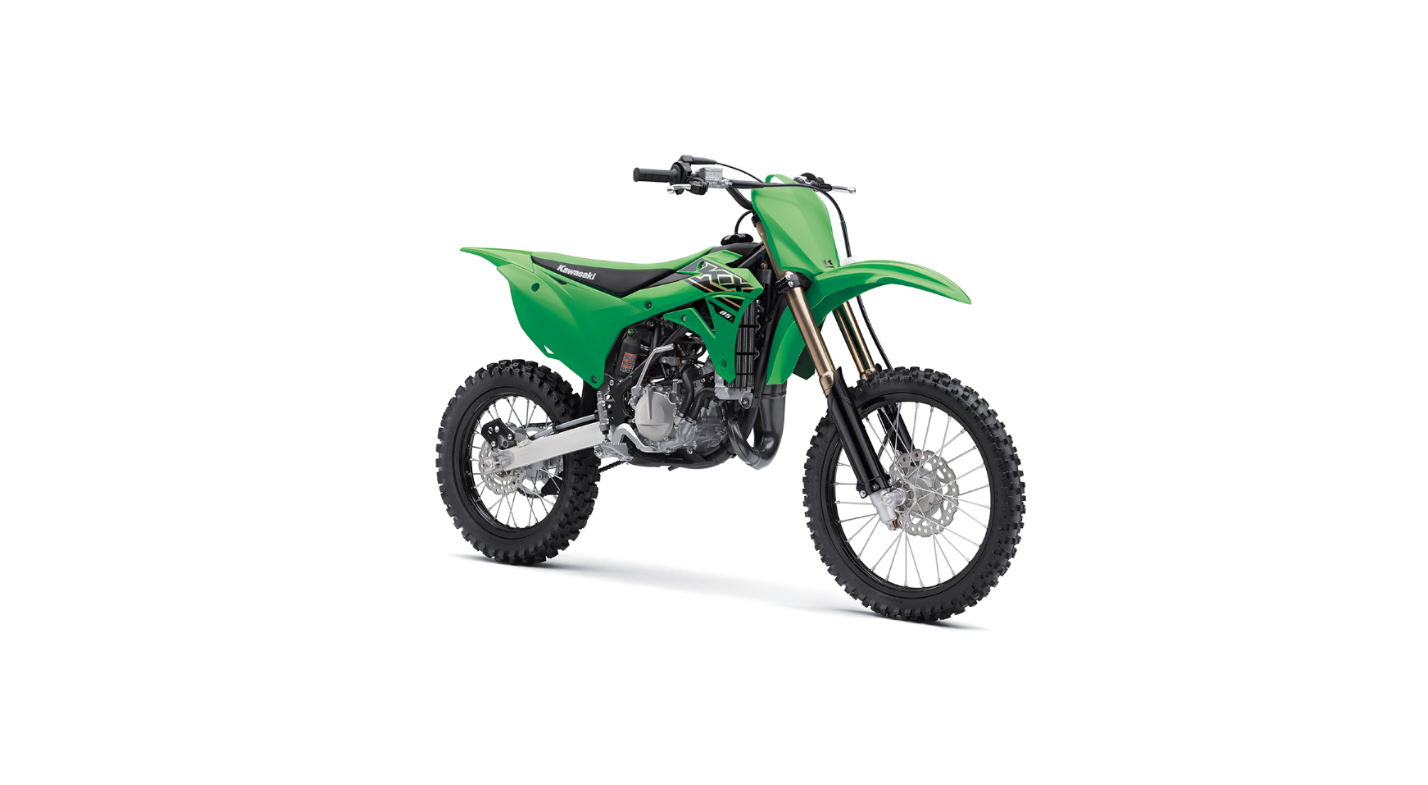
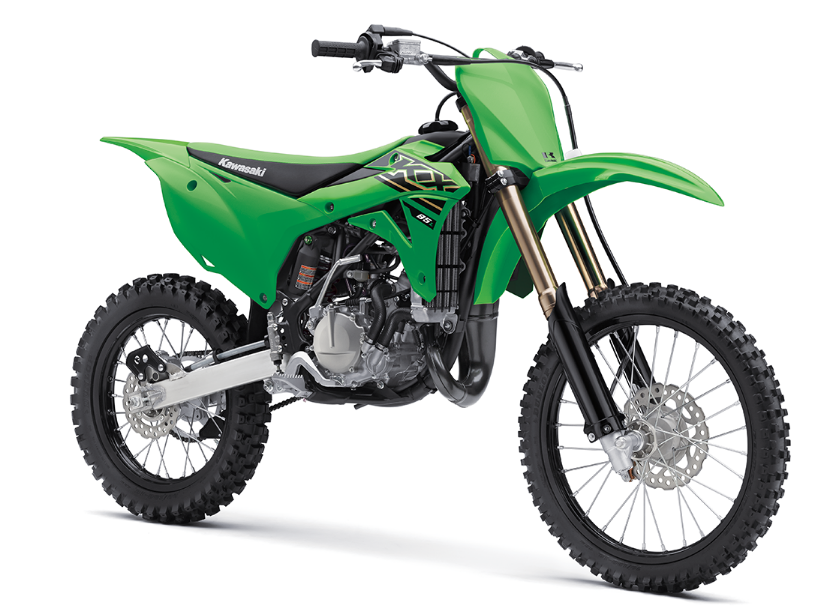
2022 Kawasaki KX85 Rear Suspension (UNI-TRAK®) Owners Manual


2022 Kawasaki KX85 Rear Suspension (UNI-TRAK®)


Rear Suspension (UNI-TRAK)
- This motorcycle’s rear suspension system is called “UNI-TRAK and consists of a rear shock absorber unit, a swingarm, two lever rods, and a lever.
- The operating characteristics of the UNI-TRAK suspension are similar to those of the front fork.
- However, a linkage system is used to achieve progressive springing characteristics.
Rear Shock Absorber Inspection
NOTICE
Sticking muds or dusts on the sliding surface of the rear shock absorber could damage the oil seal, leading to an oil leak. Clean the slid- ing surface after each ride.
- Pump the seat down and up by 4 or 5 times, and inspect the smooth stroke.
- If it does not smoothly or noise is found, inspect the oil leak and rear shock absorber mounting.
- Visually inspect the rear shock absorber for oil leakage.
- If necessary, replace by an authorized Kawasaki dealer
Rear Shock Absorber Adjustment
The spring preload of the shock absorber can be adjusted or the spring can be replaced with an optional one to suit various riding conditions. In addition, the damping force can be adjusted easily, making it unnecessary to change the oil viscosity.
Rebound Damping Adjustment
To adjust the rear shock absorber rebound damping, turn the rebound damping adjuster at the bottom of the rear shock absorber with a standard tip screw-driver.
A. Compression Damping Adjuster
if the damping feels too soft or too stiff, adjust it in accordance with the following table.
Rebound Damper Settings
A. Seated Position (Adjuster Turned Fully Clockwise)
B. Softer (Counterclockwise)
C. Harder (Clockwise)
D. Standard Setting
A number of turns counterclockwise usable range 21 clicks or more.
Standard Rebound Damper Setting
11 clicks Counterclockwise from the fully seated position
NOTICE
Do not force the rebound damping force adjuster beyond the fully seated position, or the adjusting mechanism may be damaged.
NOTE
Adjustment of the rebound damping adjuster for the rear suspension will slightly affect the compression damping force. Always make any damp- ing adjustments in small steps and test their effects before using them in competition.
Damping Adjustment (Gas Compression Reservoir)
To adjust compression damping, turn the compression damping adjuster on the gas reservoir with a standard tip screwdriver until you feel a click.
A. Compression Damping Adjuster
If the damping feels too soft or too stiff, adjust it in accordance with the following table.
Compression Damper Settings
A. Seated Position (Adjuster Turmed Fully Clockwise)
B. Softer (Counterclockwise)
C. Harder (Clockwise)
D. Standard Setting
Number of turns counterclockwise usable range 24 clicks or more. Standard Compression Damper Setting 10 clicks Counterclockwise from the fully seated position
NOTICE
Do not force the compression damping force adjuster beyond the fully seated position, or the adjusting mechanism may be damaged.
NOTE
Adjustment of the compression damping adjuster for the rear suspension will slightly affect the rebound damping force. Always make any damping adjustments in small steps and test their effects before using them in competition.
Spring Preload Adjustment
- Remove the seat bolts.
- Remove the seat rearward.
- Remove the side cover bolts.
- Remove the side covers.
A. Seat Bolt (Both sides)
B. Seat
C. Rearward
D. Side Cover Bolt (Both Sides)
E. Side Cover (Both Sides)
- Remove the bolts, nuts, washers and rear fender.
- Remove the bolts and collars, and remove the rear flap.
A. Bolts, Nuts and Washers
B. Bolts
C. Rear Fender
D. Bolts and Collars
E. Rear Flap
Remove the rear frame pipe bolts and nuts, and remove the rear frame pipe.
A. Rear Frame Pipe Bolts and Nuts
B. Bolt
C. Rear Frame Pipe
- Remove the muffler (see Exhaust System section).
- Loosen the air cleaner duct clamp screw.
- Remove the bolts and take off the air cleaner case with air cleaner duct.
A. Air Cleaner Duct Clamp Screw
B. Bolts
C. Air Cleaner Case
D. Air Cleaner Duct
- Stuff a clean cloth into the carburetor opening to prevent dust or dirt from entering the carburetor.
- Raise the rear wheel off the ground using a jack (special tool: 57001-1238) and attachment (special tool: 57001-1608).
- Using the 57001-1101, 1580), loosen the rear shock absorber spring locknut on the rear shock absorber.
A. Rear Shock Absorber Spring Locknut
B. Spring Preload Adjusting Nut
C. Hook Wrench R35 (Special Tool: 57001-1580)
D. Hook Wrench R37.5 (Special Tool: 57001-1101)
Using the hook wrench (special tool: 57001-1101), turn the spring preload adjusting nut as required. Turning the adjusting nut down increases thespring preload.
A. Hook Wrench R37.5 (Special Tool: 57001-1101)
B. Spring Preload Adjusting Nut
- The standard adjusting nut position from the center of the upper rear shock absorber pivot point is 67.5 mm (2.66 in.).
- The adjustable range is 63 81 mm (2.53.2 in.).
A. Adjusting Nut Position
B. Center of Upper Rear Shock Absorber Pivot
C. Spring End
- Tighten the rear shock absorber spring locknut.
- After making the adjustment, move the spring up and down to make sure that it is properly seated.
- Install the air cleaner case with air cleaner duct.
- Install the muffler (see Exhaust System section).
- Replace the rear frame pipe nuts with new ones.
- Install the rear frame pipe.
Tightening Torque
Rear Frame Pipe Nuts: 35 N m (3.6 kgfm, 26 ftlb)
- Replace the rear fender mounting nuts with new ones.
- Install the removed parts.
Optional Rear Shock Absorber Springs
Various rear shock absorber springs are available to achieve suitable rear shock absorber action in accordance with the rider’s weight and track condition. A harder spring stiffens the shock absorber action and accelerates the rebound damping. A softer spring softens the shock absorber action and slows down the rebound damping.
WARNING
Improper removal or installation of the rear shock absorber spring may cause the spring and/or related parts to be ejected at high velocity. Always wear eye and face protection when working on the rear shock absorber. Removal and installation of the rear shock absorber spring should be performed by an authorized Kawasaki dealer.
Recent Posts
VW Jetta Engine Fuse Box Diagram
Access the comprehensive 2010-2018 VW Jetta Passenger Fuse Box Diagram to troubleshoot electrical issues effectively.…
VW Jetta Passenger Fuse Box Diagram
Explore the comprehensive VW Jetta Passenger Fuse Box Diagram to troubleshoot electrical issues effectively. Understand…
2023 Ford F-150 Lightning Fuse Box Diagram
Under Hood Fuse Box Location Remove the front luggage compartment cover. Under Hood Fuse Box…
2022 Kawasaki NINJA H2 SX SE Brake Lever Adjuster Owner’s Manual
2022 Kawasaki NINJA H2 SX SE Brake Lever Adjuster Owner's Manual NOTICE Only adjust the front…
2023 Land Rover Range Rover Evoque Exiting The Vehicle Owners Manual
2023 Land Rover Range Rover Evoque Exiting The Vehicle SINGLE LOCKING WARNING Before exiting the…
2023 Land Rover Range Rover Evoque Front Seats Owners Manual
2023 Land Rover Range Rover Evoque Front Seats FRONT SEAT SAFETY Make sure to read…
