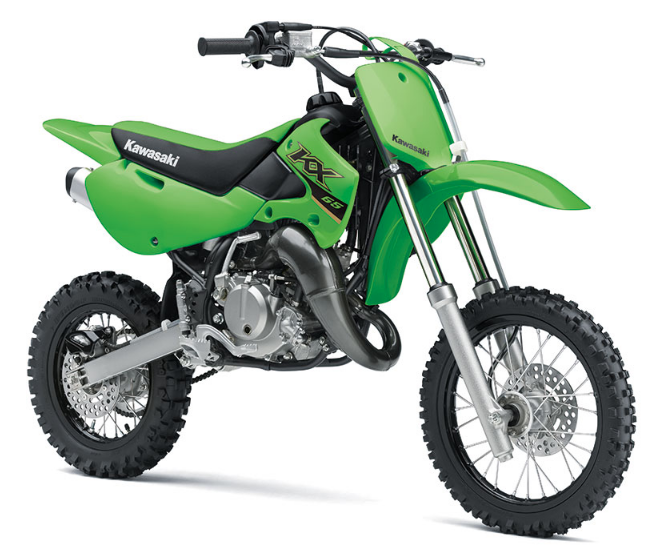
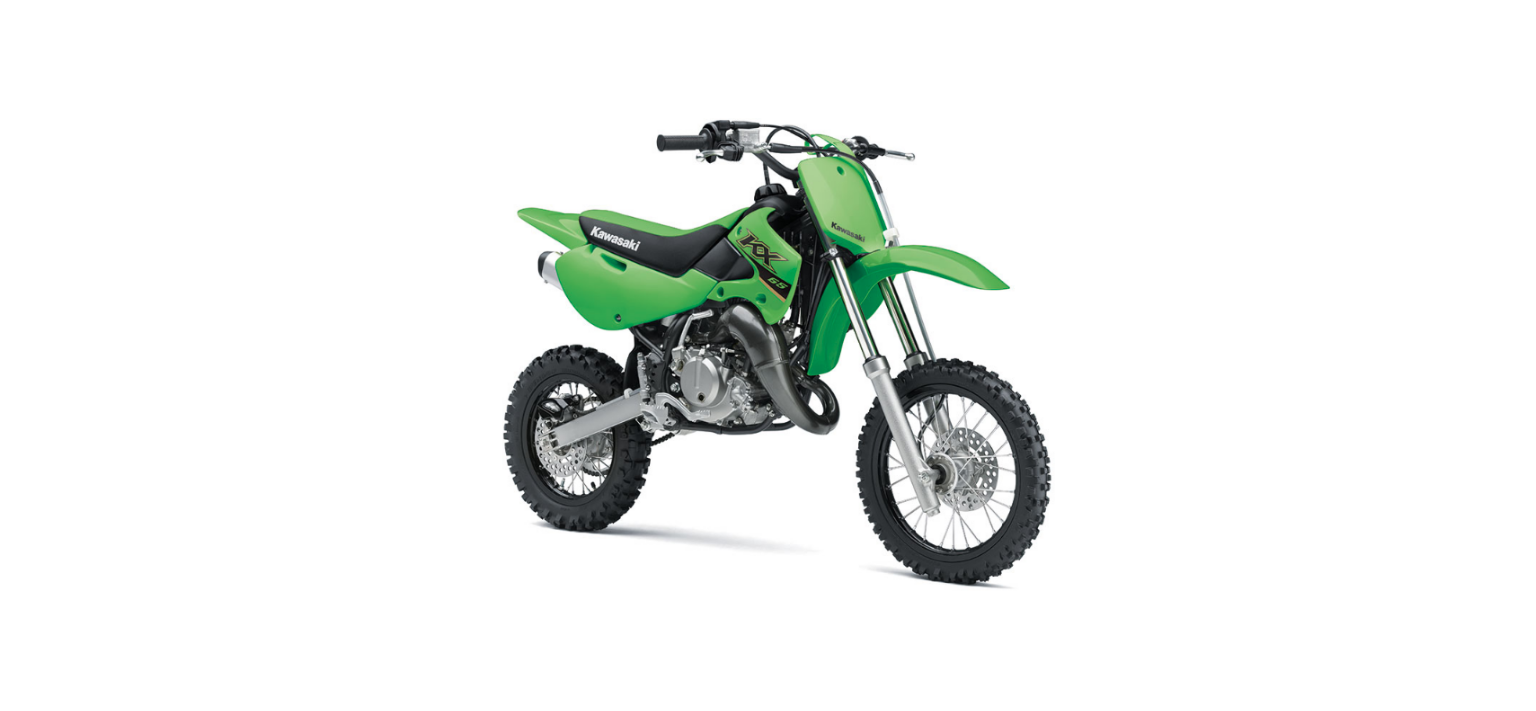
2022 Kawasaki KX65 Front Fork

Front Fork
NOTICE
Sticking mud or dust on the sliding surface of the front fork could damage the oil seal, leading to an oil leak. Clean the sliding surface after each ride. Any of the following front fork adjustments should be made to tune the front suspension to the rider’s weight and the condition of the track. Basically, there are four adjustments you can make to the front fork.
Fork Oil Level Adjustment
The fork oil level affects only the final 100 mm (4 in.) of fork travel. A higher oil level will make the fork rebound more quickly. A lower oil level will make the fork rebound more slowly.
Fork Springs
Optional springs, softer and stiffer than standard, are available.
Fork Height
Steering is greatly affected by the fork height (how much the outer fork tubes protrude above the up- per fork clamp). The less the fork tube protrudes, the lighter the front end becomes and the greater the tendency for understeering and washout due to weight bias. Increasing the amount of fork tube protrusion has opposite effects. the front tire does not touch the fender when the fork Be sure that the is fully compressed. Make this adjustment in 10 mm (0.4 in.) steps.
Rebound Damping Adjustment
This adjustment affects how quickly the fork rebounds. Depending on the model, the fork rebound damping adjuster has 4 positions. The fully seated position (adjuster turned fully clockwise) is the hard- est setting. Turning the adjuster 3 clicks counter-clockwise from the fully seated position is the standard setting, turning it out 4 or more clicks (depend- ing on the model) is the softest setting.
NOTICE
Do not force the rebound damping force ad just beyond the fully seated position, or the adjusting mechanism may be damaged.

A. Rebound Damping Adjuster
Rebound Damping Adjuster Settings
A. Standard Position
Standard Rebound Damping Adjuster Setting
3 clicks Out from the fully seated position (Adjuster Turned Fully Counterclockwise)
NOTICE
The right and left fork tubes must be adjusted evenly.
Fork Oil Level Adjustment
- Raise the front wheel off the ground using a jack (a special tool).
- Remove the number plate.
- Loosen the upper fork clamp bolts.
- Remove the handlebar by removing the handlebar clamp bolts.
- Remove the front fork top plug, fork spring, and fork spring set.
WARNING
The top plugs are under extreme spring pressure and may eject with great force during service. Use care when removing the top plugs. Wear eye and face protection. Check both top plug O-rings for damage and replace them if necessary.

A. Top Plug
B. Fork Spring
C. Fork Spring Seat
- Slowly compress the front fork fully by pushing up the outer tubes using a jack or other suitable means under the front wheel.
- Place a stand or other suitable support under the front wheel.

A. Outer Tube
B. Stand
With the fork in this position, attach the oil level gauge (special tool) to the top of the fork tube, and measure the distance from the top of the inner tube to the oil level.

A. Oil Level Gauge (P/No. 57001-1290)
Adjust the fork oil level as required within the adjustable range using one of the following springs.
Fork Oil Level
Suspension Oil
SSB (1 L): P/No. 44091-0007
Install the fork spring with a thinner side toward the underside.

A. Fork Spring
B. Thinner Side
- Install the top plug and fork spring seat and tighten the top plug to 22.5 Nm (2.3 kgf m, 16.6 ft:lb).
- Assemble the other fork tube in the same way as described above.
- Torque the upper fork clamp bolts to 20 N m (2.0 kgfm, 14.5 ftlb).
- Install the handlebar, and tighten the handlebar clamp bolts to 25 Nm (2.5 kgfm, 18 ft Ib).
- Check the front brake for the proper brake effect, or no brake drag.
- Check the clutch lever and throttle for the proper operations.
- Install the parts removed.
Optional Fork Springs
Various fork springs are available to achieve suitable front fork action in accordance with the rider’s weight and track condition. Harder springs stiffen the fork action and accelerate the rebound damping. Softer springs soften the fork action and slow down the rebound damping.
Fork Height Adjustment
Steering is greatly affected by the fork height (how much the outer fork tubes protrude above the up- per fork clamp). The less the fork tube protrudes, the lighter the front end becomes, and the greater the tendency for understeering and washout due to weight biasing. Increasing the amount of fork tube protrusion has opposite effects. Be sure that the front tire does not touch the fender when the fork is fully compressed. Make this adjustment in 10 mm (0.39 in.) steps.
NOTICE
The right and left fork tubes must be adjusted evenly.

A. Outer Tube Topend
B. Standard Fork Height
C.Upper Surface
Standard Fork Height
20 mm (0.79 in.) Below the top of the outer tube.

