Contents
hide
2022 Kawasaki KX250 Footpeg
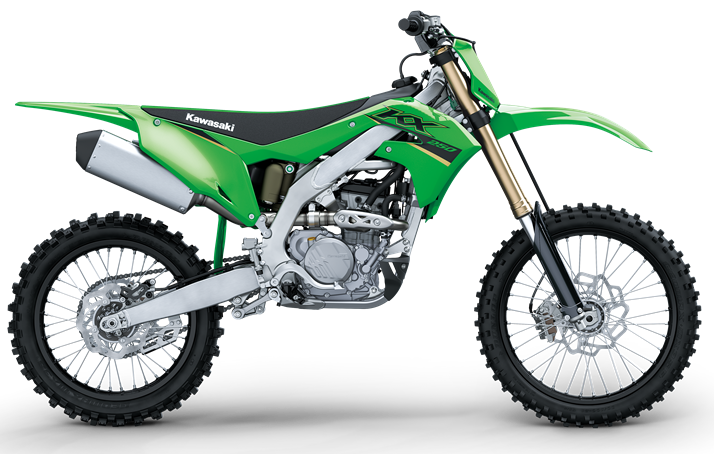
Footpeg
The right and left footpegs can be mounted onto one of two positions. Remove the cotter pin, pivot pin, washer, spring and footpeg.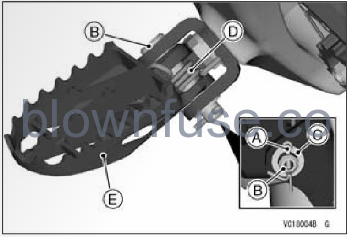
A. Cotter Pin
B. Pivot Pin
C. Washer
D. Spring
E. Footpeg
Remove the footpeg bracket bolts and bracket.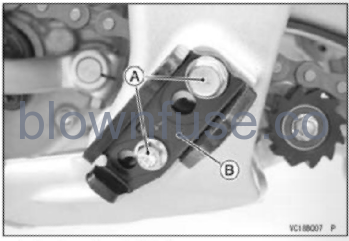
A. Footpeg Bracket Bolts
B. Footpeg Bracket
- Apply a non-permanent locking agent to the bracket bolts.
- Select the footpeg position.
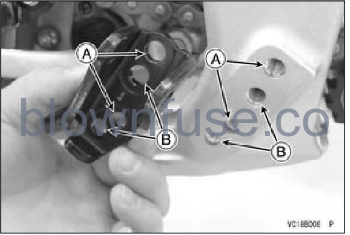
A. Standard Position
B. Lower Position
Tighten the footpeg bracket bolts to the specified torque.
Tightening Torque
Footpeg Bracket Bolts (M10) 35 Nm (3.6 kgf m, 26 ft-b) Footpeg Bracket Bolts (M8): 17 Nm (1.7 kgfm, 13 ft-lb)
- Apply grease to the pivot pin.
- Install the footpeg, spring and pivot pin. Insert the pivot pin from the front.
- Position the spring ends as shown.
- Install the washer and new cotter pin.
- Bend the longer end of the cotter pin.
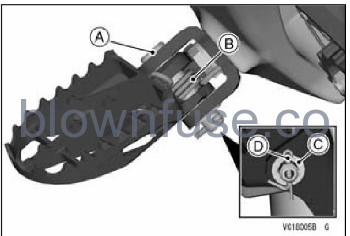
A. Pivot Pin
B. Spring Ends
C. Washer
D. Cotter Pin
NOTE
- Install the footpegs with same height on both sides. Do not ride the motorcycle with footpegs installed unevenly.
- Adjust the positions of the shift pedal and the brake pedal to suit the rider’s preference.
- Installing the footpegs in the lower position will reduce the amount of ground clearance and lean angle.
