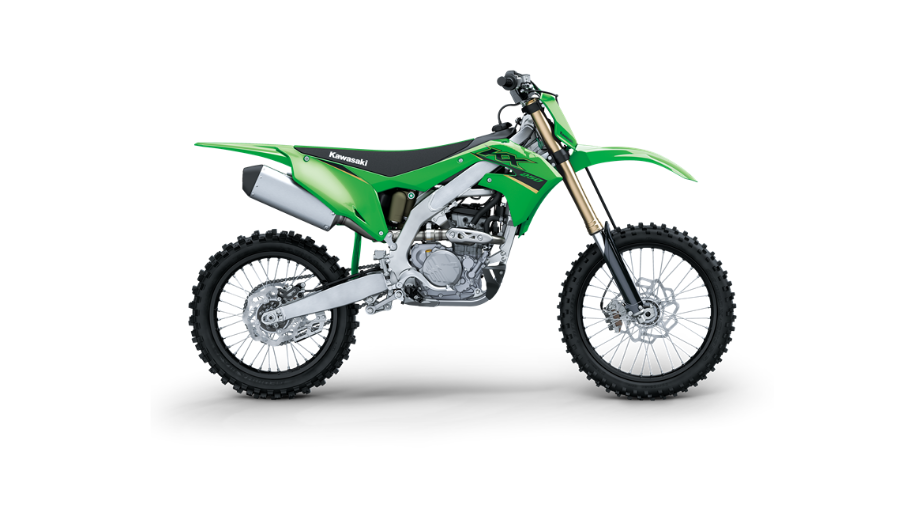
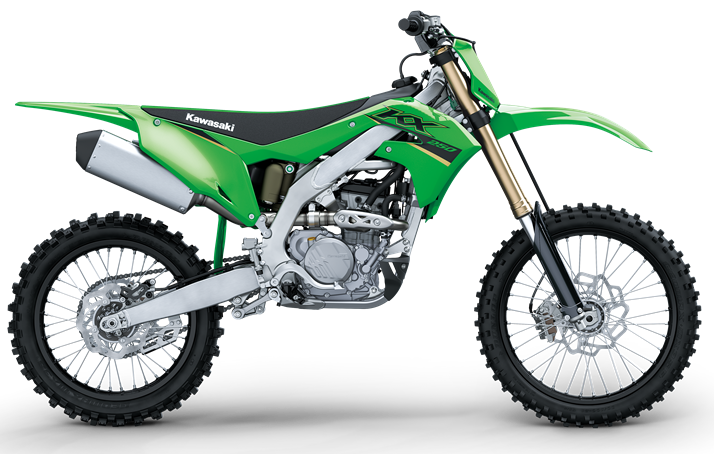
2022 Kawasaki KX250 Battery Owners Manual


2022 Kawasaki KX250 Battery


Battery
The battery installed in this motorcycle is a lithiumion type. The battery is factory sealed and requires no topping up of any fluid. Never attempt to open the battery.
Standard Battery
Make HangZhou Skyrich Power Co., Ltd.
Type HJ01
Kawasaki strongly recommends Kawasaki gen- uine lithium-ion battery because it is equipped with a protection circuit.
Precautions When Handling Battery
To prevent damage to the battery and/or other electrical parts, follow below instructions when handling the battery.
WARNING
The battery contains flammable organic elec trolyte. You and/or another person can be burned or seriously injured if the battery is handled improperly.
- Keep the battery out of the reach of chil dren.
- Be careful not to drop the battery or subject it to impacts. Do not use the battery if it has been dropped, subject to strong impact, or visibly damaged.
- Do not submerge the battery in water.
- Do not disassemble or modify the battery, or short across its terminals.
- Use the battery only for this motorcycle, no other use is allowed.
- Keep the battery away from heat, sparks, and flame.
NOTICE
To prevent damage to the battery and/or other electrical parts, follow below instructions.
- Do not disconnect the battery cables or any other electrical connections while the engine is running.
- Whenever both positive (+) and negative (-)battery cables are to be disconnected, disconnect the negative(-) battery cable first and then the positive (+) cable.
- Do not reverse the battery cable connections.
- When connecting the battery cables, first connect the positive (+) cable to the positive (+) terminal of the battery then the negative (-) cable to the negative (-) terminal.
- Do not install a lead-acid battery in place of the lithium-ion battery in this motorcycle, or the electrical system cannot work properly. Always replace the battery with another lithium-ion battery of the same type.
Battery Protection Features
The battery protection circuit is built in the battery. This circuit is provided to prevent the battery from over- charge damage, and overneat damage.
Battery Removal
- Remove the seat (see Spark Plug section).
- Disconnect the negative (-) cable from the negative (-) terminal.
- Slide the red cap from the positive (+) terminal.
- Disconnect the positive (+) cable from the positive (+) terminal.
- Remove the bolts, collars and battery holder.
A. Red Cap
B. Negative (-) Terminal
C. Positive (+) Terminal
D. Bolts
E. Collars
F. Battery Holder
- Take the battery out of the battery case.
- Clean the battery using a solution of baking soda and water. Be sure that the cable connections are clean.
Battery Installation
- Place the battery on the battery case.
- Install the battery holder and collars
- Tighten the battery holder bolts.
- Connect the positive (+) cable to the positive (+) terminal, and then connect the negative (-) cable to the negative (-) terminal.
Tightening Torque
Battery Terminal Screws:
4.5 Nm (0.46 kgfm, 40 in tb)
Put a light coat of grease on the terminals to prevent corrosion.
Cover the positive (+) terminal with the red cap. install the removed parts.
Battery Maintenance
- It is the owner’s responsibility to keep the battery well charged. Failure to do so can lead to battery failure and leave you stranded.
- Guidelines for checking interval:
- After riding, remove the battery cables from the battery. Measure the battery voltage before riding or every two weeks.
- if the voltage is less than 12.8 V charge the battery.
- Follow the instructions in the next section according to the battery voltage measurement.
- Battery Voftage Measurement
- Stop the engine.
- Remove the seat (see Spark Plug section).
- Measure the battery voltage with the voltmeter.
NOTE
- After charging, leave the battery for 1 to 2 hours before checking the voltage to get the reliable measurement.
- Choose an appropriate action from following list according to the battery voltage measurement.
Battery Charging
WARNING
- Keep inflammable materials away from the battery when charging.
- Charge the battery in an area which is well ventilated.
Normal Charging:
NOTICE
To prevent damage to the battery, do not use a charger designed for lead-acid batteries when charging the lithium-ion battery.
Charge the battery following the instructions of your battery charger. The charging current, charg- ing voltage and charging time must follow below guidelines to avoid battery damage.
Kawasaki-recommended chargers:
OptiMate Lithium 4S 0.8A
Skyrich HPO060W (HBC-LFO201)
Battery Charging Guidelines
Battery Storage
Remove the battery from the motorcycle and store it.
Battery Storage Guidelines
Measure the battery voltage regularly (every two weeks).
Slow charge the battery if the battery voltage is less than 12.8 V.
Battery Disposal
Improper battery disposal can be harmful to the environment and human health. Always confirm lo- cal regulations for proper battery disposal instruc- tion. Fully discharge the battery before disposal.
Recent Posts
VW Jetta Engine Fuse Box Diagram
Access the comprehensive 2010-2018 VW Jetta Passenger Fuse Box Diagram to troubleshoot electrical issues effectively.…
VW Jetta Passenger Fuse Box Diagram
Explore the comprehensive VW Jetta Passenger Fuse Box Diagram to troubleshoot electrical issues effectively. Understand…
2023 Ford F-150 Lightning Fuse Box Diagram
Under Hood Fuse Box Location Remove the front luggage compartment cover. Under Hood Fuse Box…
2022 Kawasaki NINJA H2 SX SE Brake Lever Adjuster Owner’s Manual
2022 Kawasaki NINJA H2 SX SE Brake Lever Adjuster Owner's Manual NOTICE Only adjust the front…
2023 Land Rover Range Rover Evoque Exiting The Vehicle Owners Manual
2023 Land Rover Range Rover Evoque Exiting The Vehicle SINGLE LOCKING WARNING Before exiting the…
2023 Land Rover Range Rover Evoque Front Seats Owners Manual
2023 Land Rover Range Rover Evoque Front Seats FRONT SEAT SAFETY Make sure to read…
