2022 Kawasaki KX112 Tightening Torques of Nuts and Bolts Owner’s Manual


2022 Kawasaki KX112 Tightening Torques of Nuts and Bolts


Tightening Torques of Nuts and Bolts
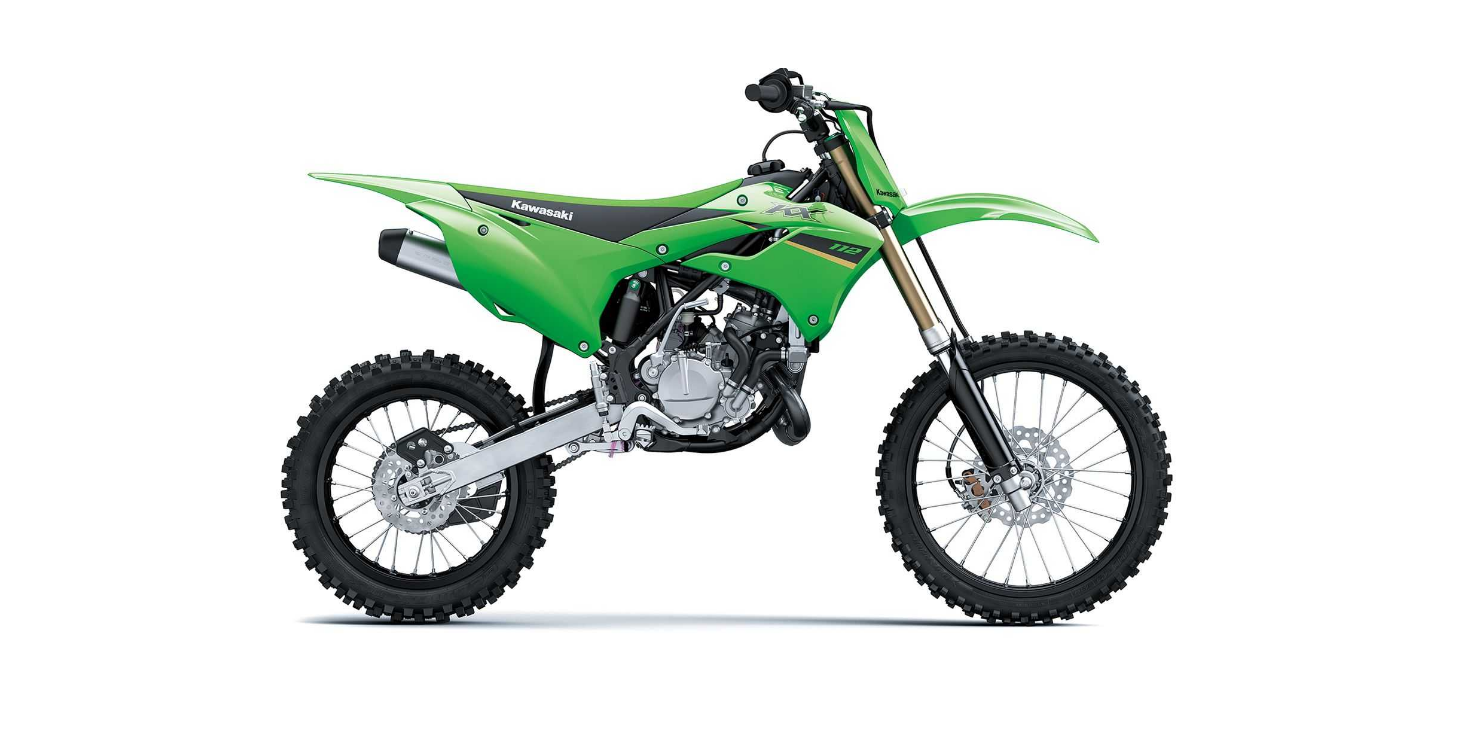
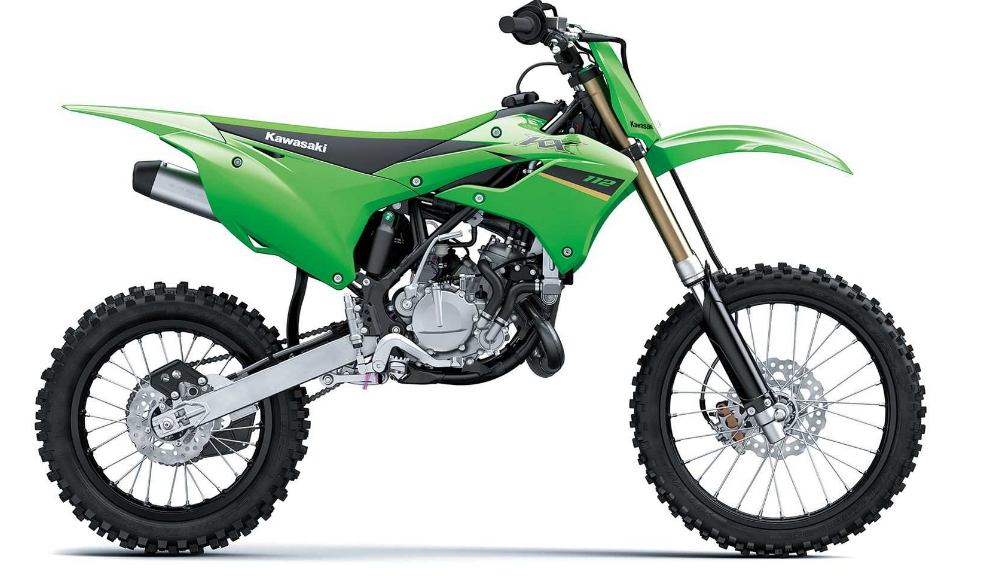
Location of nuts and bolts
Before the first ride of each day of operation, check the tightness of the nuts and bolts shown below. Check also that all cotter pins are in place and in good condition.
- Front Fork Clamp Bolts (Lower)
- Front Fork Clamp Bolts (Upper)
- Front Fork Top Plug
- Air Pressure Relief Screw
- Handlebar Holder Bolts
- Spark Plug
- Cylinder Head Nuts
- Cylinder Bolts
- Muffler Body Cover Bolts
- Front Brake Disc Mounting Bolts
- Spoke Nipples
- Front Axle Nut
- Compression Valve Assembly
- Front Caliper Mounting Bolts
- Brake Hose Banjo Bolt
- Bleed Valve
- Front Fork Push Rod Nut
- Handlebar Holder Nuts
- Cylinder Nuts
- Stator Coil Plate Mounting Screws
- Tie-Rod Mounting Nuts
- Rear Sprocket Nuts
- Rear Caliper Mounting Bolts
- Rear Brake Pad Pins
- Rear Master Cylinder Mounting Bolts
- Rear Frame Pipe Nuts
- Rear Shock Absorber Mounting Bolts
- Clutch Cover Bolts
- Clutch Spring Bolts
- Air Bleeder Bolt
- Front Master Cylinder Clamp Bolts
- Front Brake Reservoir Cap Screws
- Brake Lever Pivot Bolt
- Brake Lever Pivot Bolt Locknut
- Steering Stem Head Nut
- Steering Stem Nut
- Rear Brake Disc Mounting Bolts
- Rear Axle Nut
- Brake Pedal Bolt
- Rocker Arm Pivot Nut
- Rocker Arm Bracket Bolts
- Swingarm Pivot Shaft Nut
- Transmission Oil Drain Bolt
- Coolant Drain Bolt (Water Pump)
- Coolant Drain Bolt (Cylinder)
- Water Hose Clamp Screws
- Engine Bracket Mounting Nuts
Torque table
Tighten all nuts and bolts to the proper torque using an aCcurate torque wrench. An insufficiently tightened nut or bolt may become damaged or tall oOut, possibly resuiting in damage to the motorcycle and injury to the rider. An overtightened nut or bolt may become damaged, broken, or fall out.
- Tighten the two clamp bolts alternately two times to ensure even tightening torque.
- Apply grease.
- Apply a non-permanent locking agent.
- Replacement Parts
- Follow the specified tightening sequence.
- Apply silicone grease (ex. PBC grease).
- Apply 2-stroke oil.
Recent Posts
VW Jetta Engine Fuse Box Diagram
Access the comprehensive 2010-2018 VW Jetta Passenger Fuse Box Diagram to troubleshoot electrical issues effectively.…
VW Jetta Passenger Fuse Box Diagram
Explore the comprehensive VW Jetta Passenger Fuse Box Diagram to troubleshoot electrical issues effectively. Understand…
2023 Ford F-150 Lightning Fuse Box Diagram
Under Hood Fuse Box Location Remove the front luggage compartment cover. Under Hood Fuse Box…
2022 Kawasaki NINJA H2 SX SE Brake Lever Adjuster Owner’s Manual
2022 Kawasaki NINJA H2 SX SE Brake Lever Adjuster Owner's Manual NOTICE Only adjust the front…
2023 Land Rover Range Rover Evoque Exiting The Vehicle Owners Manual
2023 Land Rover Range Rover Evoque Exiting The Vehicle SINGLE LOCKING WARNING Before exiting the…
2023 Land Rover Range Rover Evoque Front Seats Owners Manual
2023 Land Rover Range Rover Evoque Front Seats FRONT SEAT SAFETY Make sure to read…
