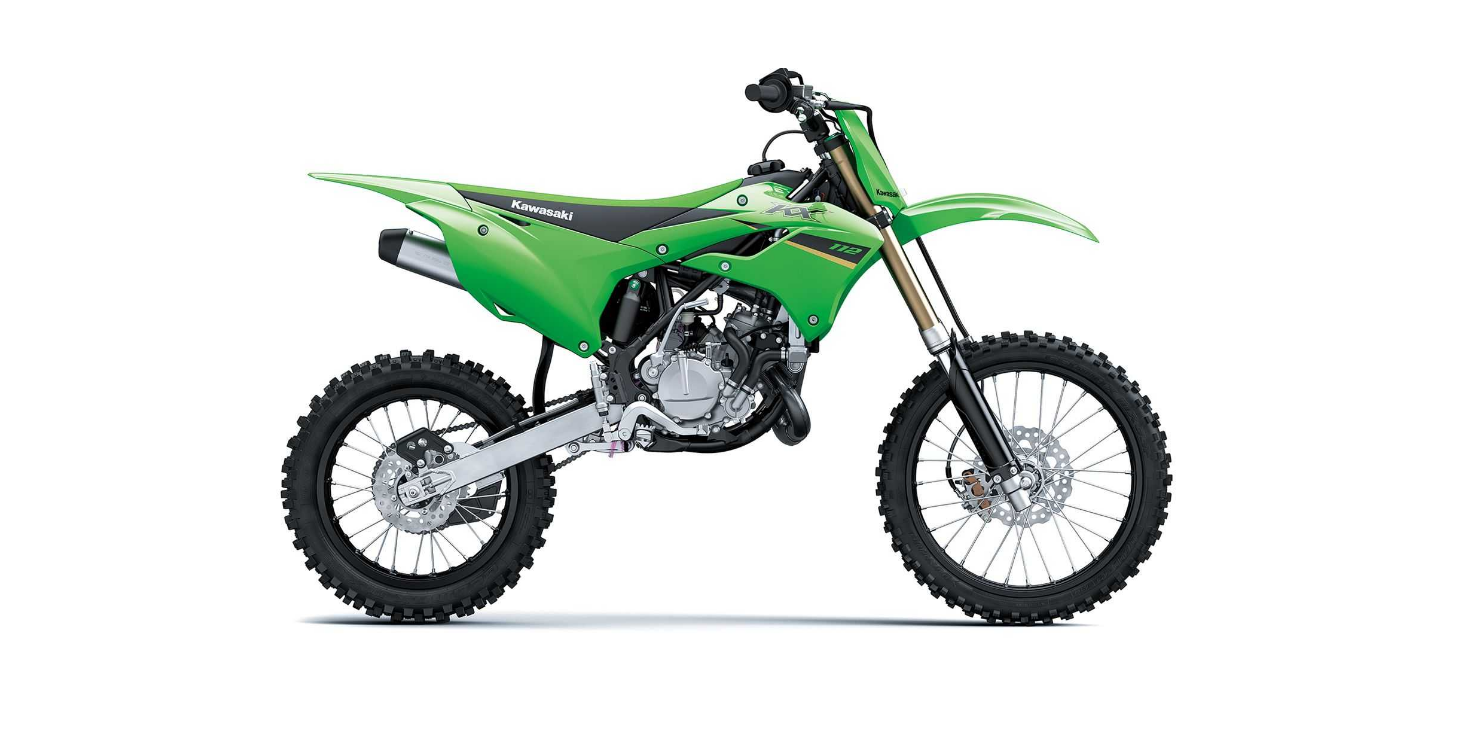
2022 Kawasaki KX112 Suspension Owner’s Manual


2022 Kawasaki KX112 Suspension


Suspension
Introduction
No area of machine adjustment is more critical than proper suspension tuning. An improperly tuned suspension will keep even the best rider from attaining the full benefit of his machine’s ability. Match the suspension to the rider and the course conditions.
WHILE TUNING THE SUSPENSION, KEEP THE FOLLOWING IMPORTANT POINTS IN MIND:
- If the machine is new, “break in” the suspension with at least one hour of riding before making any setting evaluations or changes.
- The three major factors which must be considered in suspension tuning are RIDER WEIGHT, RIDER ABILITY, and TRACK CONDITIONS. Additional influences include the RIDER’S STYLE and POSITIONING on the machine.
- Before changing the suspension settings, test changing your riding posture or position to check whether it is the cause of the problem or not.
- It is a wise practice to adjust the suspension to suit the rider’s strong points. If you are fast in the corners, adjust the suspension to allow fast cornering.
- Make setting changes in small increments. A little bit goes a long way, and a setting is easily over-adjusted.
- The front and rear suspension should always be balanced; when one is changed, the other one might need to be changed similarly.
- When evaluating suspension performance, the rider must make every effort to ride consistently and to recognize the effects of his input. Such things as changes in rider position and increasing fatigue may lead to incorrect judgments about necessary adjustments.
- When the proper settings have been determined for a particular track, they should be written down for reference when returning to the same track.
- Lubricate the bearings in the swingarm and UNI TRAK Linkage after a break-in and after every 5 races to prevent friction from affecting suspension performance.
Front Fork
Front Fork Oil Level
- The fork oil level in the fork tube is adjustable. A change in the fork oil level will not affect the spring force much at the top of fork travel, but it will have a great effect at the bottom of it.
- When the oil level is increased, the air spring becomes more progressive, and the front fork action feels “harder” in the later stage of fork travel, near the bottom.
- When the oil level is decreased, the air spring be- comes less progressive, and the front fork action does not feel “hard” in the later stage of fork travel.
Fork Oil Level Effect on Fork Stroke
- A. Weight
- B. Fork Stroke
- C. EX: 300 mm (11.8 in.)
- D. Increase Level
- E. Standard Oil Level
- F. Decrease Level
Changing the fork oil level works effectively at the end of fork travel. If fork bottoming is experienced, raise the fork oil level. This will change the secondary spring rate.
Fork Oil Level Adjustment
Adjust the fork oil level (see Front Suspension section).
Troubleshooting Improper Settings
Listed below are some symptoms of improper suspension settings and the most likely means of correcting them. The proper settings can be achieved by applying the information given in this chapter in a scientific, methodical manner. This does not mean, however, that you must be a scientist or trained technician to succeed. Simply take time to think about the changes you believe are necessary, check them against the symptoms and cures described here, make the changes in small increments, and take note of the changes and their effects.
Front Fork Improper Adjustment Symptoms
Too Hard Spring too stiff:
- Compression damping improperly adjusted.
- Spring too hard
- Fork oil level too high
- Fork air pressure high
Too Soft The front fork dives excessively during braking and deceleration
- Fork oil level too low
- Springs too soft
- Fork oil deteriorated
- Compression damping improperly adjusted.
Rear shock absorber improper adjustment symptoms
Too Hard Suspension too stiff:
Compression damping too high
Spring too hard
Rebound damping too high
Spring preload too hard
Too Soft Bottoming occurs on landing after a high jump (otherwise OK):
Spring preload too soft or compression damping too soft
Spring too soft
Shock absorber oil deteriorated
Determining the Proper Settings
Standard Settings
From the factory, the machine is set up for a medium-weight rider with intermediate riding ability. Hence, if the actual rider weighs considerably more or less, or if his riding experience and ability are much above or below the intermediate level, it is likely that a few basic suspension adjustments will be necessary.
Basic Readjustment of the Suspension
Suspension Tuning According to Ground Surface
Suspension Tuning According to the Type of Course
Begin the actual on-track testing and evaluation after making these preliminary adjustments. Bear in mind the following points when readjusting the suspension.
- Always make changes in small steps.
- The rider must be consistent in evaluating suspension performance.
- A change in the front suspension might require one in the rear suspension and vice versa.
Front and Rear Suspension Inspection
Use this procedure to determine if the suspension is balanced reasonably well.
- Hold the motorcycle upright (remove the side stand).
- While standing next to the machine, lightly pull the brake lever, place one foot on the footpeg closest to you, and push down hard. If the motorcycle stays level as the suspension is compressed, the spring rates are well balanced.
- Sit astride the motorcycle, take a riding posture and check that the machine is in a horizontal position. If one end drops noticeably more than the other, the front and rear are not compatible and must be readjusted to achieve a better balance.
- A. Push Down
Although this is one of the most effective adjustment procedures, suspension settings may vary depending on the conditions at the track and the rider’s preferences.
Front and Rear Suspension Troubleshooting
Front End Surges Downhill or During Acceleration Out of Corner
The front suspension is too soft.
- Increase the compression damping.
- Increase the fork oil level.
- Use a harder spring.
Front End “Knifes” or Oversteers in Turns (Tends to Turn Inward)
- The front suspension is too soft.
- Increase the compression damping.
- Increase the fork oil level.
NOTE
Heavieror expert riders may need a harder spring.
Front End Pushes or “Washes Out” in Turns (Front Wheel Tends to Push Outward Rather than “Bite” in a Turn)-
The front suspension is too stiff.
- Decrease the compression damping.
- Release some air from the fork tubes.
- Decrease the fork oil level.
- Use a softer spring.
NOTE
Lighter or less experienced riders may need a softer spring.
Front End Does Not Respond to Small Bumps in Sweeping Turns
The front suspension is too hard.
- Decrease the compression damping.
- Decrease the fork oil level.
- Use a softer spring.
Rear End “Kicks” When Braking on Bumps
- The rear shock absorber rebound damping may be too low.
- Increase the rebound damping.
Rear Tire Does Not “Hook Up” Out of Corners (Lack of Traction Coming Out of Turns)
The rear shock absorber may be too stiff.
- Decrease the rear shock absorber spring preload.
- Decrease the compression damping.
- Use a softer spring (lightweight rider only)
Front and Rear Ends Bottom Off After a High-speed Jump (harsh bottoming occurs once or twice per lap)
The front suspension is too soft.
- Increase the fork oil level.
- Use a harder spring.
The rear suspension is too soft.
- Increase the rear shock absorber spring preload or use a harder spring.
- Increase the rear shock absorber compression damping or use a harder spring.
NOTE
Check the front and rear suspension compatibility after making any adjustment.
Rear End Feels Soft on Bumps
- Increase the spring preload up to maximum.
- Increase the rear shock absorber compression damping
Rear End Bottoms After 3 or 4 Successive Jumps
- Decrease the rebound damping.
NOTE
- The rear shock absorber behavior on this machine may mislead some riders.
- The rear shock absorber bottoms (due to full stroke) when the spring and damping are over- come by the total weight of the machine and rider.
- A bottoming sensation (even though the machine is actually not bottoming) may be caused by ma- chine weight and the inability of the rider to over come an overly stiff spring or excessive damping.
- Observe the rear end jumps and try lowering the spring preload and darmping if it does not approach bottoming.
Recent Posts
VW Jetta Engine Fuse Box Diagram
Access the comprehensive 2010-2018 VW Jetta Passenger Fuse Box Diagram to troubleshoot electrical issues effectively.…
VW Jetta Passenger Fuse Box Diagram
Explore the comprehensive VW Jetta Passenger Fuse Box Diagram to troubleshoot electrical issues effectively. Understand…
2023 Ford F-150 Lightning Fuse Box Diagram
Under Hood Fuse Box Location Remove the front luggage compartment cover. Under Hood Fuse Box…
2022 Kawasaki NINJA H2 SX SE Brake Lever Adjuster Owner’s Manual
2022 Kawasaki NINJA H2 SX SE Brake Lever Adjuster Owner's Manual NOTICE Only adjust the front…
2023 Land Rover Range Rover Evoque Exiting The Vehicle Owners Manual
2023 Land Rover Range Rover Evoque Exiting The Vehicle SINGLE LOCKING WARNING Before exiting the…
2023 Land Rover Range Rover Evoque Front Seats Owners Manual
2023 Land Rover Range Rover Evoque Front Seats FRONT SEAT SAFETY Make sure to read…
