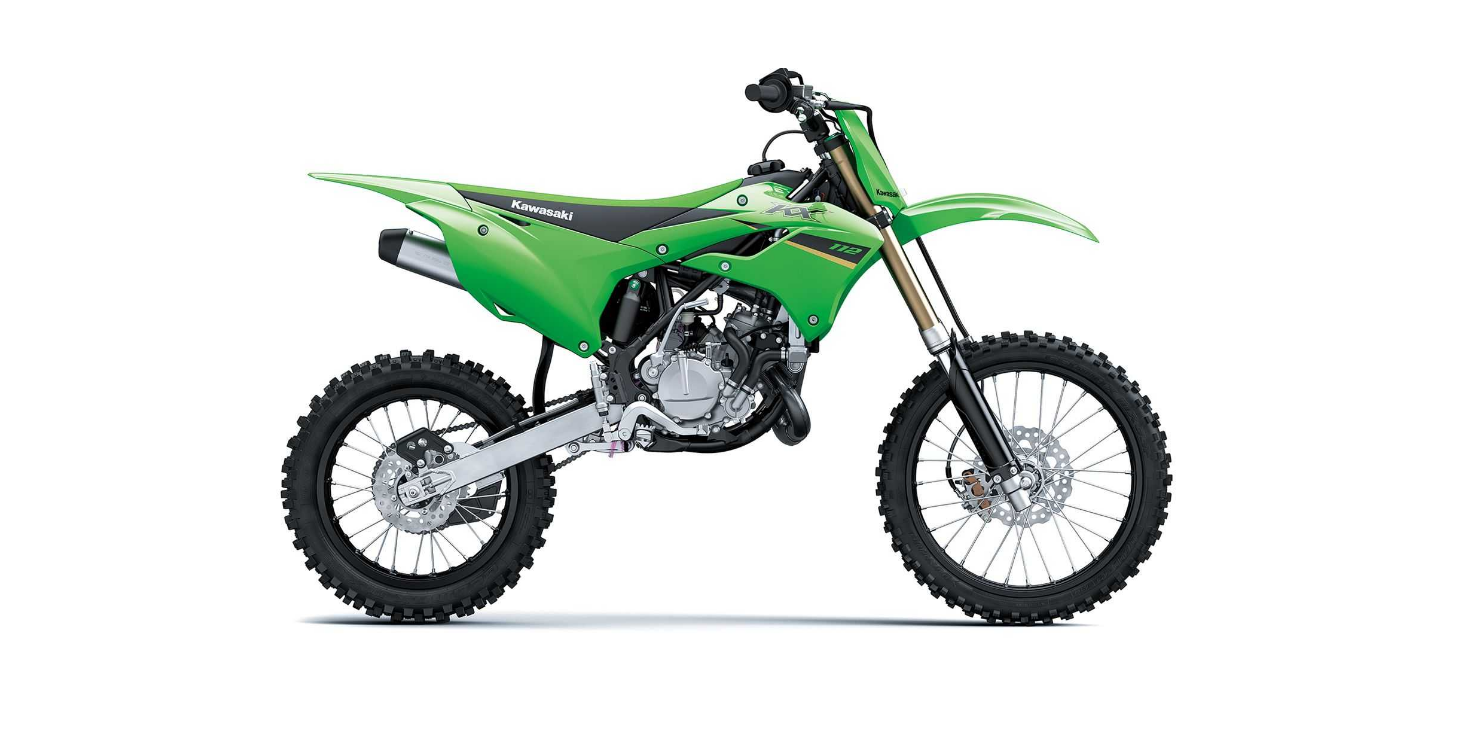
KX112
2022 Kawasaki KX112 Exhaust System Owners Manual


2022 Kawasaki KX112 Exhaust System


Exhaust System
- The exhaust system, in particular the muffler body, is designed to reduce exhaust noise and conduct the exhaust gas away from the rider while minimizing power loss. If carbon has built up inside the muffler body, exhaust efficiency is reduced, causing engine performance to drop.
- If the expansion chamber and/or muffler body is badly damaged, dented, cracked or rusted, replace it. Replace the silencer wool and/or silencer joint rubber if the exhaust noise becomes too loud or engine performance drops.
Silencer Wool Replacement
- Remove the seat bolt and side cover bolt.
- Remove the left side cover.
- A. Seat Bolt
- B. Side Cover Bolt
- C. Left Side Cover
- Remove the muffler mounting bolts and washer,and pull off the muffler from silencer joint rubber.
- A. Muffler Mounting Bolts
- B. Washer
- C. Muffler
- D. Silencer Joint Rubber
- Remove the liquid gasket on the silencer, tail pipe and baffle.
- Remove the muffler body cover bolts, and pull out the tail pipe.
- A. Muffler Body Cover Bolts
- B. Tail Pipe
- C. Baffle
- Remove the O-ring between the silencer wool and tail pipe.
- A. O-ring
- B. Silencer Wool
- Push out the baffle by tapping the inner pipe with a suitable tool.
- Pull off the silencer wool.
- A. Baffle
- B. Silencer Wool
- C. Push Out
- Replace the silencer wool and O-ring with new ones
- Instal the silencer wool into the silencer.
- Install the O-ring.
- Using a high flash-point solvent, clean off any oil or dirt that may be on the liquid gasket coating area.
- Dry them with a clean cloth.
- Apply liquid gasket to the joint part of the silencer and tail pipe.
- A. O-ring
- B. Liquid Gasket
- C. Silencer
- D. Tail Pipe
- Install the baffle and then install the tail pipe into the silencer.
- Apply a non-permanent locking agent to thread of the muffler body cover bolts.
- Tighten the muffler body cover bolts to the specified torque.
- Tightening Torque
- Muffler Body Cover Bolts: 8.8 N m (0.90 kgfm, 78 in-lb)
- Install the muffler and tighten the muffler mounting bolts.
- Using a high flash-point solvent, clean off any oil or dirt that may be on the liquid gasket coating area.
- Dry them with a clean cloth.
- Apply liquid gasket to the joint part of the silencer and baffle.
- A. Liquid Gasket
- B. Silencer
- C. Baffle
- Install the left side cover.
Recent Posts
VW Jetta Engine Fuse Box Diagram
Access the comprehensive 2010-2018 VW Jetta Passenger Fuse Box Diagram to troubleshoot electrical issues effectively.…
1 year ago
VW Jetta Passenger Fuse Box Diagram
Explore the comprehensive VW Jetta Passenger Fuse Box Diagram to troubleshoot electrical issues effectively. Understand…
1 year ago
2023 Ford F-150 Lightning Fuse Box Diagram
Under Hood Fuse Box Location Remove the front luggage compartment cover. Under Hood Fuse Box…
2 years ago
2022 Kawasaki NINJA H2 SX SE Brake Lever Adjuster Owner’s Manual
2022 Kawasaki NINJA H2 SX SE Brake Lever Adjuster Owner's Manual NOTICE Only adjust the front…
2 years ago
2023 Land Rover Range Rover Evoque Exiting The Vehicle Owners Manual
2023 Land Rover Range Rover Evoque Exiting The Vehicle SINGLE LOCKING WARNING Before exiting the…
3 years ago
2023 Land Rover Range Rover Evoque Front Seats Owners Manual
2023 Land Rover Range Rover Evoque Front Seats FRONT SEAT SAFETY Make sure to read…
3 years ago
