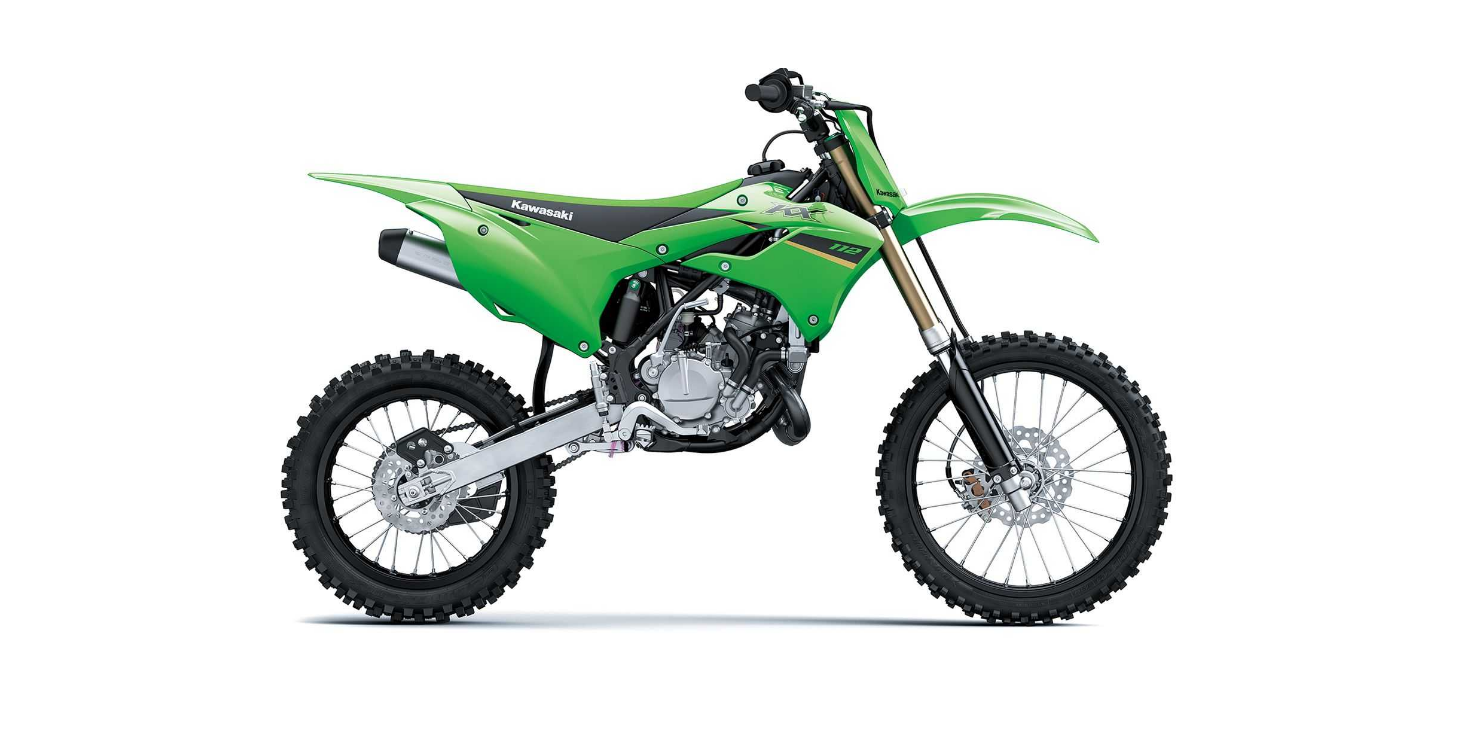
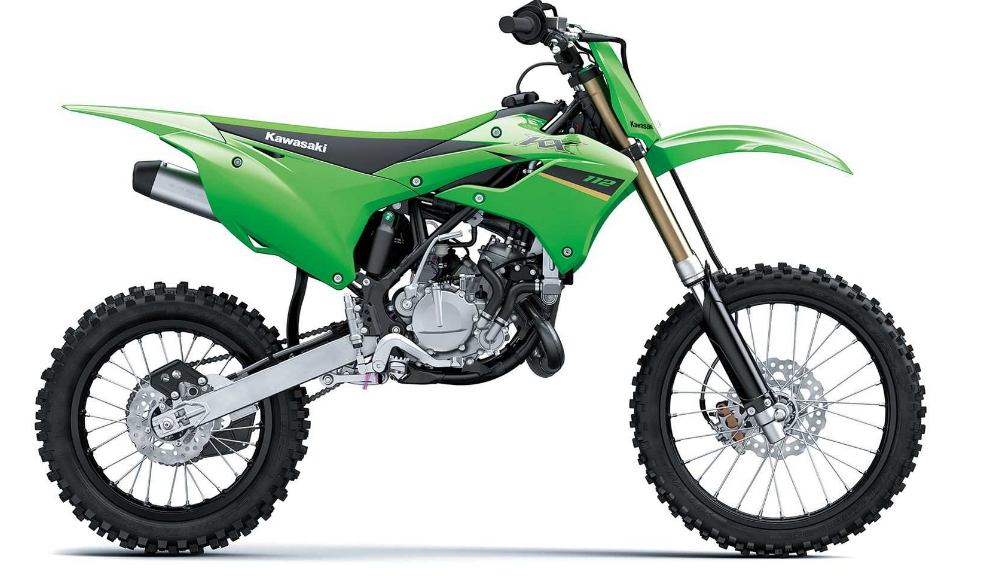
2022 Kawasaki KX112 Carburetor Owners Manual


2022 Kawasaki KX112 Carburetor


Carburetor
Idle Speed Adjustment
ldle speed adjustment is carried out using the air screw and idle adjusting screw.
- Start the engine and warm it up thoroughly.
- First turn the air screw in until it is lightly seated, then back it out 1 3/4 turns.
- Turn the idle adjusting screw to obtain the desired idle speed. If you do not wish the engine to idle, turn out the screw until the engine stops.
- A. Air Screw
- B. Idle Adjusting Screw
- Open and close the throttle a few times to make sure the idle speed does not change and readjust if necessary.
- With the engine idling, turn the handlebars both ways and check if handlebars movement changes the idle speed. If so, the throttle cable may be im- properly adjusted, incorrectly routed, or damaged. Be sure to correct any of these conditions before riding.
NOTICE
Do not force the air screw beyond the fully seated position, or the adjusting mechanism may be damaged.
WARNING
Operation with damaged cables could result in an unsafe riding conditions. Replace damaged control cables before operation.
NOTICE
This motorcycle’s radiator does not incorporate a cooling fan. Prolonged idling of the engine with no airflow through the radiator can cause coolant loss and engine overheating resulting in possible engine damage. riding conditions that increase engine temperature will further reduce idling time before coolant loss occurs. These conditions include high ambient temperature, sandy or muddy terrain, or other conditions causing high engine loads at low speeds. Furthermore, warming the engine up excessively be- fore operation, or leaving idling with the hot engine temperature after operation results in the engine overheating, too.
Cleaning the Carburetor
- Pull the rubber boot off the upper end of the throttle cable (see Throttle Cable section).
- Slide-out the cable housing dust cover.
- Remove the screws and the throttle case cover.
- A. Cable Housing Dust Cover
- B. Screws
- C. Throttle Case Cover
- Loosen the locknut.
- Remove the upper end of the throttle cable.
- Take the adjuster and locknut off the throttle case.
- A. Locknut
- B. Adjuster
- C. Throttle Case
- D. Upper End of the Throttle Cable
- Turn the fuel tap lever to the “OFF” position (see Stopping the Engine section).
- Free out the carburetor overflow hose from the clamp on the magneto cover.
- Slide-out the clamp and pull the fuel hose off.
- Loosen the carburetor clamp screws.
- Remove the carburetor from the end of the air cleaner duct, and then pull it out of the cylinder intake joint.
- A. Carburetor Overflow Hose
- B. Magneto Cover
- C. Clamp
- D. Fuel Hose
- E. Carburetor Clamp Screws
- F. Carburetor
- G. Air Cleaner Duct
- H. Cylinder Intake Joint
- Place a container under the fuel drain plug.
- Remove the fuel drain plug and drain the fuel.
- A. Fuel Drain Plug
- Remove the carburetor cap screws and take off the carburetor body.
- A. Carburetor Cap Screws
- B. Carburetor Body
- After removing the carburetor, cover the cylinder intake joint and air cleaner duct with a clean cloth to protect them from dirt.
- Clean the carburetor as follows.
NOTICE
- Never drop the carburetor, especially on a hard surface.
- Such a shock to the carburetor can damage it
WARNING
Gasoline and low flash-point solvents can be flammable and/or explosive and cause severe burns. Clean the carburetor in a well-ventilated area, and take care that there are no sparks or flame anywhere near the working area; this includes any appliance with a pilot light. Do not use gasoline or a low flash-point solvent to clean the carburetor.
NOTICE
- Do not use compressed air on an assembled carburetor, the float may be deformed by the pressure.
- Remove as many rubber or plastic parts from the carburetor as possible before cleaning the carburetor with a cleaning solution. This will prevent damage or deterioration of the parts. Do not use a strong carburetor cleaning solution that could attack the plastic parts; instead, use a mild high flash-point cleaning solution safe for plastic parts.
- Do not use wire or any other hard instrument to clean carburetor parts, especially jets, as they may be damaged.
- Immerse all metal parts in a carburetor cleaning solution.
- Rinse the parts in water.
- After the parts are cleaned, dry them with compressed air.
- Blow through the air and fuel passages with compressed air.
- A. Compressed Air
- Replace the float bowl O-ring and drain plug O-ring with new ones.
- Assemble the carburetor body.
- Lubricate the lower and upper end of the throttle cable (see Lubrication section) and reinstall it.
NOTICE
If dirt gets through into the engine, excessive engine wear and possibly engine damage will occur.
- A. Lower End of the Throttle Cable
- Replace the carburetor cap gasket with a new one.
- Tighten the carburetor cap screws.
- Install the removed parts.
- Adjust the throttle cable (see Throttle Cable section).
Tightening Torque
- Carburetor Cap Screws: 2.1 Nm (0.21 kgfm, 19 in-b)
Tightening Torque
- Carburetor Clamp Screws: 1.1 N m (0.11 kgfm, 10 in-Ib)
WARNING
Operation with improperly adjusted, incorrectly routed, or damaged cable could result in an unsafe riding condition. Be sure the control cable is adjusted and routed correctly, and is free from damage.
Recent Posts
VW Jetta Engine Fuse Box Diagram
Access the comprehensive 2010-2018 VW Jetta Passenger Fuse Box Diagram to troubleshoot electrical issues effectively.…
VW Jetta Passenger Fuse Box Diagram
Explore the comprehensive VW Jetta Passenger Fuse Box Diagram to troubleshoot electrical issues effectively. Understand…
2023 Ford F-150 Lightning Fuse Box Diagram
Under Hood Fuse Box Location Remove the front luggage compartment cover. Under Hood Fuse Box…
2022 Kawasaki NINJA H2 SX SE Brake Lever Adjuster Owner’s Manual
2022 Kawasaki NINJA H2 SX SE Brake Lever Adjuster Owner's Manual NOTICE Only adjust the front…
2023 Land Rover Range Rover Evoque Exiting The Vehicle Owners Manual
2023 Land Rover Range Rover Evoque Exiting The Vehicle SINGLE LOCKING WARNING Before exiting the…
2023 Land Rover Range Rover Evoque Front Seats Owners Manual
2023 Land Rover Range Rover Evoque Front Seats FRONT SEAT SAFETY Make sure to read…
