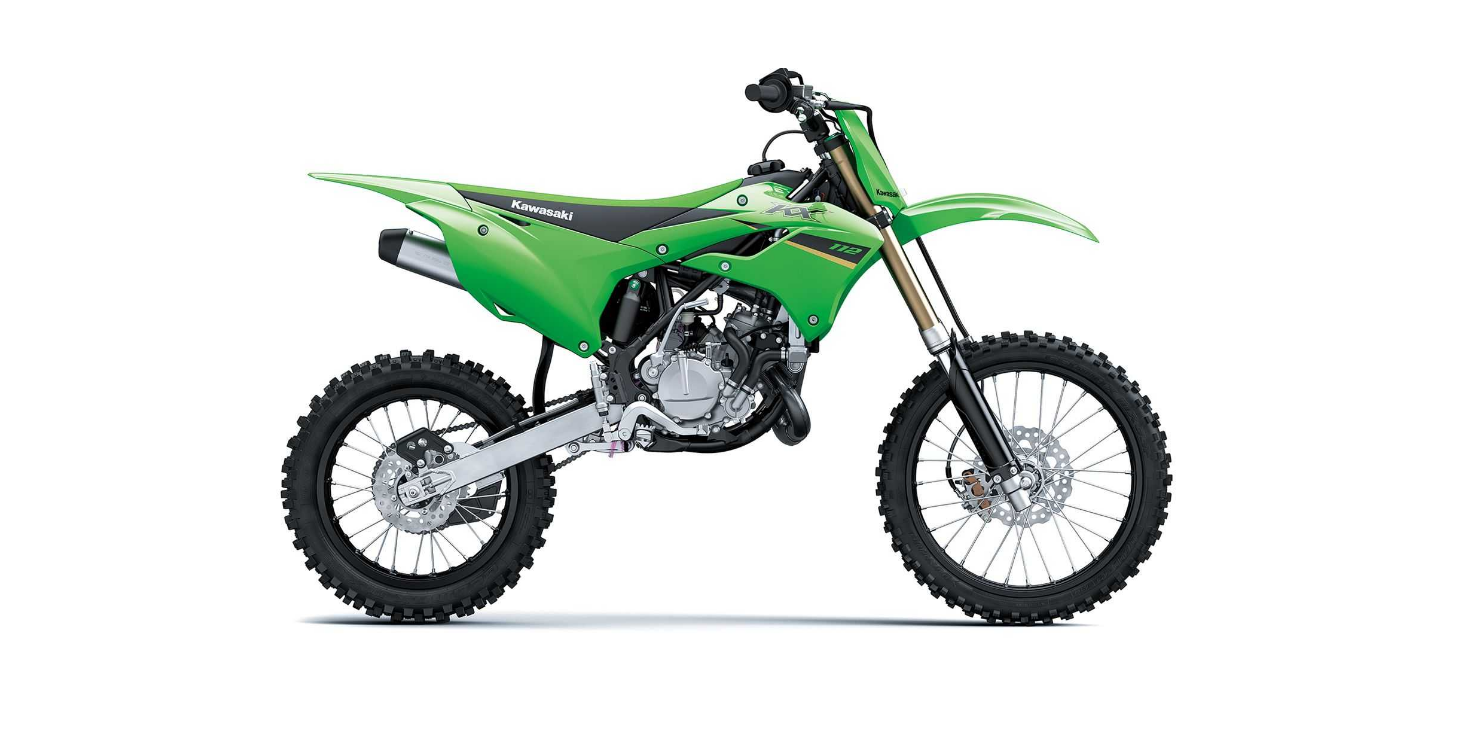
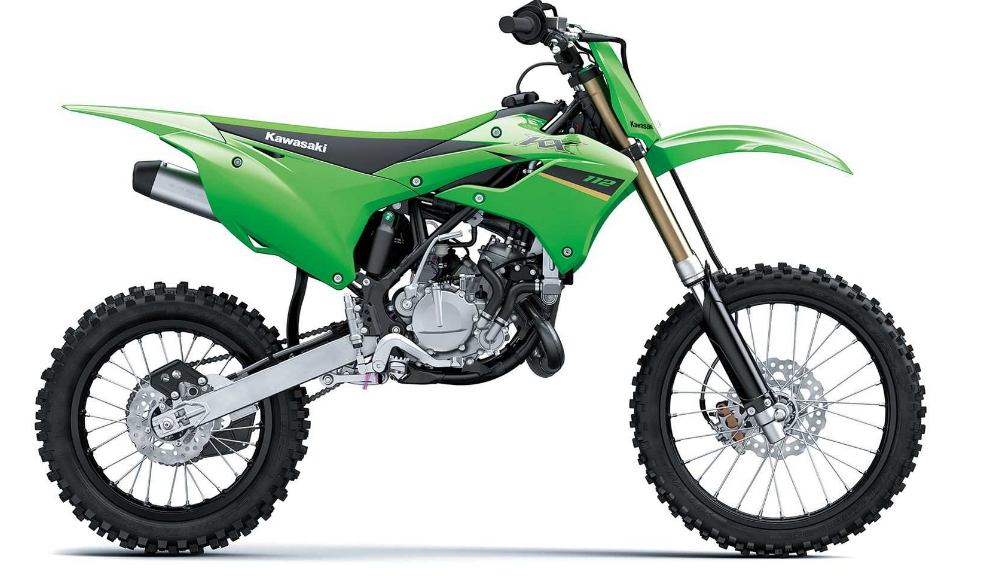
2022 Kawasaki KX112 Adjustable Ergonomics Owners Manual


2022 Kawasaki KX112 Adjustable Ergonomics


Adjustable Ergonomics
Handlebar Removal
Unlock the clamp of the number plate (see Steering section).
Remove the handlebar holder bolts, the handlebar holders, and the handlebars.
- A. Handlebars
- B. Handlebar Holders
- C. Handlebar Holder Bolts
Check the handlebars for bent or cracked.
Handlebar Installation
- Apply 2-stroke oil to the thread of the handlebar holder bolts.
- Install the holders so that the arrow marks on the holders point at the front.
- Align the punch mark on the handlebars with a gap at the rear of the handlebar holder.
- A. Handlebars
- B. Handlebar Holders
- C. Arrow Marks
- D. Punch Mark
- Tighten the front handlebar holder bolts first and then the rear ones. If the handlebar holders are correctly installed, there will be a gap at the rear part after tightening
- A. Handlebar Holders
- B. Gap
- Tightening Torque
-
- Handlebar Holder Bolts: 25 Nm (2.5 kgf m, 18 ftlb)
-
- Check the front brake for the proper brake effect, or no brake drag.
- Check the clutch lever and throttle for the proper operations.
Handlebar Height Adjustment
- The handlebar height can be adjusted in the two positions (5 mm (0.20 in.) or 10 mm (0.39 in.) higher than the standard-setting).
- Remove the handlebars (see Handlebar Removal in this section).
- Remove the handlebar holder nuts and washers, and the handlebar holders.
- A. Handlebar Holders
- B. Handlebar Holder Nuts and Washers
- Select the handlebar height as follows.
- Install the collars between the handlebar holders and steering stem head.
- A. 5 mm (0.20 in.) Higher than Standard Setting
- B. 10 mm (0.39 in.) Higher than Standard Setting
- C. Collars
- D. Handlebar Holder (Both Sides)
- E. Steering Stem Head
- Replace the handlebar holder nuts with new ones.
- Install the handlebar holders, the handlebar holder nuts, and washers.
- Tighten the handlebar holder nuts to the specified torque.
- Tightening Torque
- Handlebar Holder Nuts: 35 N m (3.6 kgfm, 26 ftlb)
- Install the handlebars (see Handlebar Installation in this section).
Handlebar Position Adjustment
- To suit various riding positions, the handlebar position can be adjusted by turning the handlebar holders around.
- Remove the handlebars (see Handlebar Removal in this section).
- Remove the handlebar holder nuts and washers, and the handlebar holders.
- A. Handlebar Holders
- B. Handlebar Holder Nuts and Washers
- Turn the handlebar holders 180°.
- Put the handlebars on the handlebar holders.
- Replace the handlebar holder nuts with new ones.
- Install the handlebar holders, the handlebar holder nuts, and washers.
- Tighten the handlebar holder nuts to the specified torque.
- Tightening Torque
- Handlebar Holder Nuts: 35 N-m (3.6 kgfm, 26 ft-lb)
- Install the handlebars (see Handlebar Installation in this section).
Recent Posts
VW Jetta Engine Fuse Box Diagram
Access the comprehensive 2010-2018 VW Jetta Passenger Fuse Box Diagram to troubleshoot electrical issues effectively.…
VW Jetta Passenger Fuse Box Diagram
Explore the comprehensive VW Jetta Passenger Fuse Box Diagram to troubleshoot electrical issues effectively. Understand…
2023 Ford F-150 Lightning Fuse Box Diagram
Under Hood Fuse Box Location Remove the front luggage compartment cover. Under Hood Fuse Box…
2022 Kawasaki NINJA H2 SX SE Brake Lever Adjuster Owner’s Manual
2022 Kawasaki NINJA H2 SX SE Brake Lever Adjuster Owner's Manual NOTICE Only adjust the front…
2023 Land Rover Range Rover Evoque Exiting The Vehicle Owners Manual
2023 Land Rover Range Rover Evoque Exiting The Vehicle SINGLE LOCKING WARNING Before exiting the…
2023 Land Rover Range Rover Evoque Front Seats Owners Manual
2023 Land Rover Range Rover Evoque Front Seats FRONT SEAT SAFETY Make sure to read…
