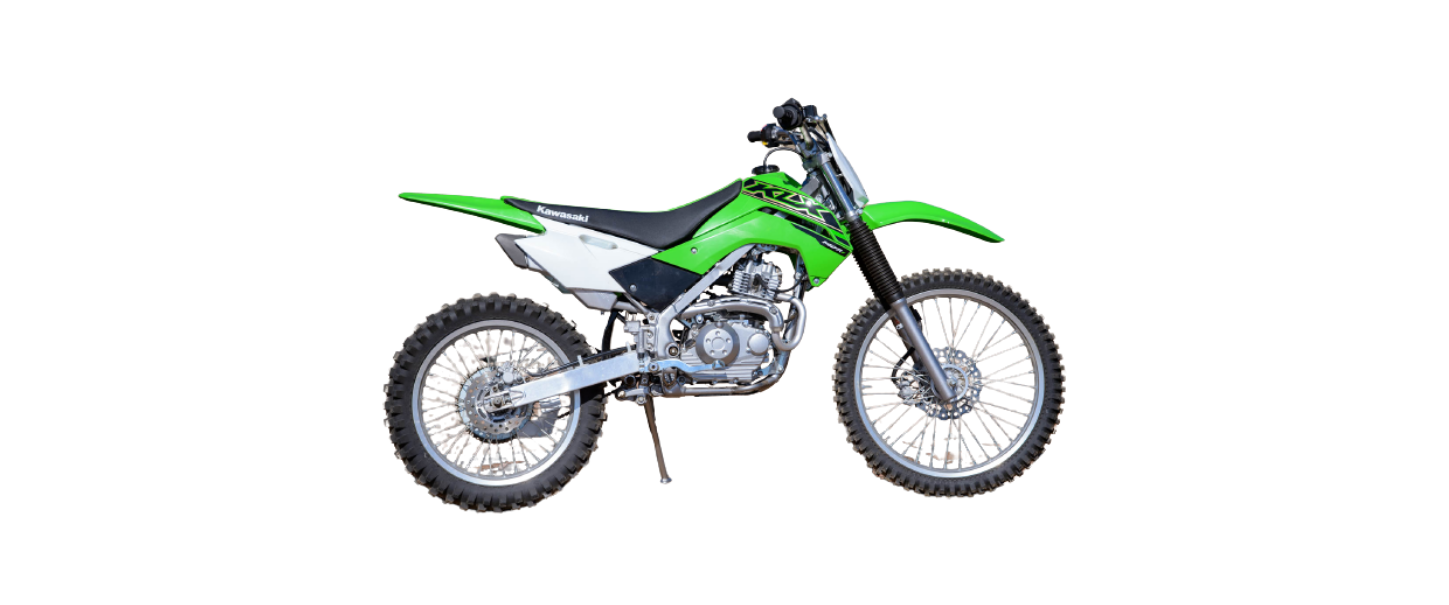
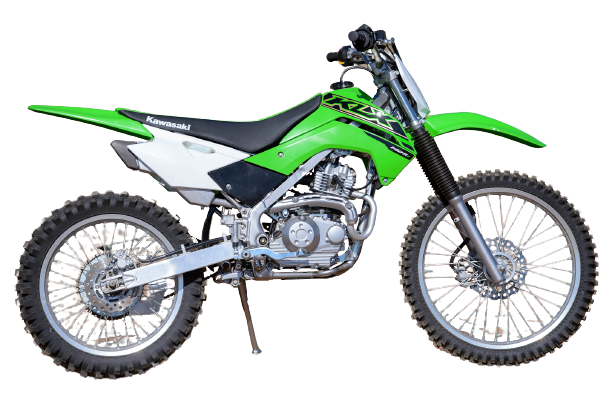
2022 Kawasaki KLX140R Cleaning Your Motorcycle Owner’s Manual


2022 Kawasaki KLX140R Cleaning Your Motorcycle


Cleaning Your Motorcycle
General Precautions
Frequent and proper care of your Kawasaki motorcycle will enhance its appearance, optimize over- all performance, and extend its useful life. Covering your motorcycle with a high quality, breathable mo- torcycle cover will help protect its finish from harmful UV rays, pollutants, and reduce the amount of dust reaching its surfaces.
WARNING
Build-up of debris or flammable material in and around the vehicle chassis, engine, and exhaust can cause mechanical problems and increase the risk of fire. When operating the vehicle in conditions that allow debris or flammable material to collect in and around the vehicle, inspect the engine, electrical component and exhaust areas frequently. materials have collected, park the vehicle outside and stop the engine. engine to cool, then remove any collected debris. Do not park or store the vehicle in an enclosed space prior to inspecting for build-up of debris or flammable materials.
- Be sure the engine and exhaust are cool before washing.
- Avoid applying degreaser to seals, brake pads, and tires.
- Always use non-abrasive wax and cleaner/polisher
- Avoid all harsh chemicals, solvents, detergents and household cleaning products such as ammonia-based window cleaners.
- Gasoline, brake fluid, and coolant will damage thefinish of painted and plastic surfaces: wash them off immediately.
- Avoid wire brushes, steel wool, and all other abra- sive pads or brushes.
- Use care when washing the plastic parts as they can easily be scratched.
- Avoid using pressure washers; water can penetrate seals and electrical components and damage your motorcycle.
- Avoid spraying water in delicate areas such as in air intakes, carburetors, brake components, electrical components, muffler outlets, and fuel tank openings.
Washing Your Motorcycle
- Rinse your bike with cold water from a garden hose to remove any loose dirt.
- Mix a mild neutral detergent (designed for motor- cycles or automobiles) and water in bucket. Use a soft cloth or sponge to wash your motorcycle. If needed, use a mild degreaser to remove any oil or grease build up.
- After washing, rinse your motorcycle thoroughly with clean water to remove any residue (residue from the detergent can damage parts of your motorcycle).
- Use a soft cloth to dry your motorcycle. As you dry, inspect your motorcycle for chips and scratches.
- Do not let the water air dry as this can damage the painted surfaces.
- After cleaning your motorcycle, check the rubber boot covering the shift pedal ball joint for correct installation. Be sure the sealing lip of the rubber boot fits into the groove of the ball joint.
- A. Boots
- If the boot is damaged, replace it with a new one.
- If the boot is not positioned in the groove correctly, replace it in the correct position.
- A. Lip set not in the correct position
- B. Lip set correctly in the groove
- Start the engine and let it idle for several minutes.
- The heat from the engine will help dry moist areas.
- Carefully ride your motorcycle at a slow speed and apply the brakes several times. This helps dry the brakes and restores them to normal operating performance.
- Lubricate the drive chain to prevent rusting.
NOTE
After riding in an area where the roads are salted or near the ocean, immediately wash your motorcycle with cold water Do not use warm water as it accelerates the chemical reaction of the salt. Af- ter drying, apply a corrosion protection spray on all metal and chrome surfaces to prevent corrosion.
Semi-gloss Finish
To clean the semi-gloss finish;
- When washing the motorcycle, always use a mild neutral detergent and water.
- The semi-gloss finish effect may be lost when the finish is excessively rubbed.
- If any doubt, consult an authorized Kawasaki dealer.
Painted Surfaces
- After washing your motorcycle, coat painted sur- faces, both metal and plastic, with a commercially available motorcycle/automotive wax. WNax should be applied once every three months or as conditions require. Avoid surfaces with “satin” or “flat” finishes.
- Always use non-abrasive products and apply them according to the instructions on the container.
Plastic Parts
After washing use a soft cloth to gently dry plastic parts. When dry, treat the non-painted plastic parts with an approved plastic cleaner/polisher product.
NOTICE
- Plastic parts may deteriorate and break if they come in contact with chemical substances or household cleaning products such as gasoline, brake fluid, window cleaners, thread-locking agents, or other harsh chemicals. If a plastic part comes in contact with any harsh chemical substance, wash it off immediately with water and a mild neu tral detergent, and then inspect for damage.
- Avoid using abrasive pads or brushes to clean plastic parts, as they will damage the part’s finish.
Chrome and Aluminum
- Chrome and uncoated aluminum parts can be treated with a chrome/aluminum polish. aluminum should be washed with a mild neutral deCoated
- tergent and finished with a spray polish. Aluminum wheels, both painted and unpainted can be cleaned with special non-acid-based wheel spray cleaners.
Leather, Vinyl, and Rubber
- If your motorcycle has leather accessories, special care must be taken. Use a leather cleaner/treatment to clean and care for leather accessories. Washing leather parts with detergent and water will damage them, shortening their life.
- Vinyl parts should be washed with the rest of the motorcycle, then treated with a vinyl treatment.
The sidewalls of tires and other rubber compo- nents should be treated with a rubber protectant to help prolong their useful life.
WARNING
Rubber protectants can be slippe used on the tread area, cause loss of traction resulting in accident causing injury or death. Do not apply rubber protectant to any tread area.
Recent Posts
VW Jetta Engine Fuse Box Diagram
Access the comprehensive 2010-2018 VW Jetta Passenger Fuse Box Diagram to troubleshoot electrical issues effectively.…
VW Jetta Passenger Fuse Box Diagram
Explore the comprehensive VW Jetta Passenger Fuse Box Diagram to troubleshoot electrical issues effectively. Understand…
2023 Ford F-150 Lightning Fuse Box Diagram
Under Hood Fuse Box Location Remove the front luggage compartment cover. Under Hood Fuse Box…
2022 Kawasaki NINJA H2 SX SE Brake Lever Adjuster Owner’s Manual
2022 Kawasaki NINJA H2 SX SE Brake Lever Adjuster Owner's Manual NOTICE Only adjust the front…
2023 Land Rover Range Rover Evoque Exiting The Vehicle Owners Manual
2023 Land Rover Range Rover Evoque Exiting The Vehicle SINGLE LOCKING WARNING Before exiting the…
2023 Land Rover Range Rover Evoque Front Seats Owners Manual
2023 Land Rover Range Rover Evoque Front Seats FRONT SEAT SAFETY Make sure to read…
