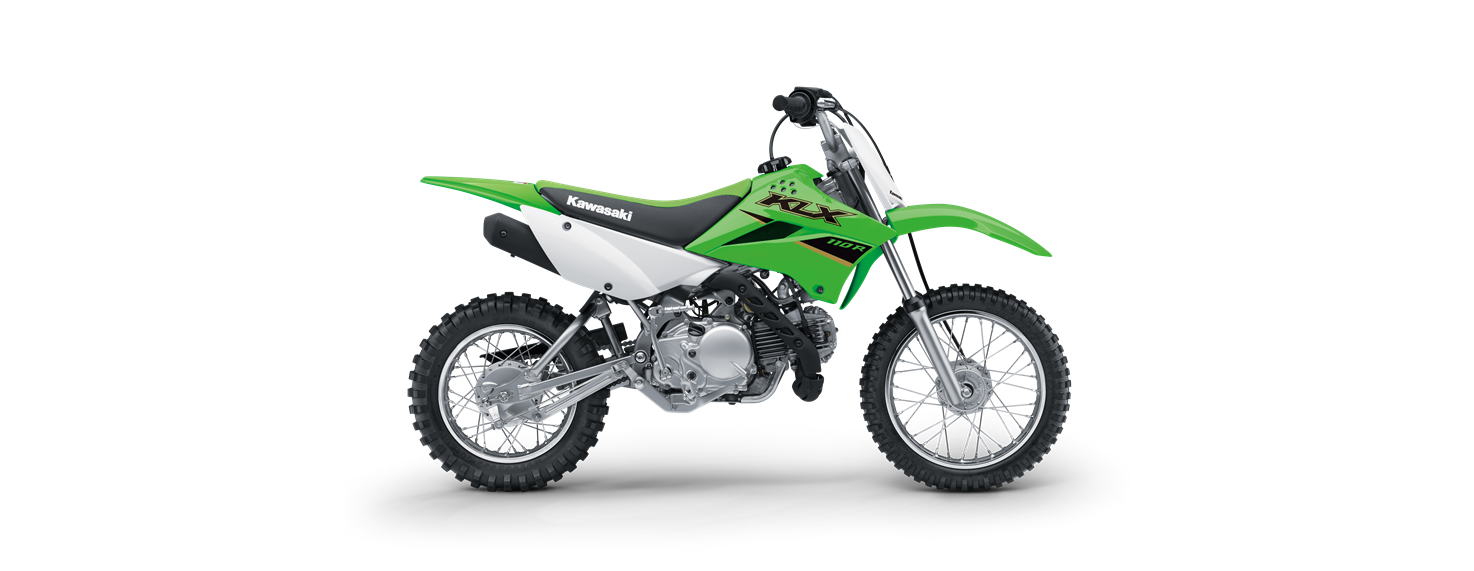
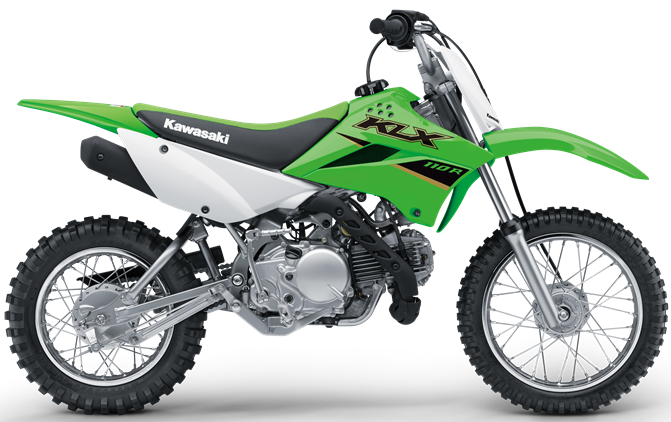
2022 Kawasaki KLX110R L Engine Oil Owner’s Manual


2022 Kawasaki KLX110R L Engine Oil


Engine Oil
In order for the engine, transmission, and clutch to function properly, maintain the engine oil at the
proper level, and change the oil and oil filter in ac- accordance with the Periodic Maintenance Chart. Not only do dirt and metal particles collect in the oil, but the oil itself loses its lubricative quality if used too long.
WARNING
Motorcycle operation with insufficient deteriorated, or contaminated engine oil will cause accelerated wear and may result in engine or transmission seizure, accident, and injury. Check the oil level before each ride and change the oil according to the periodic maintenance chart in the Owner’s Manual.
NOTICE
Racing the engine before the oil reaches every part can cause engine seizure.
Oil Level Inspection
- If the oil has just been changed, let the motorcycle sit a few minutes allowing the oil to settle.
- Start the engine and run it for several minutes at idle speed. Do not run the engine at high engine speed.
- Stop the engine and wait several minutes for the oil to settle.
- Check the engine oil level with the motorcycle vertical through the oil level inspection window on the lower right side of the engine. The oil level should come up between the high and low-level lines next to the oil level inspection window.
NOTE
- if the oil level is too high, remove the excess oil using a syringe or other suitable device.
- if the oil level is too low, add the correct amount of oil through the oil filler opening. Use oil of the same type and brand as those the one that is already in the engine
NOTE
- lf no oil appears in the oil level inspection window, tip the motorcycle slightly to the right until oil is visible then return to an upright position. If no oil appears even when tipped at an extreme angle, remove the drain bolt to empty any oil that may be in the transmission and crankcase, reinstall the drain bolt and refill with the specified amount of oil.
A. Oil Level Inspection Window
B. High-Level Line
C. Low-Level Line
D. Oil Filler Plug
A. Drain Bolt
WARNING
Engine oil is a toxic substance. Dispose of used oil properly. Contact your local author ities for approved disposal methods or pos- sible recycling.
- When the oil filter is replaced, remove the engine guard and oil filter cap bolts and take off the cap with O-ring and spring.
A. Footpeg Bracket Bolts
B. Bolts
C. Engine Guard
A. Bolts
B. Oil Filter Cap
- Replace the oil filter element with a new one.
- Install the oil filter element with the grommet to ward off the engine.
A. Oil Filter Element
B. Grommet
- Install the spring to the oil filter cap
- Install the oil filter cap with the high-temperature grease was applied to a new O-ring and tightened its bolts to the specified torque.
Tightening Torque
Oil Filter Cap Bolts: 5.2 Nm (0.53 kgf m, 46 in-lb)
A. Spring
B. Oil Filter Cap
C. O-ring
- After the oil has completely drained out, install the drain bolt with its new gasket. Proper torque for it is shown in the table.
Tightening Torque
Engine Oil Drain Bolt: 29 Nm (3.0 km, 21 ft: lb)
NOTE
- Replace the gasket and O-ring with a new one.
- Fill the engine up to the high-level line with good quality engine oil specified in the table.
Recommended Engine Oil
- Kawasaki Performance Oils and Lubricants have been specifically engineered for your vehicle. Consistent use of these products meets or exceeds warranty and service requirements and can help extend the life of your Kawasaki.
NOTE
- Do not add any chemical additive to the oil. Oils fulfilling the above requirements are fully formulated and provide adequate lubrication for both the engine and the clutch.
Engine Oil Capacity
Capacity:
0.9 L (1.0 US qt) (When a filter is not removed)
1.0 L (1.1 US qt) (When a filter is removed)
1.1 L (1.2 US qt) (When an engine is completely dry)
The oil viscosity may need to be changed to accommodate atmospheric conditions in your riding area.
- Tighten the oil filler plug.
- Install the engine guard and tighten the bolts.
Tightening Torque
Footpeg Bracket Bolts:
25 25 Nm (2.5 kgf-m, 18 ftlb)
- Start the engine.
- Check the oil level and oil leakage.
Recent Posts
VW Jetta Engine Fuse Box Diagram
Access the comprehensive 2010-2018 VW Jetta Passenger Fuse Box Diagram to troubleshoot electrical issues effectively.…
VW Jetta Passenger Fuse Box Diagram
Explore the comprehensive VW Jetta Passenger Fuse Box Diagram to troubleshoot electrical issues effectively. Understand…
2023 Ford F-150 Lightning Fuse Box Diagram
Under Hood Fuse Box Location Remove the front luggage compartment cover. Under Hood Fuse Box…
2022 Kawasaki NINJA H2 SX SE Brake Lever Adjuster Owner’s Manual
2022 Kawasaki NINJA H2 SX SE Brake Lever Adjuster Owner's Manual NOTICE Only adjust the front…
2023 Land Rover Range Rover Evoque Exiting The Vehicle Owners Manual
2023 Land Rover Range Rover Evoque Exiting The Vehicle SINGLE LOCKING WARNING Before exiting the…
2023 Land Rover Range Rover Evoque Front Seats Owners Manual
2023 Land Rover Range Rover Evoque Front Seats FRONT SEAT SAFETY Make sure to read…
