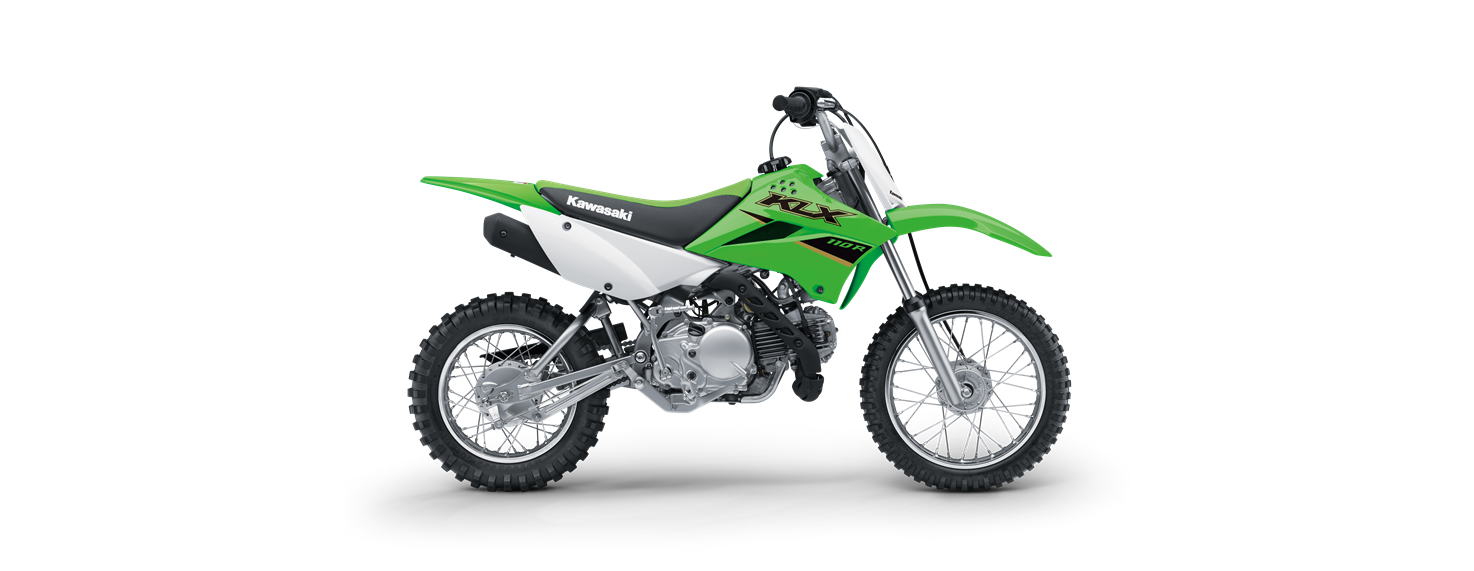
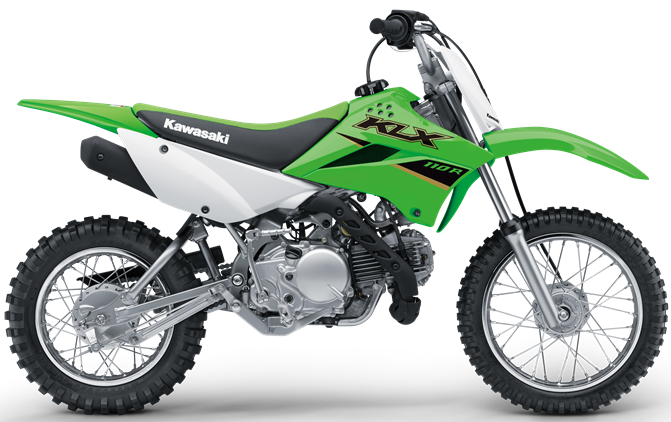
2022 Kawasaki KLX110R L Brakes Owner’s Manual


2022 Kawasaki KLX110R L Brakes


Brakes
Brake lining wear, drum wear, and cable stretch cause the brakes to go out of adjustment, increasing lever and pedal play, and decreasing braking effectiveness. Brake adjustment to compensate for this consists of correcting the cam lever angle, and adjusting the front brake lever and rear brake pedal travel.
Brake Wear Inspection
Front
When the front brake is fully applied, the brake cam lever should come to an 80-90 angle with the brake cable. Otherwise, remove the cam lever, and then reinstall it in a new position on the shaft to obtain the proper angle. Adjust the brakes.
WARNING
Worn brake linings diminish brake performance, can damage brake components, and lead to brake failure or cause the brake to lock, resulting in a crash that may cause se- rious injury or death. If the front brake lever adjustment cannot be moved to provide full braking action, inspect the brake linings for excessive wear before moving the front brake cam lever. Replace excessively worn brake linings. Inspection and replacement of any brake components should be performed by an authorized Kawasaki dealer.
- Front Brake Panel
- Brake Cable
- Cam Lever
- 80 90
WARNING
A brake cam lever angle greater than 90 de- grees reduces braking effectiveness which can cause a crash resulting in serious injury or death. Whenever the cam lever angle is adjusted, check for brake drag and proper pedal operation. questionable, disassemble, and inspect all internal brake parts. Worn brake parts’ di- Minish brake performance, can damage brake components and lead to a brake fail ure or causing the brake to lock, resulting in a crash that may cause serious injury or death. If brake effectiveness is Inspection and replacement of any brake components should be performed by an authorized Kawasaki dealer.
Rear
On the rear brake panel is a brake lining wear indicator. If the brake lining wear indicator does not point within the USABLE RANGE when the brake is fully applied, the brake shoe linings have worn past the service limit. In this case, the brake shoes must be replaced and the drum and other brake parts ex- amined by an authorized Kawasaki dealer.
- Rear Brake Panel
- USABLE RANGE
- Brake Lining Wear Indicator
Front Brake Lever Play Inspection
- Slide the front brake lever dust cover back.
- Check that the brake lever has 4 5 mm (0.16 0.20 in.) of play when the brake is lightly applied.
A. 4 5 mm (0.160.20 in.)
- Rotate the wheel to check for brake drag.
- Operate the lever a few times to see that it returns to its rest position immediately upon release
- Check braking effectiveness.
- If the lever has improper play, adjust it.
WARNING
An improperly adjusted brake could drag and cause the brake to overheat, damaging the brake assembly and possibly locking the wheel, resulting in loss of control. Always maintain the proper brake adjustment.
Front Brake Lever Play Adjustment
- Slide the front brake lever dust cover back.
- Loosen the locknut at the front brake lever, screw the adjuster fully in, and tighten the locknut.
- Loosen the nuts at the lower end of the front brake cable.
A. Nuts
Turn the nuts at the lower end of the front brake cable so that the brake lever play has 4 5 mm (0.16 0.20 in.), and tighten the nuts.
- Locknut
- Adjuster
- 4 5 mm (0.16 0.20 in.)
- If sufficient adjustment cannot be made with the adjuster, complete the adjustment with the ad- juster at the brake lever, and then tighten the locknut.
- Check that there is no brake drag.
- Check braking effectiveness.
- Slide the dust cover back into place.
NOTE- For minor corrections, use the adjuster at the front brake lever.
- lf the brake lever adjustment cannot be made with the adjuster at the brake lever or at the brake panel, move the front brake cam lever to a new
position on the brake camshaft.
Rear Brake Pedal Play Inspection
- The brake pedal play should have 20-30 mm (0.8 1.2 in.) when the pedal is pushed down lightly by hand.
- Rear Brake Pedal
- 20 30 mm (0.8 -1.2 in.)
- Rotate the wheel to check for brake drag.
- Operate the pedal a few times to see that it returns to its rest position immediately upon release.
- Check braking effectiveness.
- If the pedal has improper play, adjust it.
WARNING
An improperly adjusted brake could drag and cause the brake to overheat, damaging the brake assembly and possibly locking the wheel, resulting in loss of control. Always maintain the proper brake adjustment.
Rear Brake Pedal Play Adjustment
- Turn the adjusting nut at the brake rod so that the pedal play has 20 30 mm (0.8 1.2 in.).
- Adjusting Nut
- Check that there is no brake drag.
- Check braking effectiveness.
Recent Posts
VW Jetta Engine Fuse Box Diagram
Access the comprehensive 2010-2018 VW Jetta Passenger Fuse Box Diagram to troubleshoot electrical issues effectively.…
VW Jetta Passenger Fuse Box Diagram
Explore the comprehensive VW Jetta Passenger Fuse Box Diagram to troubleshoot electrical issues effectively. Understand…
2023 Ford F-150 Lightning Fuse Box Diagram
Under Hood Fuse Box Location Remove the front luggage compartment cover. Under Hood Fuse Box…
2022 Kawasaki NINJA H2 SX SE Brake Lever Adjuster Owner’s Manual
2022 Kawasaki NINJA H2 SX SE Brake Lever Adjuster Owner's Manual NOTICE Only adjust the front…
2023 Land Rover Range Rover Evoque Exiting The Vehicle Owners Manual
2023 Land Rover Range Rover Evoque Exiting The Vehicle SINGLE LOCKING WARNING Before exiting the…
2023 Land Rover Range Rover Evoque Front Seats Owners Manual
2023 Land Rover Range Rover Evoque Front Seats FRONT SEAT SAFETY Make sure to read…
