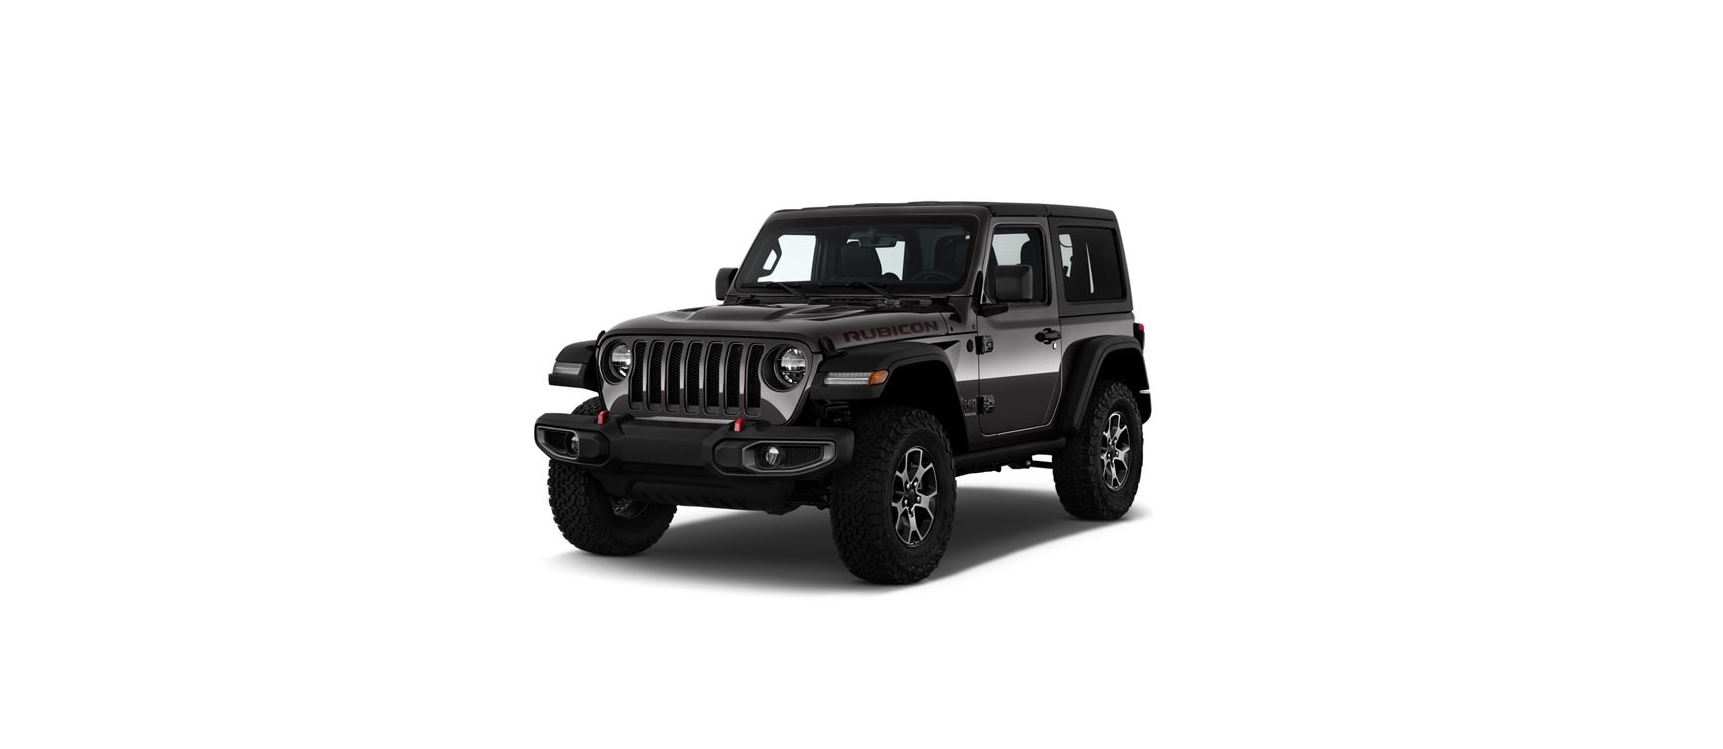
2022 Jeep Wrangler Interior User Manual


2022 Jeep Wrangler Interior


CARPET SAFETY INFORMATION
Always use carpet designed to fit your vehicle. Only use carpet that does not interfere with the operation of the pedal assemblies. Only operate the vehicle when the carpet is securely attached by the grommets so it cannot slip out of position and interfere with the pedal assemblies or impair safe operation of your vehicle in other ways.
WARNING
- If operating the vehicle without a carpet in place the floor may become hot, and there is a risk of burns.
- An improperly attached, damaged, folded, or damaged grommets may cause your carpet to interfere with the accelerator, brake, or clutch pedals and cause a loss of vehicle control. To prevent SERIOUS INJURY or DEATH: ALWAYS securely attach your carpet using the grommets.
- ALWAYS make sure objects cannot fall or slide into the driver’s side floor area when the vehicle is moving. Objects can become trapped under accelerator, brake, or clutch pedals and could cause a loss of vehicle control
WARNING
- NEVER place any objects under the carpet (e.g., towels, keys, etc.). These objects could change the position of the carpet and may cause interference with the accelerator, brake, or clutch pedals.
- ONLY install carpet designed to fit your vehicle. NEVER install carpet that cannot be properly attached and secured to your vehicle. If the carpet needs to be replaced, only use the manufacturer-approved carpet for the specific make, model, and year of your vehicle.
- If the vehicle carpet has been removed and re-installed, always properly attach carpet to the floor and check that the floor mat fasteners are secure to the vehicle carpet. Fully depress each pedal to check for interference with the accelerator, brake, or clutch pedals then re-install the floor mats.
CARPET REMOVAL
Front Carpets (Two And Four-Door Models)
- Remove the front grommets.
- Grommets
- Pull the carpet out from the front to the rear.
- Remove the grommets under the front seat. First for the rear carpet and then the front carpet.
- Under the back of the front seat, open the carpet split and then pull out the rear edge and slide the carpet to the front (do not remove the harness).
- Harness
- Carpet Split
- Finally, open the carpet split around the seat bracket and then remove the last two grommets.
- Grommets
- Carpet Split
- When reinstalling the carpet please perform these steps in reverse order making sure that the carpet is tucked under the scuffs, B-pillar, console, and refasten grommets.
Rear Carpet (Four-Door Models)
- Remove the grommets under the front seat (one left and one right).
- Then pull the carpet out, to the rear and open the carpet split around the front seat brackets
- Carpet Split
- Remove the grommets under the rear seat (one left and one right). First the grommet for the cargo carpet and then the rear carpet.
- Pull the carpet out to the front and open the carpet split around the rear seat brackets
- Carpet Split
- When reinstalling the carpet please perform these steps in reverse order making sure that the carpet is tucked under the scuffs, B-pillar, console, and refasten grommets.
Rear Carpet (Two Door Models)
- Remove the rear seats.
- Remove the side grommets (one left and one right). First the grommet from the side carpet and then the rear carpet.
- Grommet
- Remove the grommets under the front seat (one left and one right).
- Then pull the carpet out to the rear and open the carpet split around the front seat brackets.
- Carpet Split
- Rear Carpet
- When reinstalling the carpet please perform these steps in reverse order making sure that the carpet is tucked under the scuffs, B-pillar, console, and refasten grommets
Cargo Carpet (Four-Door Models)
- Remove the grommets under the rear seat (one left and one right).
- Pull the carpet out to the rear and open the carpet split around the seat belt attachment
- Carpet Split
- Rear Carpet
- Remove the carpet under the load floor and the side support and then pull the carpet out.
- Side Supports
- Load Floor
- When reinstalling the carpet please perform these steps in reverse order making sure that the carpet is tucked under the scuffs, B-pillar, console, and refasten grommets
Cargo Carpet (Four-Door Models) With Gap Hide
- Remove the grommets under the rear seat (one left and one right).
- Pull the carpet out to the front and open the carpet split around the seat belt attachment and under the center seat bracket.
- Carpet Split
- Grommets
- Rear Carpet
- When reinstalling the carpet please perform these steps in reverse order making sure that the carpet is tucked under the scuffs, B-pillar, console, and refasten grommets.
Side Carpet (Four-Door Models):
- Remove the side grommets (one left and one right).
- Pull the carpet out starting on the top flange, then all around the perimeter, and open the carpet split around the seat belt attachment.
- Top Flange
- Grommet
- Side Carpet
- When reinstalling the carpet please perform these steps in reverse order making sure that the carpet is tucked under the scuffs, B-pillar, console, and refasten grommets.
Side Carpet (Two Door Models):
- Remove the side grommet and then the lower one (left and right).
- Pull the carpet out starting on the top flange, then all around the perimeter, and open the carpet split around the seat belt attachment.
- When reinstalling the carpet please perform these steps in reverse order making sure that the carpet is tucked under the scuffs, B-pillar, console, and refasten grommets.
SEATS AND FABRIC PARTS
Use Mopar® Total Clean to clean fabric upholstery and carpeting.
WARNING
Do not use volatile solvents for cleaning purposes. Many are potentially flammable, and if used in closed areas they may cause respiratory harm.
Seat Belt Maintenance
Do not bleach, dye, or clean the belts with chemical solvents or abrasive cleaners. This will weaken the fabric. Sun damage can also weaken the fabric. If the belts need cleaning, use a mild soap solution or lukewarm water. Do not remove the belts from the vehicle to wash them. Dry with a soft cloth.
Replace the belts if they appear frayed or worn or if the buckles do not work properly.
WARNING
A frayed or torn seat belt could rip apart in a collision and leave you with no protection. Inspect the seat belt system periodically, checking for cuts, frays, or loose parts. Damaged parts must be replaced immediately. Do not disassemble or modify the seat belt system. If your vehicle is involved in a collision, or if you have questions regarding seat belt or retractor conditions, take your vehicle to an authorized FCA dealer or authorized FCA Certified Collision Care Program facility for inspection.
PLASTIC AND COATED PARTS
Use Mopar® Total Clean to clean vinyl upholstery.
CAUTION
Direct contact of air fresheners, insect repellents, suntan lotions, or hand sanitizers to the plastic, painted, or decorated surfaces of the interior may cause permanent damage. Wipe away immediately. Damage caused by these type of products may not be covered by your New Vehicle Limited Warranty.
Cleaning Plastic Instrument Cluster Lenses
- The lenses in front of the instruments in this vehicle are molded in clear plastic. When cleaning the lenses, care must be taken to avoid scratching the plastic.
- Clean with a wet soft cloth. A mild soap solution may be used, but do not use high alcohol content or abrasive cleaners. If soap is used, wipe clean with a clean damp cloth. Dry with a soft cloth.
LEATHER SURFACES
Mopar® Total Clean is specifically recommended for leather upholstery. Your leather upholstery can be best preserved by regular cleaning with a damp soft cloth. Small particles of dirt can act as an abrasive and damage the leather upholstery and should be removed promptly with a damp cloth. Stubborn soils can be removed easily with a soft cloth and Mopar® Total Clean. Care should be taken to avoid soaking your leather upholstery with any liquid. Please do not use polishes, oils, cleaning fluids, solvents, detergents, or ammonia-based cleaners to clean your leather upholstery.
NOTE
If equipped with light-colored leather, it tends to show any foreign material, dirt, and fabric dye transfer more so than darker colors. The leather is designed for easy cleaning, and FCA recommends Mopar® total care leather cleaner applied on a cloth to clean the leather seats as needed.
CAUTION
Do not use Alcohol and Alcohol-based and/or Ketone based cleaning products to clean leather upholstery, as damage to the upholstery may result.
GLASS SURFACES
All glass surfaces should be cleaned on a regular basis with Mopar® Glass Cleaner, or any commercial household-type glass cleaner. Never use an abrasive type cleaner. Use caution when cleaning the inside rear window equipped with electric defrosters or windows equipped with radio antennas. Do not use scrapers or other sharp instruments that may scratch the elements. When cleaning the rear view mirror, spray cleaner on the towel or cloth that you are using. Do not spray cleaner directly on the mirror.
Recent Posts
VW Jetta Engine Fuse Box Diagram
Access the comprehensive 2010-2018 VW Jetta Passenger Fuse Box Diagram to troubleshoot electrical issues effectively.…
VW Jetta Passenger Fuse Box Diagram
Explore the comprehensive VW Jetta Passenger Fuse Box Diagram to troubleshoot electrical issues effectively. Understand…
2023 Ford F-150 Lightning Fuse Box Diagram
Under Hood Fuse Box Location Remove the front luggage compartment cover. Under Hood Fuse Box…
2022 Kawasaki NINJA H2 SX SE Brake Lever Adjuster Owner’s Manual
2022 Kawasaki NINJA H2 SX SE Brake Lever Adjuster Owner's Manual NOTICE Only adjust the front…
2023 Land Rover Range Rover Evoque Exiting The Vehicle Owners Manual
2023 Land Rover Range Rover Evoque Exiting The Vehicle SINGLE LOCKING WARNING Before exiting the…
2023 Land Rover Range Rover Evoque Front Seats Owners Manual
2023 Land Rover Range Rover Evoque Front Seats FRONT SEAT SAFETY Make sure to read…


