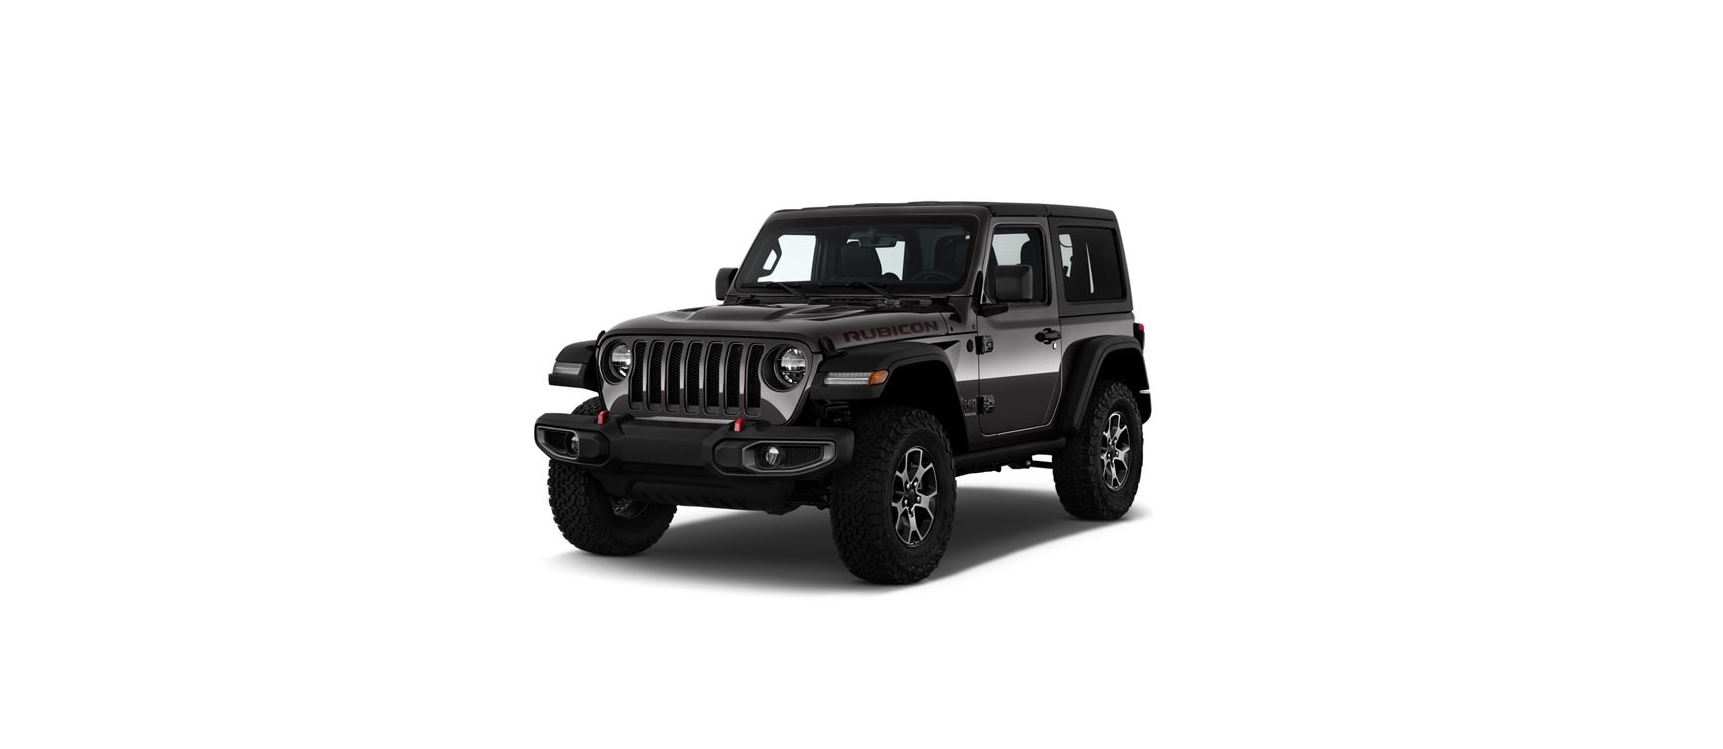
2022 Jeep Wrangler Door Frame User Guide


2022 Jeep Wrangler Door Frame


WARNING
- Do not drive your vehicle on public roads with the door frame(s) removed as you will lose the protection that they can provide. This procedure is furnished for use during off-road operation only.
- Do not drive your vehicle on public roads with the doors removed as you will lose the protection they can provide. This procedure is furnished for use during off-road operation only.
CAUTION
Failure to follow these cautions may cause interior water damage, stains or mildew:
- Opening a door or lowering a window while the top is wet may allow water to drip into the vehicle’s interior.
- Careless handling and storage of the removable door frame(s) may damage the seals, causing water to leak into the vehicle’s interior.
- The door frame(s) must be appropriately positioned to ensure sealing. Improper installation can cause water to leak into the vehicle’s interior
DOOR FRAME REMOVAL
NOTE: In four-door models, the rear door frames must be removed first, followed by the front door frames.
- Using the provided #40 Torx head driver and ratchet, loosen the Torx screws located on the underside of each door frame (two per door).
- Once all the way loosened, remove the screws by pulling downward.
NOTE: Screws will not fall out once completely loose, as they are held in place by an internal mechanism. - Lift the frame upward, removing it from the vehicle.
- Store screws in a secure location.
- Repeat procedure on the front door frame (four-door models).
WARNING
- Do not drive your vehicle on public roads with the door frame(s) removed as you will lose the protection that they can provide. This procedure is furnished for use during off-road operation only.
- Do not drive your vehicle on public roads with the doors removed as you will lose the protection they can provide. This procedure is furnished for use during off-road operation only.
DOOR FRAME INSTALLATION FOUR
DOOR MODELS — IF EQUIPPED
- Install the front door rail first.
- Carefully place the front door rail in the rubber seal at the top of the windshield, and line up the holes for the Torx head screws (two for each door).
- Swing the frame bracket around the side of the rail, and insert the screws from underneath. Tighten with #40 Torx head driver until they are snug, being careful not to cross-thread the screws or overtighten. Refer to the following table for the appropriate torque specifications for the door rail screws.
Target Torque Maximum Minimum
Specification For Torx Fasteners
79.6 in-lb (9 N·m) 87.6 in-lb (9.9 N·m) 71.7 in-lb (8.1 N·m) - Set the rear door frame pin into the hole on top of the body side, just behind the rear door opening.
- Carefully position the top of the door frame onto the rear of the front door rail, making sure rubber seals lie flat. Ensure the seals are installed correctly to avoid water leaks.
- Front Door Rail
- Rear Door Frame
- Swing the frame bracket around the side of the rail, and insert the screws from underneath. Tighten with #40 Torx head driver until they are snug, being careful not to cross-thread the screws or overtighten. Refer to the previous table for the appropriate torque specifications for the door rail screws.
DOOR FRAME INSTALLATION TWO DOOR
MODELS — IF EQUIPPED
- Carefully place the front door rail in the rubber seal at the top of the windshield, and line up the holes for the Torx head screws (two for each door).
- Swing the frame bracket around the side of the rail, and insert the screws from underneath. Tighten with #40 Torx head driver until they are snug, being careful not to cross-thread the screws or overtighten. Refer to the following table for the appropriate torque specifications for the door rail screws
Target Torque Maximum Minimum
Specification For Torx Fasteners
79.6 in-lb (9 N·m) 87.6 in-lb(9.9 N·m) 71.7 in-lb(8.1 N·m)
CAUTION
Do not overtighten the screws. You can strip the screws if they are overtightened.
CAUTION
Do not overtighten the screws. You can strip the screws if they are overtightened.
Recent Posts
VW Jetta Engine Fuse Box Diagram
Access the comprehensive 2010-2018 VW Jetta Passenger Fuse Box Diagram to troubleshoot electrical issues effectively.…
VW Jetta Passenger Fuse Box Diagram
Explore the comprehensive VW Jetta Passenger Fuse Box Diagram to troubleshoot electrical issues effectively. Understand…
2023 Ford F-150 Lightning Fuse Box Diagram
Under Hood Fuse Box Location Remove the front luggage compartment cover. Under Hood Fuse Box…
2022 Kawasaki NINJA H2 SX SE Brake Lever Adjuster Owner’s Manual
2022 Kawasaki NINJA H2 SX SE Brake Lever Adjuster Owner's Manual NOTICE Only adjust the front…
2023 Land Rover Range Rover Evoque Exiting The Vehicle Owners Manual
2023 Land Rover Range Rover Evoque Exiting The Vehicle SINGLE LOCKING WARNING Before exiting the…
2023 Land Rover Range Rover Evoque Front Seats Owners Manual
2023 Land Rover Range Rover Evoque Front Seats FRONT SEAT SAFETY Make sure to read…


