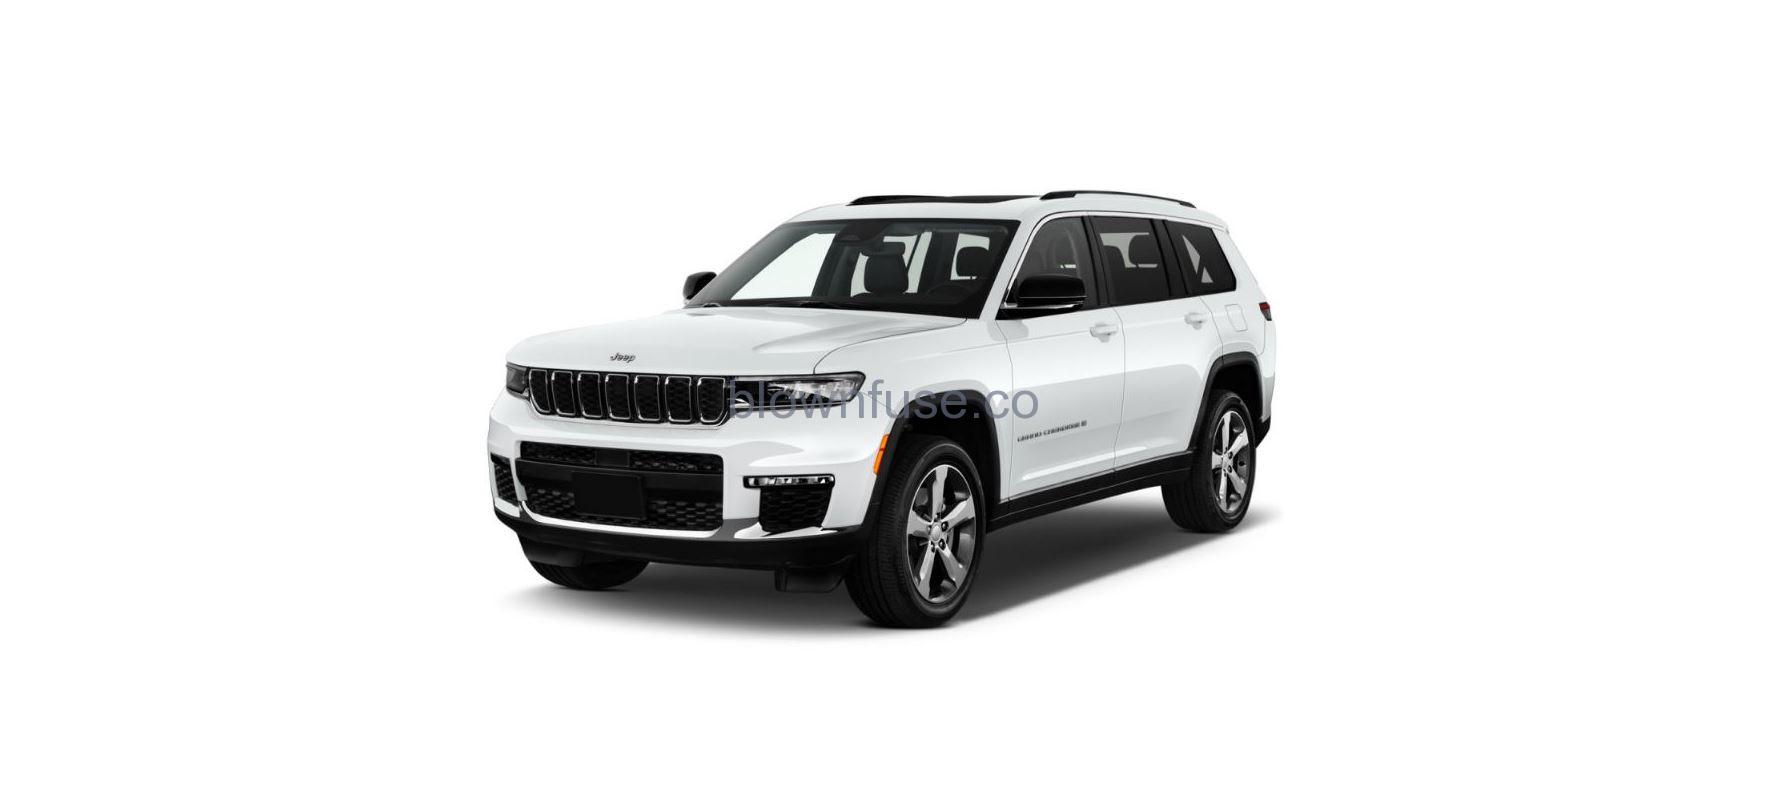
2022 Jeep Grand Cherokee Mirrors User Guide


INSIDE REARVIEW MIRROR
The mirror head can be adjusted up, down, left, and right. The mirror should be adjusted to center on the view through the rear window. Headlight glare from vehicles behind you can be reduced by moving the small control under the mirror to the night position (toward the rear of the vehicle). The mirror should be adjusted while set in the day position (small control forward toward the windshield).
Adjusting Rearview Mirror
Automatic Dimming Mirror — If Equipped
The mirror head can be adjusted up, down, left, and right. The mirror should be adjusted to the center on the view through the rear window.
This mirror automatically adjusts for headlight glare from vehicles behind you.
NOTE:
The Automatic Dimming Mirror feature is disabled when the vehicle is in REVERSE to improve the driver’s view.
You can turn the feature on or off through the Uconnect system page 204
Automatic Dimming Mirror
Digital Rearview Mirror — If Equipped
The Digital Rearview Mirror provides a high definition, wide and unobstructed view of the road behind while driving.
Position the mirror in the regular Automatic Dimming Mirror mode, then activate the Digital Rearview Mirror mode.
To activate the Digital Rearview Mirror, pull the on/off control lever on the bottom of the mirror rearward toward the driver.
- On/Off Control/Toggle
- Menu Button
- Left Scroll Button
- Right Scroll Button
Push the menu button next to the on/off control/toggle to access the following mirror options:
- Brightness
- Tilt
Use the left and right buttons to scroll through menu options.
When not in use, push the on/off forward toward the windshield to return the mirror to the regular Automatic Dimming Mirror.
NOTE:
- The Digital Rearview Mirror is not as effective during nighttime driving in low light applications due to low ambient light levels. In the event that it provides the user with less than expected vision, the mirror can be reverted to a normal reflective electrochromic mirror by pushing the control/toggle forward in the vehicle and putting the mirror into Automatic Dimming Mirror mode.
- When the rear window washer is activated by pushing the windshield wiper/washer lever forward, the rear backup and digital rearview mirror (if equipped) cameras are also washed. For more information, see page 66
ILLUMINATED VANITY MIRRORS
To access an illuminated vanity mirror, flip down one of the visors.
Lift the cover to reveal the mirror. The light will turn on automatically.
Sun Visor “Slide-On-Rod” Feature
If Equipped
The sun visor “Slide-On-Rod” feature allows for additional flexibility in positioning the sun visor to block out the sun.
- Fold down the sun visor.
- Unclip the visor from the center clip.
- Pivot the sun visor toward the side window.
- Extend the sun visor blade for additional sun blockage.
NOTE:
The sun visor blade can also be extended while the sun visor is against the windshield for additional sun blockage through the front of the vehicle.
OUTSIDE MIRRORS
To receive maximum benefit, adjust the outside mirror(s) to center on the adjacent lane of traffic with a slight overlap of the view obtained on the inside mirror.
WARNING!
Vehicles and other objects seen in an outside convex mirror will look smaller and farther away than they really are. Relying too much on side convex mirrors could cause you to collide with another vehicle or other object. Use your inside mirror when judging the size or distance of a vehicle seen in a side convex mirror.
Outside Mirrors Folding Feature
All outside mirrors are hinged and may be moved either forward or rearward to resist damage. The hinges have three detent positions:
- Full forward position
- Full rearward position
- Normal position
OUTSIDE AUTOMATIC DIMMING
MIRRORS — IF EQUIPPED
The outside mirrors will automatically adjust for glare from vehicles behind you. This feature is controlled by the inside automatic dimming mirror. The mirrors will automatically adjust for headlight glare when the inside mirror adjusts.
POWER MIRRORS
The power mirror control switch is located on the driver’s side door trim panel.
To adjust a mirror, rotate the control switch to the mirror you want to adjust (L) or (R). Then push the switch in the direction that you want the mirror to move.
- Neutral Position
- Left Mirror
- Control Switch
- Right Mirror
- Power Folding Position
NOTE:
Once the adjustment is complete, rotate the knob to the neutral position to prevent accidental movements.
Power Folding
To fold the door mirrors in using the Power Folding Mirror function, rotate the control switch to the power-folding position. Rotating the control to the left, right, or neutral position will return the mirrors to the driving position.
If the power mirror control switch is moved again during door mirror folding (from closed to open position and vice versa), the movement direction is reversed.
Resetting The Power Folding Outside Mirrors
You may need to reset the power-folding mirrors if the following occurs:
- The mirrors are accidentally blocked while folding.
- The mirrors are accidentally manually folded/unfolded (by hand or by pushing the power folding mirror switch).
- The mirrors come out of the unfolded position.
- The mirrors shake and vibrate at normal driving speeds.
To reset the power-folding mirrors: Fold and unfold them by turning the switch (this may require multiple switch activations to synchronize the driver and passenger mirror). This resets them to their normal position.
The power mirror position can be saved as part of the Driver Memory Settings (if equipped) page 34
AUTOMATIC POWER-FOLDING MIRRORS
IF EQUIPPED
When enabled within Uconnect Settings
page 204, the exterior mirrors will automatically fold when the vehicle’s ignition is placed in the OFF position, and after the doors are locked and closed.
The exterior mirrors will auto-fold in the following situations after the ignition is placed in the OFF position:
- Pushing the lock button on the door panel before the door is opened.
NOTE:
If the doors are already locked, push the lock button again.
- Opening the door, then pushing the lock button on the door panel, followed by closing the door.
- After exiting the vehicle, close the doors then push the lock button on the key fob.
- After exiting the vehicle, close the doors then touch the lock icon on the Passive Entry door handle.
If the exterior mirrors were folded automatically, they will unfold when the ignition is placed in the ON/RUN position.
NOTE:
If the mirrors were folded manually, by using the power folding mirror switch on the driver’s door panel, they will not automatically unfold.
HEATED MIRRORS — IF EQUIPPED
These mirrors are heated to melt frost or ice. This feature will be activated whenever you turn on the rear window defroster (if equipped) page 67
TILT SIDE MIRRORS IN REVERSE
IF EQUIPPED
Tilt Side Mirrors In Reverse provides automatic outside mirror positioning which will aid the driver’s view of the ground rearward of the front doors. Outside mirrors will move slightly downward from the present position when the vehicle is shifted into REVERSE. Outside mirrors will then return to the original position when the vehicle is shifted out of REVERSE position. Each stored memory setting will have an associated Tilt Side Mirrors In Reverse position.
NOTE:
The Tilt Side Mirrors In Reverse feature can be turned on and off using the Uconnect system page 204
Recent Posts
VW Jetta Engine Fuse Box Diagram
Access the comprehensive 2010-2018 VW Jetta Passenger Fuse Box Diagram to troubleshoot electrical issues effectively.…
VW Jetta Passenger Fuse Box Diagram
Explore the comprehensive VW Jetta Passenger Fuse Box Diagram to troubleshoot electrical issues effectively. Understand…
2023 Ford F-150 Lightning Fuse Box Diagram
Under Hood Fuse Box Location Remove the front luggage compartment cover. Under Hood Fuse Box…
2022 Kawasaki NINJA H2 SX SE Brake Lever Adjuster Owner’s Manual
2022 Kawasaki NINJA H2 SX SE Brake Lever Adjuster Owner's Manual NOTICE Only adjust the front…
2023 Land Rover Range Rover Evoque Exiting The Vehicle Owners Manual
2023 Land Rover Range Rover Evoque Exiting The Vehicle SINGLE LOCKING WARNING Before exiting the…
2023 Land Rover Range Rover Evoque Front Seats Owners Manual
2023 Land Rover Range Rover Evoque Front Seats FRONT SEAT SAFETY Make sure to read…


