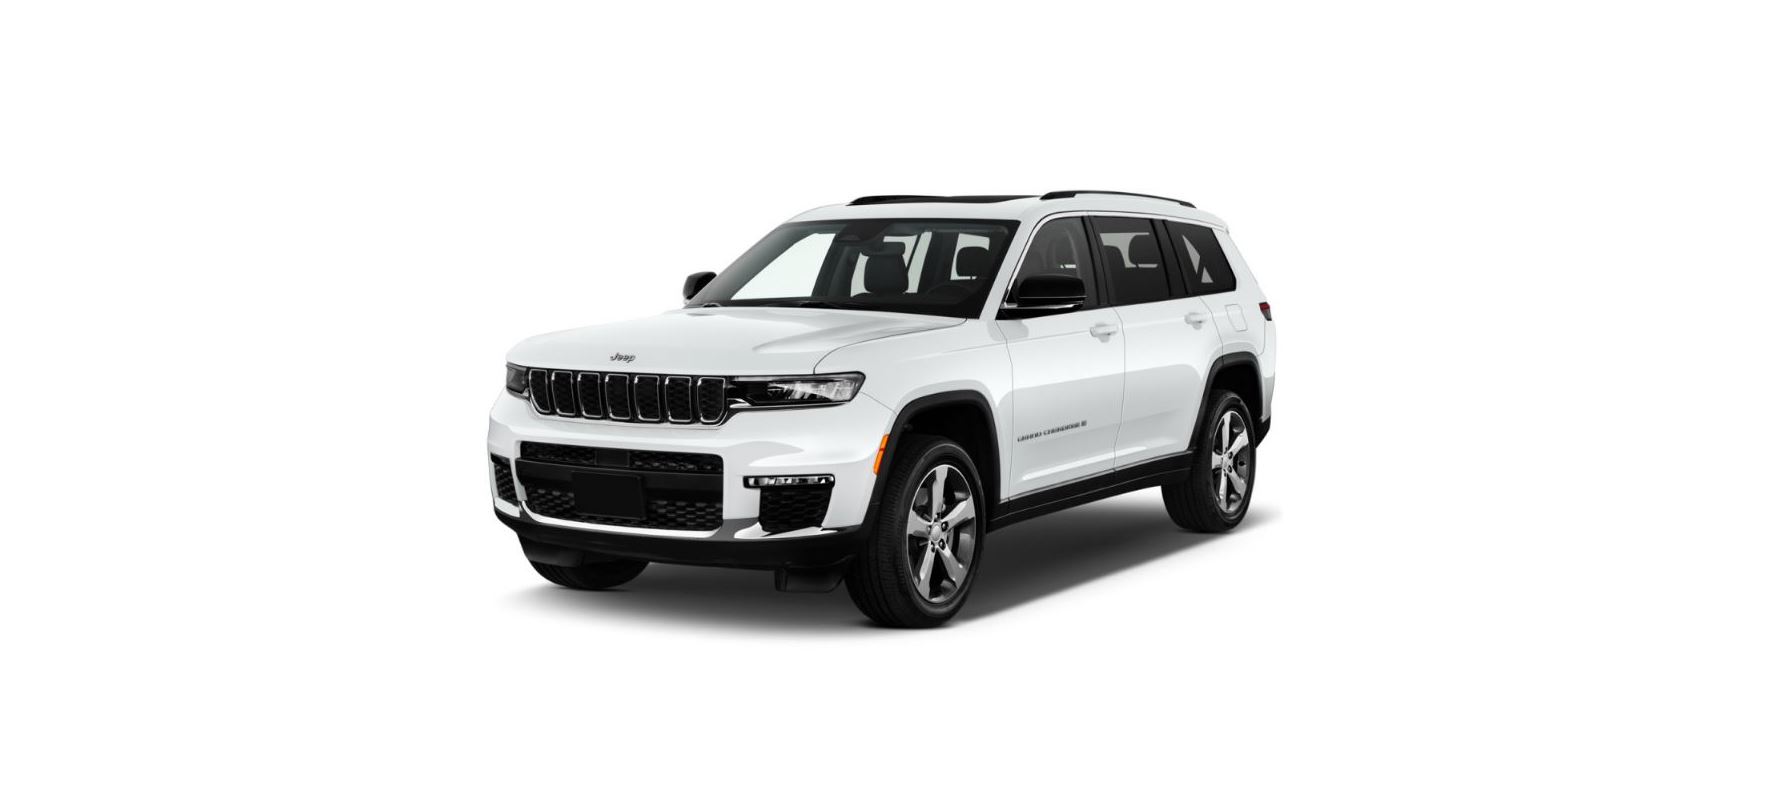
2022 Jeep Grand Cherokee Interior and Storage Equipment User Manual


2022 Jeep Grand Cherokee Interior and Storage Equipment User Manual


INTERIOR STORAGE AND EQUIPMENT
STORAGE
Glove Compartment
The glove compartment is located on the passenger side of the instrument panel.
To open the glove compartment, pull the release handle.
Front Center Console
- The front center console contains both an upper and a lower storage area.
- To open the upper storage compartment, pull the upper paddle release lever.
- To open the lower storage compartment, pull the lower paddle release lever.
- Upper Compartment Release Lever
- Lower Compartment Release Lever
Lift upward on the larger of the release levers to access the lower storage compartment.
Sunglasses Bin Door
At the front of the console, a compartment is provided for the storage of a pair of sunglasses. The storage compartment access is a “push/push” design. Push the chrome pad on the door to open. Push the chrome pad on the door to close.
Rear Full Center Console — If Equipped
The rear full center console contains both an upper and a lower storage area.
- Console Cupholders
- Open Lower Storage Area
- Covered Storage Compartment
To open the covered storage compartment, pull the upper paddle release lever on the front of the lid. The storage compartment may also be lifted forward. Pull the paddle release lever located on the back of the console lid.
When the second-row seats are folded flat, lifting the console forward provides a flat load floor surface from the cargo area. There is also access to the storage compartment from the third row.
CAUTION
Remove any items stored in the console cupholders or devices with cords routing through the upper storage area. Damage may occur to the upper console lid and device cables when the upper storage compartment is lifted forward.
SUN SCREENS — IF EQUIPPED
- Sunscreens are available for the second-row seating windows. The screens stored in the sill trim panels and the tops of the windows are equipped with hooks that the sunscreens attach to when pulled up.
- Gently pull up the tab to raise the sunscreen. Continue pulling the sunscreen until the tab is near the top of the window.
- Once the screen is complete to the top of the window, extend the top bar of the sunscreen over the two hooks attached to the top of the window.
To lower the sunscreen, gently lift the tab upward to disengage the hooks, and feed the screen back into the base sill.
USB/AUX CONTROL
This feature allows an external USB device to be plugged into one of the USB ports, located in the center stack of the instrument panel.
Plugging in a smartphone device to a USB port will activate Android Auto™ or Apple CarPlay® features if equipped. For further information, refer to “Android Auto™” or “Apple CarPlay®” in the Owner’s Manual Supplement.
NOTE: Two devices can be plugged in at the same time, and both ports will provide charging capabilities. Only one port can transfer data to the system at a time.
For example, if a device is plugged into the Type A USB port and another device is plugged into the Type C USB port, a message will appear and allow you to select which device to use.
The following messages will appear when a non-phone device is plugged into the smaller and larger USB ports, and when a phone device is plugged into the smaller and larger USB ports:
- “A new device is now connected. Previous connection was lost”.
- “(Phone Name) now connected. Previous connection was lost”.
- “Another device is in use through the same USB port. Please disconnect the first device to use the second device”.
Plugging in a phone or another USB device may cause the connection to a previous device to be lost.
Connecting AUX Or The External USB Device
Use a connection cable to connect an external USB device to the vehicle’s USB port, or use an auxiliary cable to connect a device to the vehicle’s AUX port. Both are located below the climate controls.
- USB C Port
- USB A Port (Standard USB)
- AUX Port
Once a device is connected to the USB port, it will begin charging and is ready for use with the system. Type C and Type A charge-only USB ports can be used at the same time but cannot be used simultaneously while playing media. When both Type C and Type A charge-only USB ports are in use they will be charged at a reduced rate.
NOTE: If the device’s battery completely discharges, it may not communicate with the Uconnect system until a minimum charge is attained. Leaving the device connected to the USB port may charge it to the required level.
Using This Feature
By using a USB cable to connect an external device
- The device can be played on the vehicle’s sound system, providing the artist, track title, and album information on the radio display.
NOTE: Depending on track configuration, track information may not be present on the radio display. - The device can be controlled using the radio buttons to play and browse the contents of the device.
- The audio device battery charges when plugged into the USB port.
By using an auxiliary cable to connect an external device: - The audio device can be played on the vehicle’s sound system. The Uconnect system will not display information related to the artist, track title, and album information.
NOTE: When using the AUX port, the external device cannot be controlled using the radio buttons. The device will not charge. For further information, refer to the Uconnect Owner’s Manual Supplement.
Second And Third Row USB Ports
The second-row USB ports can be used to charge an external device.
In the third row, a set of two USB ports can be used to charge a device. These ports are charged only.
- Charge Only Type C USB Port 2
- Charge Only Type A USB Port
NOTE: Charge unsupported devices with the Charge Only USB ports. If an unsupported device is plugged into a Media USB port, a message will display on the touchscreen that the device is not supported by the system.
ELECTRICAL POWER OUTLETS
Your vehicle is equipped with 12 Volt (13 Amp) power outlets that can be used to power cellular phones, small electronics, and other low-powered electrical accessories. The power outlets are labeled with either a “key” or a “battery” symbol to indicate how the outlet is powered. Power outlets labeled with a key symbol are powered when the ignition switch is in the ON/RUN position, while the outlets labeled with a battery symbol are connected directly to the battery and powered at all times.
NOTE
- All accessories connected to the battery-powered outlets should be removed or turned off when the vehicle is not in use to protect the battery against discharge.
- Do not exceed the maximum power of
- 160 Watts (13 Amps) at 12 Volts. If the
- 160 Watt (13 Amp) power rating has exceeded the fuse protecting the system needs to be replaced.
- Power outlets are designed for accessory plugs only. Do not insert any other object in the power outlets as this will damage the outlet and blow the fuse. Improper use of the power outlet can cause damage not covered by your New Vehicle Limited Warranty.
The front power outlet is located inside the storage area on the center stack of the instrument panel, below the climate controls.
The rear cargo power outlet is located in the right rear cargo area when the vehicle is equipped with three-row seating. When the vehicle is equipped with two-row seating, the cargo area outlet is located on the left side trim panel.
NOTE: The rear cargo power outlet can be changed from battery powered to powered by ignition in the ON/RUN position by switching the cargo area power outlet fuse from F44B to F44A in the rear power distribution center page 359.
WARNING
To avoid serious injury or death:
- Only devices designed for use in this type of outlet should be inserted into any 12 Volt outlet.
- Do not touch with wet hands.
- Close the lid when not in use and while driving the vehicle.
WARNING
If this outlet is mishandled, it may cause an electric shock and failure.
CAUTION
- Many accessories that can be plugged in draw power from the vehicle’s battery, even when not in use (i.e., cellular phones, etc.). Eventually, if plugged in long enough, the vehicle’s battery will discharge sufficiently to degrade battery life and/or prevent the engine from starting.
- Accessories that draw higher power (i.e., coolers, vacuum cleaners, lights, etc.) will degrade the battery even more quickly. Only use these intermittently and with greater caution.
- After the use of high power draw accessories, or long periods of the vehicle not being started (with accessories still plugged in), the vehicle must be driven for a sufficient length of time to allow the generator to recharge the vehicle’s battery.
POWER INVERTER — IF EQUIPPED
There is a 115 Volt, 150 Watt inverter outlet located on the back of the center console to convert DC current to AC current. This outlet can power cellular phones, electronics, and other low-power devices requiring power of up to 150 Watts. Certain video game consoles exceed this power limit, as will most power tools.
The power inverter is designed with built-in overload protection. If the power rating of 150 Watts is exceeded, the power inverter automatically shuts down. Once the electrical device has been removed from the outlet the inverter should automatically reset. To avoid overloading the circuit, check the power ratings on electrical devices prior to using the inverter.
WARNING
To avoid serious injury or death:
- Do not insert any objects into the receptacles.
- Do not touch with wet hands.
- Close the lid when not in use.
- If this outlet is mishandled, it may cause an electric shock and failure.
WIRELESS CHARGING PAD — IF EQUIPPED
Your vehicle may be equipped with a 15 Watt 3 Amp Qi wireless charging pad located inside of the storage area below the climate controls. This charging pad is designed to wirelessly charge your Qi-enabled mobile phone. Qi is a standard that allows wireless charging of your mobile phone. Your mobile phone must be designed for Qi wireless charging. If the phone is not equipped with Qi wireless charging functionality, an aftermarket sleeve or a specialized backplate can be purchased from your mobile phone provider or a local electronics retailer. Please see your phone’s Owner’s Manual for further information. The wireless charging pad is equipped with an anti-slip mat to hold your mobile phone in place, and an LED indicator light.
LED Indicator Status
- No Light: Charging pad is idle or searching for a device.
- Blue Light: The device is detected and is charging.
- Red Light/Flashing: Internal error or a foreign object is detected.
NOTE
- All vehicle doors must be closed for the wireless charging pad to operate.
- Using a phone case may interfere with wireless charging.
- If the phone moves on the pad causing the red light to illuminate, the phone will have to be picked up and placed back on the charging pad to resume charging.
CAUTION
The key fob should not be placed on the charging pad or within 6 inches (15 cm) of it. Doing so can cause excessive heat buildup and damage to the fob. Placing the fob in close proximity to the charging pad blocks the fob from being detected by the vehicle and prevents the vehicle from starting.
Recent Posts
VW Jetta Engine Fuse Box Diagram
Access the comprehensive 2010-2018 VW Jetta Passenger Fuse Box Diagram to troubleshoot electrical issues effectively.…
VW Jetta Passenger Fuse Box Diagram
Explore the comprehensive VW Jetta Passenger Fuse Box Diagram to troubleshoot electrical issues effectively. Understand…
2023 Ford F-150 Lightning Fuse Box Diagram
Under Hood Fuse Box Location Remove the front luggage compartment cover. Under Hood Fuse Box…
2022 Kawasaki NINJA H2 SX SE Brake Lever Adjuster Owner’s Manual
2022 Kawasaki NINJA H2 SX SE Brake Lever Adjuster Owner's Manual NOTICE Only adjust the front…
2023 Land Rover Range Rover Evoque Exiting The Vehicle Owners Manual
2023 Land Rover Range Rover Evoque Exiting The Vehicle SINGLE LOCKING WARNING Before exiting the…
2023 Land Rover Range Rover Evoque Front Seats Owners Manual
2023 Land Rover Range Rover Evoque Front Seats FRONT SEAT SAFETY Make sure to read…


