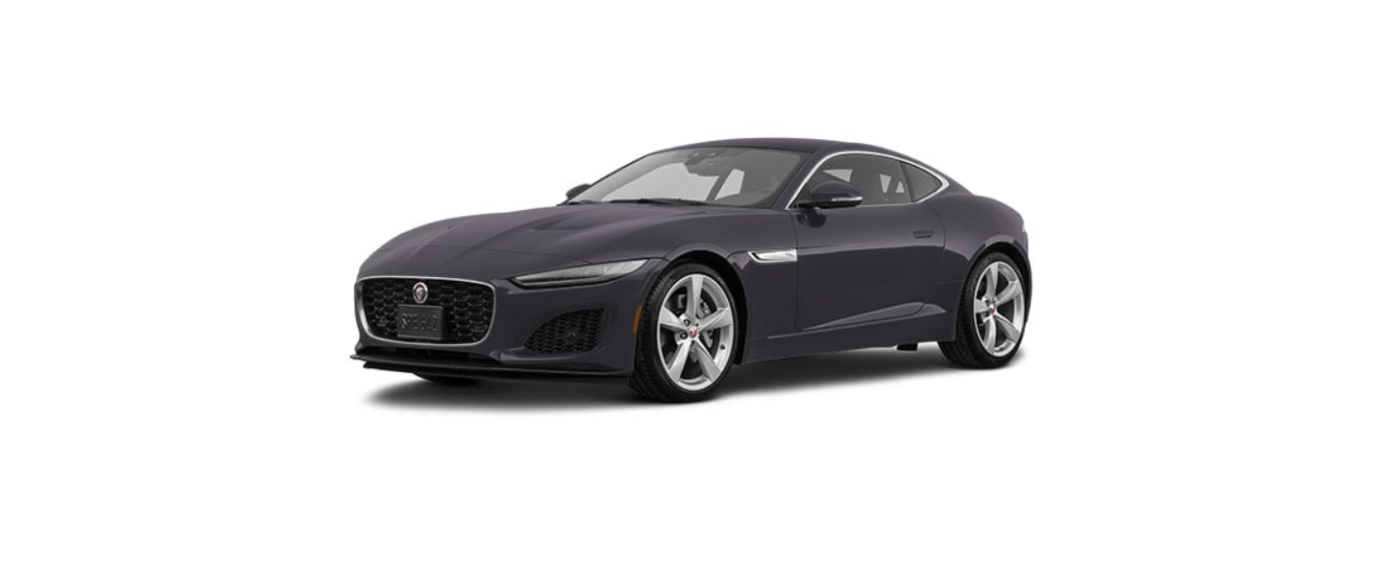
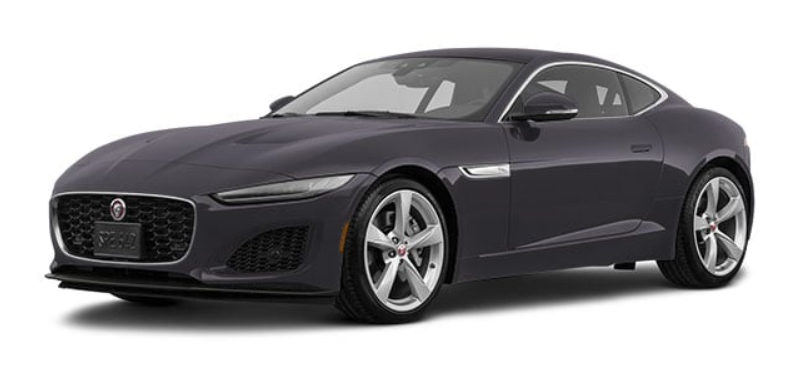
2022 Jaguar F-TYPE Exterior Lights Owners Manual


2022 Jaguar F-TYPE Exterior Lights


EXTERIOR LIGHTS OVERVIEW
The lighting system operates automatically depending upon the ambient lighting conditions. The system selects the appropriate lighting function, low beam or Daytime Running Light (DRL), for the conditions that the system detects. In some circumstances, it may be necessary for the vehicle user to manually override the automatic operation. Some manual operations are not possible due to vehicle activity or legislative requirements.
LIGHTING CONTROL
Lighting control operation:
- The neutral position of the lighting control: The lighting system operates automatically, dependent on the ambient level of light. During daylight, the Daytime Running Lights (DRL) automatically switch on. During low ambient light, the headlights switch on automatically. To manually switch on any lighting functions, rotate the lighting control to the required position and release it. After release, the lighting control returns to the neutral position.
- Headlights OFF: Rotate the lighting control to this position to switch the headlights off.
- Side lights: Rotate the lighting control to this position to switch the side lights on. The instrument panel warning lamp illuminates. See SIDELIGHTS (GREEN).
- Headlights: Rotate the lighting control to this position to switch the headlights on.
- AUTO: Rotate the lighting control to this position to select AUTO lights. When ambient light fades and the ignition is switched on, the side lights and headlights switch on automatically.
- High beam: With the headlights on, push and release the lighting control to select the high beam. Push and release the lighting control again to deselect high beam. The instrument panel warning lamp illuminates. See HIGH BEAM (BLUE). NOTES
Do not use high beam where it may distract other road users.
- High beam flash: Pull the lighting control toward the steering wheel and release to flash the high beam on and off. High beam remains on for as long as the lighting control is held.
The rear fog light switch is located on the driver’s side lower facia. See DRIVER CONTROLS. Press to switch the rear fog lights on/off. The rear fog lights only operate while the side lights, headlights, or auto lights are selected. The warning lamp illuminates. See REAR FOG LIGHTS (AMBER).
DAYTIME RUNNING LIGHTS (DRL)
In some countries, with the rotary control in the OFF or AUTO position, low beam headlights, side lights, tail, license plate lights, and side marker lights will switch on automatically with the following conditions:
- The ignition is on.
- The Parking brake is not applied (is released) – market dependent.
HEADLIGHT COURTESY DELAY
Headlight courtesy delay operates whenever the lighting control is in the AUTO position and the ignition is switched off. The headlights remain illuminated for up to 4 minutes.
The time delay may be changed via the Vehicle settings menu. See INSTRUMENT PANEL MENU OPERATION.
Press the headlight button on the smart key to switch off courtesy lights at any time.
APPROACH LIGHTS
The headlights can be illuminated remotely for a programmed length of time, by pressing the headlight button on the smart key. Press the button again to switch it off. See SMART KEY OPERATION.
In some markets, a second press illuminates the reverse lights, and a third press is required to switch the lights off.
ADAPTIVE FRONT LIGHTING SYSTEM (AFS)
- The Adaptive Front lighting System (AFS) is designed to give the driver improved visibility.
- The AFS is active when the lighting control is in the AUTO position and dipped beams are selected. LIGHTING CONTROL
- The AFS deactivates when the high beam is selected when the dipped beam is not operating in AUTO mode, or when the vehicle’s transmission is in Park (P).
- The AFS automatically adjusts the headlight beams to suit the vehicle’s speed and weather conditions, as follows:
- Country mode: A standard headlight beam that operates at vehicle speeds between 30 and 70 mph (48 to 110 km/h).
- City mode: A wider headlight beam that operates at vehicle speeds up to 30 mph (48 km/h).
- Highway mode: A raised headlight beam that operates at vehicle speeds above 70 mph (110 km/h).
- Adverse weather mode: Operates when the wipers have been active for more than 2 minutes and the vehicle’s speed is below 40 mph (64 km/h).
WINDSHIELD WIPER DETECTION
This function only operates when AUTO is selected. The side lights, tail lights, and headlights will switch on automatically if the windshield wipers are operated for more than 20 wipes. Once the windshield wipers are switched off, the side lights and headlights will automatically switch off 2 minutes later.
AUTO HIGH BEAM ASSIST (AHBA)
The Auto High Beam Assist (AHBA) system cannot be relied upon to activate or deactivate the high beam in all possible circumstances. The driver remains responsible for the correct use of the headlights at all times. Incorrect use of the headlights may cause injury or death.
Make sure that the forward-facing sensors on the rear of the rear-view mirror are not blocked or obstructed.
The AHBA system automatically selects and deselects high beams, under specific conditions of road lighting and in the absence of other vehicle lights. The system is only active when the ambient light drops below a predetermined level.
For the AHBA system to become operational, the following conditions must be in place:
- The lighting control must be in the AUTO position.
- Low beam headlights selected.
- AHBA is enabled within the instrument panel menu.
- The instrument panel warning light illuminates when AHBA is selected. See AUTO HIGH BEAM ASSIST (AHBA) (WHITE).
- The AHBA system only activates when the vehicle’s speed exceeds 25 mph (40 km/h). The system deactivates when the vehicle’s speed drops below 15 mph (24 km/h).
- To manually select a high beam, move the lighting control to the high beam position, as normal. To return to AHBA, move the lighting control back to the central position.
- To manually override to low beam from the high beam, pull the lighting control to the flash position (2). AHBA cancels. To return to AHBA operation, push the lighting control to the high beam position (1) and then return it to the central position.
- To switch the AHBA system off, turn the lighting control from AUTO to headlights.
- The AHBA system can be disabled or enabled via the Vehicle settings instrument panel menu. See INSTRUMENT PANEL MENU OPERATION.
- The hand of traffic can also be selected within the instrument panel menu. By default, this is set to be opposite the hand of drive, so if the vehicle is Left Hand Drive (LHD), the hand of traffic is Right Hand Drive (RHD).
- The following may affect the operation of the AHBA system:
- Highly reflective road signs.
- Highly reflective vehicles, e.g., white or emergency service vehicles.
- Dimly lit road users, e.g., cyclists or pedestrians.
- Adverse weather conditions, e.g., rain or fog.
- A dirty or obscured sensor.
- A dirty, damaged, or fogged windshield.
- Oncoming vehicles are partially obscured by a central highway barrier.
- An icy or frosted windshield.
Make sure to defrost the windshield during winter conditions.
EXTERIOR LIGHTS CONDENSATION
- Condensation in the headlights, turn signals, or rear lights are a natural phenomenon.
- Condensation can occur under certain atmospheric conditions or after washing the vehicle. The performance and life expectancy of the lights are not affected.
- Condensation should partially or completely clear, with regular use of the lights, within 48 hours of dry atmospheric conditions.
- LED lights to distribute less heat towards the outer lens than halogen or xenon lights. In extreme conditions, LED lights may take longer to clear, but this is not detrimental to the performance of the light.
Recent Posts
VW Jetta Engine Fuse Box Diagram
Access the comprehensive 2010-2018 VW Jetta Passenger Fuse Box Diagram to troubleshoot electrical issues effectively.…
VW Jetta Passenger Fuse Box Diagram
Explore the comprehensive VW Jetta Passenger Fuse Box Diagram to troubleshoot electrical issues effectively. Understand…
2023 Ford F-150 Lightning Fuse Box Diagram
Under Hood Fuse Box Location Remove the front luggage compartment cover. Under Hood Fuse Box…
2022 Kawasaki NINJA H2 SX SE Brake Lever Adjuster Owner’s Manual
2022 Kawasaki NINJA H2 SX SE Brake Lever Adjuster Owner's Manual NOTICE Only adjust the front…
2023 Land Rover Range Rover Evoque Exiting The Vehicle Owners Manual
2023 Land Rover Range Rover Evoque Exiting The Vehicle SINGLE LOCKING WARNING Before exiting the…
2023 Land Rover Range Rover Evoque Front Seats Owners Manual
2023 Land Rover Range Rover Evoque Front Seats FRONT SEAT SAFETY Make sure to read…
