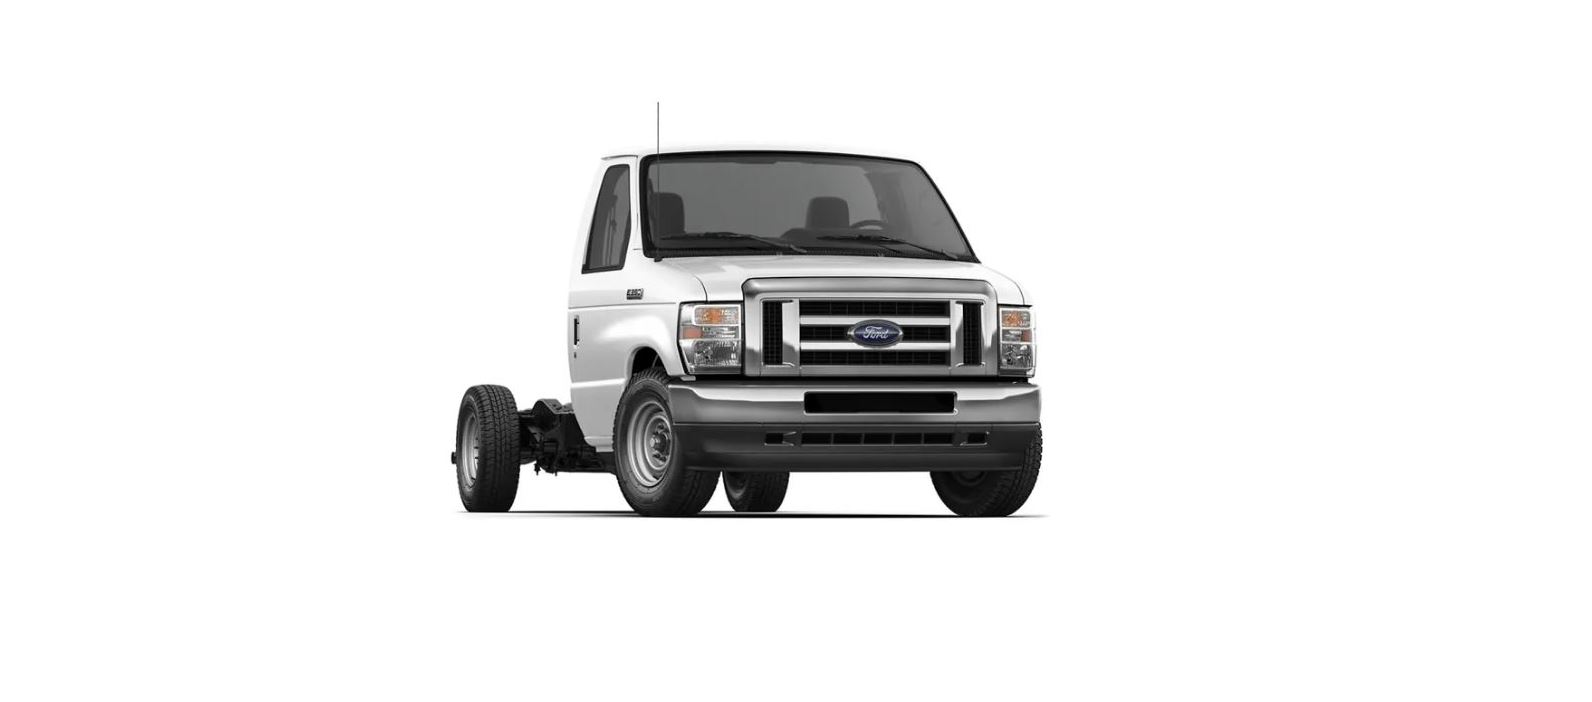
2023 Ford E-350 Changing a Bulb User Manual


2023 Ford E-350 Changing a Bulb


CHANGING A BULB
Lamp Assembly Condensation
Exterior lamps are vented to accommodate normal changes in pressure. Condensation can be a natural by-product of this design. When moist air enters the lamp assembly through the vents, there is a possibility that condensation can occur when the temperature is cold. When normal condensation occurs, a thin film of mist can form on the interior of the lens. The thin mist eventually clears and exits through the vents during normal operation. Clearing time may take as long as 48 hours under dry weather conditions
- Presence of thin mist (no streaks, drip marks or droplets).
- Fine mist covers less than 50% of the lens.
- Water puddle inside the lamp.
- Large water droplets, drip marks, or streaks are present on the interior of the lens.
Replacing Headlamp Bulbs
WARNING: Make sure the bulbs have cooled down before removing them. Failure to follow this warning could result in serious personal injury
Note: Grasp the bulb by only its plastic base and do not touch the glass. The oil from your hand could cause the bulb to break the next time the headlamps are operated.
Note: If the bulb is accidentally touched, clean it with rubbing alcohol before use.
- Make sure the headlamp switch is in the off position, then open the hood.
- Remove the headlamp. See Removing a Headlamp (page 178).
- Disconnect the electrical connector by squeezing the release tab and pushing the connector forward, then pulling it rearward
- Remove the bulb assembly by turning it counterclockwise and pulling it straight out
To install the new bulb, follow the removal procedures in reverse order
Replacing Front Parking Lamp and Direction Indicator Bulbs
- Make sure the headlamp switch is in the off position, then open the hood.
- Remove the headlamp assembly. Refer to Replacing Headlamp Bulbs in this section.
- Rotate the bulb socket counterclockwise and remove.
- Carefully pry up the bulb straight out of the socket.
To complete installation, follow the removal procedures in reverse order
Replacing Side Marker Bulbs
- Make sure the headlamp switch is in the off position, then open the hood.
- Remove the headlamp assembly. Refer to Replacing Headlamp Bulbs in this section.
- Rotate the bulb socket counterclockwise and remove.
- Carefully pry up the bulb straight out of the socket.
To complete installation, follow the removal procedures in reverse order.
Replacing Brake/Tail/Turn/Reverse Lamp Bulbs (Cut-Away Only)
- Make sure the headlamps are off
- Remove the four screws and the lamp lens from the lamp assembly.
- Carefully pull the bulb straight out of the socket and push in the new bulb.
Recent Posts
VW Jetta Engine Fuse Box Diagram
Access the comprehensive 2010-2018 VW Jetta Passenger Fuse Box Diagram to troubleshoot electrical issues effectively.…
VW Jetta Passenger Fuse Box Diagram
Explore the comprehensive VW Jetta Passenger Fuse Box Diagram to troubleshoot electrical issues effectively. Understand…
2023 Ford F-150 Lightning Fuse Box Diagram
Under Hood Fuse Box Location Remove the front luggage compartment cover. Under Hood Fuse Box…
2022 Kawasaki NINJA H2 SX SE Brake Lever Adjuster Owner’s Manual
2022 Kawasaki NINJA H2 SX SE Brake Lever Adjuster Owner's Manual NOTICE Only adjust the front…
2023 Land Rover Range Rover Evoque Exiting The Vehicle Owners Manual
2023 Land Rover Range Rover Evoque Exiting The Vehicle SINGLE LOCKING WARNING Before exiting the…
2023 Land Rover Range Rover Evoque Front Seats Owners Manual
2023 Land Rover Range Rover Evoque Front Seats FRONT SEAT SAFETY Make sure to read…


