2022 Coachman Clipper Camping Trailer Upon Arrival Owner’s Manual

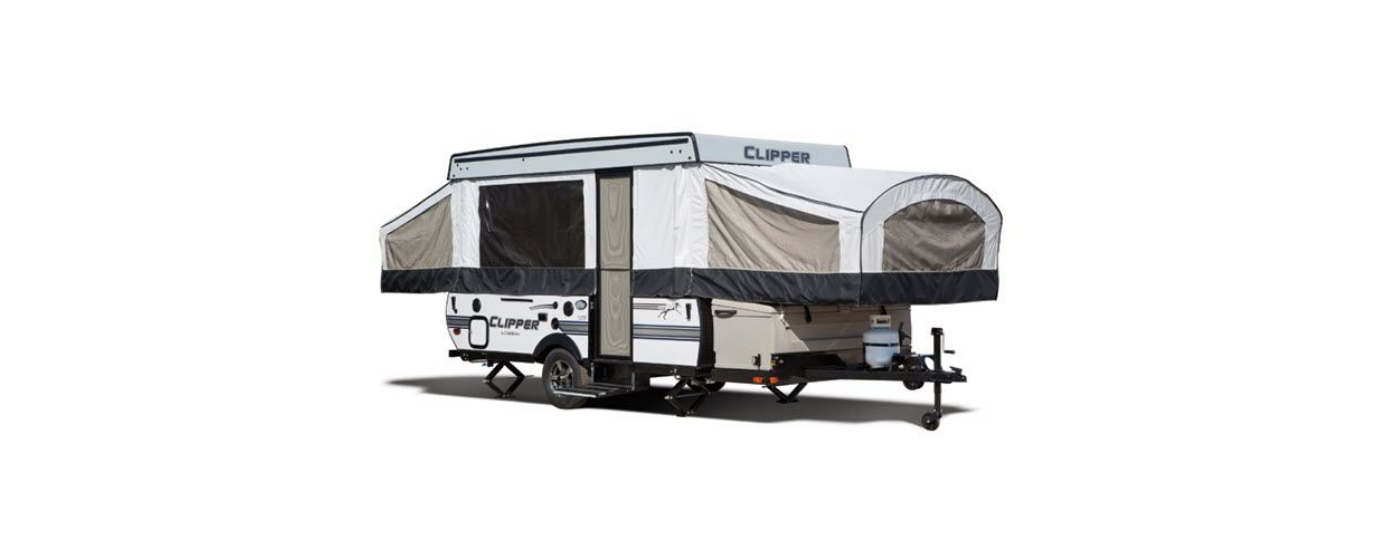


2022 Coachman Clipper Camping Trailer Upon Arrival

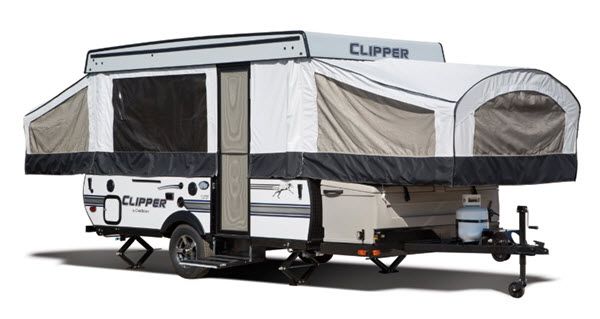
Upon Arrival
Upon arriving at the campground, get a map of the campground at the registration office and locate your campsite. It’s best to arrive at the campground before dark especially if you are unfamiliar with the campground and if you need to back into a site. Check-in can be a good time to get your firewood and fill your fresh water tank with water if your campsite does not have a water source. If you’re new to RV camping, ask the personnel at the registration office if they provide an escort service for first-timers. A seasoned staffer will guide you to your site and assist you in getting parked and leveled. Depending on the campground and the size of your RV, you might consider unhooking your RV and taking your tow vehicle or walking to your campsite in order to survey the site assigned to you. Does it offer sufficient space for your RV? Where are the most level spots? Locate all of the connections. Are there obstructions for your awning or slide rooms? Be aware of low hanging branches that can damage your RV, taking into consideration any windy conditions that might exist. Will you be able to drive through your site or will you have to back in?
CAMPSITE PARKING
Before parking on your site, inspect it for rocks, slopes or uneven areas. When pulling onto your site, watch for posts, large rocks, low-hanging limbs, or other obstacles. If possible, pull into the site so the electrical outlets and plumbing connections are on the driver’s side of the recreational vehicle (most of your recreational vehicle’s connections are on the driver’s side). Doing so will enable the driver to maneuver the recreational vehicle more easily into a position where it will not interfere with these connections. The driver will also be able to see any obstructions more clearly, which could interfere with the slide rooms or awnings when fully extended.
Caution
Park the recreational vehicle on solid, level ground and clear the site of debris and obstructions. Avoid parking over holes or depressions in the ground. If parking on soft surfaces, utilize load distribution pads under each jack.
At the campsite, there will be basic steps to setting up your RV:
- Choose a level location on the campsite that is close as possible to the campsite hook-ups.
- Make sure your on-board house battery disconnect is turned ON so that the RV has 12VDC power.
- Safely level the RV. See “Leveling And Stabilizing” for detailed instructions.
- Chock the wheels securely to keep the RV stable on the site.
- Disconnect your Tow Vehicle.
- If equipped, lower the stabilizing jacks onto wood blocks until they firmly engage.
- Connect the water hose to both the external source (spigot) and the City Water connection. An in-line regulator is suggested to maintain a water pressure less than 45 PSI. A water filter is suggested to cleanse the potable water.
- Verify that the waste tank gate valves are CLOSED. Remove the RV drain termination cap and connect the flexible sewer hose to the termination. Ensure the locking tabs are secured by rotating securely into place.
- Attach the other end of the flexible sewer drain hose to the dump station sewer inlet.
- If you have a sewer support system, set it up allowing a slight slope from the RV to the dump station inlet.
- Turn ON the LP gas.
- OPEN the entrance step.
- Extend slide rooms and awning(s) after verifying there are no obstructions to extension.
- Verify that the main 120VAC breaker in your RV’s power center is turned OFF.
- Connect the power cord to shore power. A 30 Amp power cord is provided to connect the RV to a grounded power source. Make sure the campground circuit breaker is turned ON.
- Back inside, turn ON the main 120VAC breaker in your RV’s power center.
- Set the thermostat to the desired temperature for air conditioner/furnace operation.
- OPEN a roof vent and turn on the fan (if applicable) to create air exchange.
- Turn ON the refrigerator and place it into Electric mode.
- Verify that the water heater bypass is set to the NORMAL position and that the water heater tank is full of water.
- Turn ON the water heater.
- Connect television coax cables to the campsite outlets if available.
- If applicable, raise your television antenna. Turn ON the signal amplifier if using over-the-air antenna signal.
- Set up the remaining features as needed.
Recent Posts
VW Jetta Engine Fuse Box Diagram
Access the comprehensive 2010-2018 VW Jetta Passenger Fuse Box Diagram to troubleshoot electrical issues effectively.…
VW Jetta Passenger Fuse Box Diagram
Explore the comprehensive VW Jetta Passenger Fuse Box Diagram to troubleshoot electrical issues effectively. Understand…
2023 Ford F-150 Lightning Fuse Box Diagram
Under Hood Fuse Box Location Remove the front luggage compartment cover. Under Hood Fuse Box…
2022 Kawasaki NINJA H2 SX SE Brake Lever Adjuster Owner’s Manual
2022 Kawasaki NINJA H2 SX SE Brake Lever Adjuster Owner's Manual NOTICE Only adjust the front…
2023 Land Rover Range Rover Evoque Exiting The Vehicle Owners Manual
2023 Land Rover Range Rover Evoque Exiting The Vehicle SINGLE LOCKING WARNING Before exiting the…
2023 Land Rover Range Rover Evoque Front Seats Owners Manual
2023 Land Rover Range Rover Evoque Front Seats FRONT SEAT SAFETY Make sure to read…
