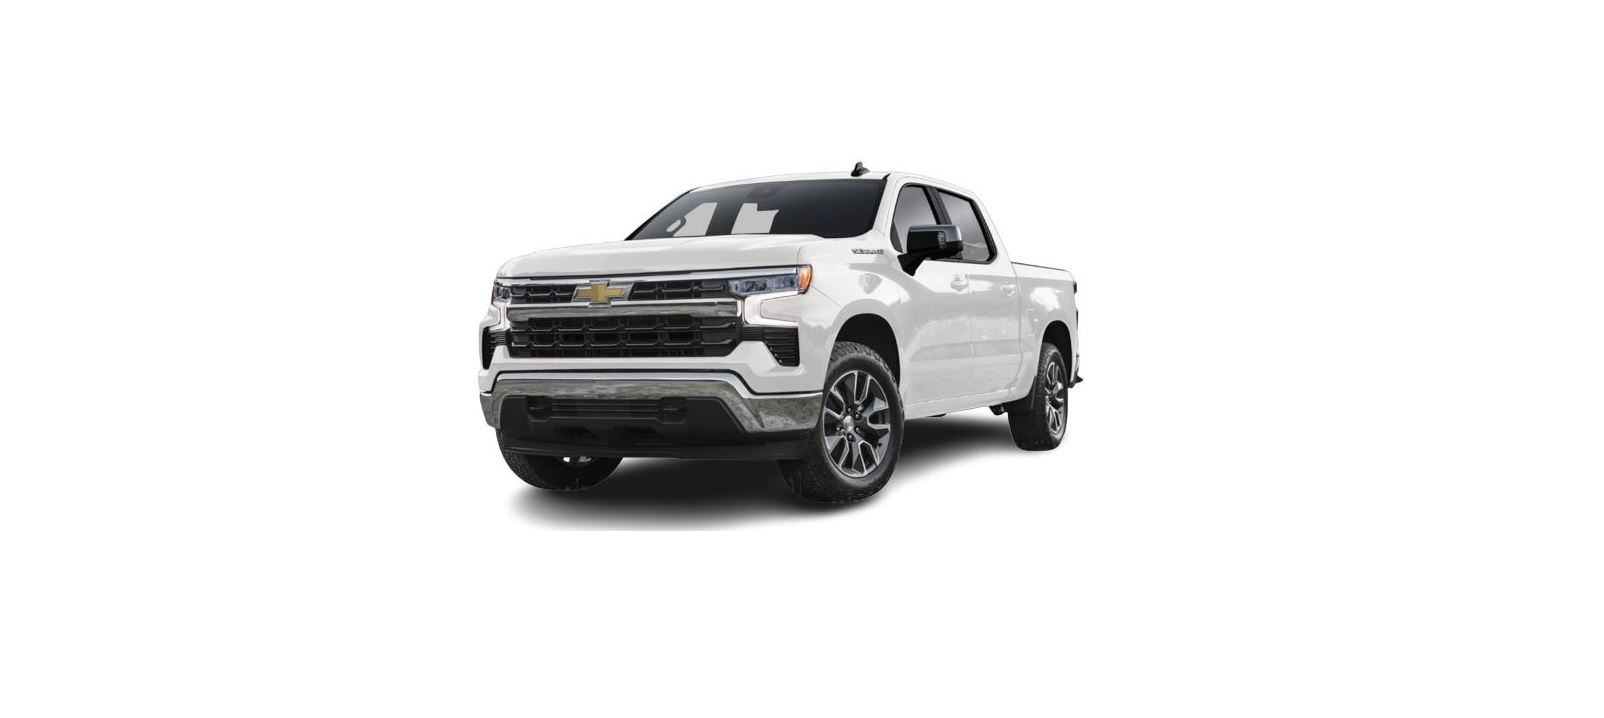
2022 Chevrolet Silverado 1500 Ride Control Systems User Manual


2022 Chevrolet Silverado 1500 Ride Control Systems


Traction Control/Electronic Stability Control
System Operation
- The vehicle has a Traction Control System (TCS) and StabiliTrak/Electronic Stability Control (ESC), an electronic stability control system. These systems help limit wheel spin and assist the driver in maintaining control, especially on slippery road conditions. TCS activates if it senses that any of the drive wheels are spinning or beginning to lose traction. When this happens,
- TCS applies the brakes to the spinning wheels and reduces engine power to limit wheel spin.
- StabiliTrak/ESC activates when the vehicle senses a difference between the intended path and the direction the vehicle is actually traveling. StabiliTrak/ESC selectively applies braking pressure to any one of the vehicle wheel brakes to assist the driver in keeping the vehicle on the intended path.
- If cruise control is being used and TCS or StabiliTrak/ESC begins to limit wheel spin, cruise control will disengage. Cruise control may be turned back on when road conditions allow.
- Both systems come on automatically when the vehicle is started and begins to move.
- The systems may be heard or felt while they are operating or while performing diagnostic checks. This is normal and does not mean there is a problem with the vehicle.
- It is recommended to leave both systems on for normal driving conditions, but it may be necessary to turn TCS off if the vehicle gets stuck in sand, mud, ice, or snow. See If the Vehicle Is Stuck 0 209 and “Turning the Systems Off and On” later in this section.
- When the transfer case (if equipped) is in 4 n, the stability system is automatically disabled, and g comes on in the instrument cluster. Both TCS and StabiliTrak/ESC are automatically disabled.
- The indicator light for both systems is in the
instrument cluster. This light will:- Flash when TCS is limiting wheel spin.
- Flash when StabiliTrak/ESC is activated.
- Turn on and stay on when either system is not working.
- If either system fails to turn on or to activate, a message displays in the Driver Information Center (DIC), and
If
- Stop the vehicle.
- Turn the engine off and wait 15 seconds.
- Start the engine.
- Drive the vehicle.
If d comes on and stays on, the vehicle may need more time to diagnose the problem. If the condition persists, see your dealer.
Turning the Systems Off and On (Except ZR2)
The button for TCS and StabiliTrak/ESC is on the center stack.
Caution
Do not repeatedly brake or accelerate heavily when TCS is off. The vehicle driveline could be damaged.
- To turn off only TCS, press and release
- If TCS is limiting wheel spin when g is pressed, the system will not turn off until the wheels stop spinning.
- To turn off both TCS and StabiliTrak/ESC, press and hold g until the Traction Off light
- StabiliTrak/ESC will automatically turn on if the vehicle exceeds 56 km/h (35 mph). TCS will remain off until
- Adding accessories can affect the vehicle’s performance. See Accessories and Modifications 338.
Turning the Systems Off and On (ZR2 Only)
- The button for TCS and StabiliTrak/ESC is on the center stack.
Caution: Do not repeatedly brake or accelerate heavily when TCS is off. The vehicle driveline could be damaged. - Pressing and releasing
- To turn off only TCS, press and release
- The Traction Off light
- If TCS is limiting wheel spin when
- To turn off both TCS and StabiliTrak/ESC, press and hold
- StabiliTrak/ESC will automatically turn on if the vehicle exceeds 56 km/h (35 mph). TCS will remain off until
- Adding accessories can affect the vehicle’s performance. See Accessories and Modifications 338.
Stability Control Interaction with Off-Road Mode (ZR2 Only)
- The TCS and StabiliTrak/ESC calibrations are different while in Off-Road Mode. They provide optimum performance in an off-road environment.
- Pressing and releasing
- To turn off only TCS, press and release
- To turn off both TCS and StabiliTrak/ESC, press and hold
- TCS and StabiliTrak/ESC on again, press and release
- StabiliTrak/ESC will not automatically turn on while in Off-Road Mode. TCS and StabiliTrak/ESC will remain off in Off-Road Mode until
Hill Descent Control (HDC)
- If equipped, Hill Descent Control (HDC) sets and maintains vehicle speed while driving down steep grades in a forward or reverse gear. The HDC switch is on the center stack, below the climate controls.
- Press
- When enabled, the HDC light displays on the instrument cluster.
- A blinking HDC light indicates the system is actively applying the brakes to maintain vehicle speed. HDC can maintain vehicle speeds between 1 and 22 km/h (1 and 14 mph) on
- If HDC is to be used for more than three minutes or on grades steeper than 25%, the transfer case should be put into Four-Wheel Drive Low (4 n) to reduce the possibility of brake overheating.
- Noise from the Electronic Brake Control Module (EBCM) is normal when HDC is active.
- When HDC is activated, the initial HDC speed is set to the current driving speed.
- It can be increased or decreased by pressing +RES or SET- on the steering wheel, or by applying the accelerator or brake pedal. This adjusted speed becomes the new set speed.
- HDC will remain enabled between 30 and 60 km/h (19 and 37 mph); however, the vehicle speed cannot be set or maintained in this range. HDC will automatically disable if the vehicle speed is above 80 km/h (50 mph) or above 60 km/h (37 mph) for at least 30 seconds.
- 5 must be pressed again to re-enable HDC. HDC may disabled after an extended period of use. If this happens, HDC will require time to cool down. The length of time HDC remains active depends on road conditions, grade, set speed, vehicle loading, and outside temperature.
- When enabled, if the vehicle speed is above 30 km/h (19 mph) and below 60 km/h (37 mph), a DIC message will display.
Driver Mode Control
Driver Mode Control (DMC) allows the driver to adjust the overall driving experience to better suit preference by adjusting multiple systems to fit specific driving needs. Drive mode availability and affected vehicle subsystems are dependent upon vehicle trim level, region, and optional features.
Mode Activation
To activate Tow/Haul Mode, press
Modes
- Normal Mode: Use for normal city and highway driving to provide a smooth ride.
This setting provides a balance between comfort and handling. This is the standard/ default mode. There is no persistent indicator in the instrument cluster for this model. - If the vehicle is turned off while in Tow/ Haul Mode and then restarted within four hours or less, it will remain active, Otherwise, the vehicle will start in Normal Mode.
- If the vehicle has a diesel engine, exhaust braking is automatically activated when Tow/Haul Mode is selected. The system will command downshifts and use the turbocharger on the engine to reduce vehicle speed when the brake is applied. The normal tow/haul shift pattern will return once the vehicle is on a low grade or when the accelerator pedal is pressed.
- While in the Electronic Range Select (ERS) Mode (see Manual Mode (Mechanical Shifter) 233 or Manual Mode (Electronic Shifter) 235), grade braking is deactivated, allowing the driver to select a range, and limiting the highest gear available.
- Auto Start/Stop is disabled while in Tow/Haul Mode.
- For more information on trailer weight specifications, see Trailer Towing 309.
- terrain Mode: Use for finer control during low-speed, off-road driving. When using this mode it will mimic the characteristics of four-wheel-drive low (4 n) without the torque capabilities.
- Use when
- Traveling on very rough roads at very low speeds, such as a two-track or heavily rutted road.
- Traveling slowly in grassy fields.
- Pulling a boat out of the water on a trailer.
- Using the vehicle for public off-road recreational driving. See Off-Road Driving 203 and Hill and Mountain Roads 0 208.
- Using terrain mode in extreme conditions that cause the wheel(s) to slip can lead to excessive heat in the transfer case causing four-wheel drive and terrain mode to automatically turn off, leaving the vehicle in two-wheel drive. Four-wheel drive will automatically re-engage once the transfer case has cooled, then terrain mode can be turned back on.
- When in Terrain Mode, the vehicle will shift automatically but may hold a lower gear longer to maximize engine torque. A unique pedal map, transmission shift pattern, and rpm control are utilized to give better control at lower speeds and over rough terrain. When the vehicle comes to a stop, Vehicle Hold is engaged. TCS will be optimized for maximum torque transfer across axles, and Active Braking During Lift Throttle will be engaged.
- Active Braking During Lift Throttle
- Automatically applies light braking, similar to heavy engine braking of four-wheel-drive low.
- Applies light braking in D (Drive) until the vehicle is at idle speeds. In Manual L1 and Manual L2, moderate braking may stop the vehicle.
- Reduces trailer braking.
Active Braking During Lift Throttle will reduce the back and forth between the accelerator and brake pedals.
Vehicle Hold Features
- When the vehicle comes to a stop on an incline grade in forwarding gear or on a declining grade in reverse gear, Vehicle Hold is engaged until the accelerator pedal is pressed.
- When the vehicle is in forwarding gear on a decline, the vehicle is allowed to creep down the hill when the brake pedal is released without pressing the accelerator pedal. The vehicle will also creep forward on flat ground.
- If the driver seat belt is removed and the driver door is opened while the vehicle is being held, Electric Parking Brake (EPB) will be engaged.
- EPB will engage if the vehicle is held for an extended period.
Terrain Mode is only available on vehicles equipped with a single-speed transfer case. Terrain Mode can only be active when:
- Vehicle speed is less than 80 km/h (50 mph).
- The transfer case is in 4 m.
Frequent use of this mode may cause brake wear due to the light braking. The vehicle will automatically exit the mode if the brakes get too hot. Terrain Mode can be turned back on after the brakes have cooled.
When Terrain Mode is selected
- Auto Engine Start/Stop will be disabled.
- The Terrain Mode indicator displays on the instrument cluster.
Limited-Slip Differential
If equipped, the limited-slip differential can give more traction on snow, mud, ice, sand, or gravel. It works like a standard axle most of the time, but when traction is low, this feature allows the drive wheel with the most traction to move the vehicle. For vehicles with the limited-slip differential, driven under severe conditions, the rear axle fluid should be changed. See Maintenance Schedule 422.
Locking Rear Axle
If equipped, the locking rear axle can give the vehicle additional traction from the rear wheels when traveling in off-road situations such as mud, snow, steep hills, and uneven terrain.
Caution
Do not lock the axle while the tires are spinning. The vehicle drivetrain could be damaged. The repairs would not be covered by the vehicle warranty.
Caution
If the vehicle’s axle is locked while driving on pavement, the drivetrain could be damaged. Repairs would not be covered by the vehicle warranty. Do not use the locking axle on the pavement.
Before the front axle can be locked, the rear axle must be locked and the transfer case must be in 4 n. To lock the rear axle:
- The vehicle must be stationary.
- Press and release the rear axle locking switch.
- Wait for the light in the switch to stop flashing and remain illuminated to show that the rear axle is locked.
The locking rear axle will be disengaged when the vehicle speed exceeds 40 km/h (25 mph). The Off-Road Mode allows the axle lock to remain engaged at higher vehicle speeds. After pressing the switch to unlock the axle, it may remain locked due to torque in the driveline. The axle is more easily unlocked by turning the steering wheel to the right and to the left while traveling at a low speed.
Locking Front Axle
If equipped, the locking front axle can give the vehicle additional traction when traveling in off-road situations such as mud, snow, steep hills, and uneven terrain.
Caution
Do not lock the axle while the tires are spinning. The vehicle drivetrain could be damaged. The repairs would not be covered by the vehicle warranty.
Caution
If the vehicle’s axle is locked while driving on pavement, the drivetrain could be damaged. Repairs would not be covered by the vehicle warranty. Do not use the locking axle on the pavement.
Before the front axle can be locked, the transfer case must be in 4 n. The front axle cannot be locked independently of the rear axle.
To lock the front and rear axles
- Place the transfer case in 4 n. This is the only mode that allows the front axle to lock. See Four-Wheel Drive 236 for more information regarding the transfer case and four-wheel drive low operation.
- Press the front/rear axle locking switch with the vehicle stopped.
- Wait for the light in the switch to stop flashing and remain illuminated to show that the front axle is locked. Engagement of the front axle lock will disable the Antilock Brake System (ABS) and illuminate the ABS warning light. Hill Descent Control (HDC) will also be disabled.
- The locking front axle will be disengaged when the vehicle speed exceeds 40 km/h (25 mph) or the transfer case is shifted out of 4 n.
- ABS will be automatically re-enabled and the ABS warning light will turn off when the locking front axle is disengaged.
- If HDC was enabled prior to the axle lock, it will be automatically enabled when the locking front axle is disengaged.
- After pressing the switch to unlock the axle, it may remain locked due to torque in the driveline. The axle is more easily unlocked by turning the steering wheel to the right and to the left while traveling at a low speed.
Recent Posts
VW Jetta Engine Fuse Box Diagram
Access the comprehensive 2010-2018 VW Jetta Passenger Fuse Box Diagram to troubleshoot electrical issues effectively.…
VW Jetta Passenger Fuse Box Diagram
Explore the comprehensive VW Jetta Passenger Fuse Box Diagram to troubleshoot electrical issues effectively. Understand…
2023 Ford F-150 Lightning Fuse Box Diagram
Under Hood Fuse Box Location Remove the front luggage compartment cover. Under Hood Fuse Box…
2022 Kawasaki NINJA H2 SX SE Brake Lever Adjuster Owner’s Manual
2022 Kawasaki NINJA H2 SX SE Brake Lever Adjuster Owner's Manual NOTICE Only adjust the front…
2023 Land Rover Range Rover Evoque Exiting The Vehicle Owners Manual
2023 Land Rover Range Rover Evoque Exiting The Vehicle SINGLE LOCKING WARNING Before exiting the…
2023 Land Rover Range Rover Evoque Front Seats Owners Manual
2023 Land Rover Range Rover Evoque Front Seats FRONT SEAT SAFETY Make sure to read…


