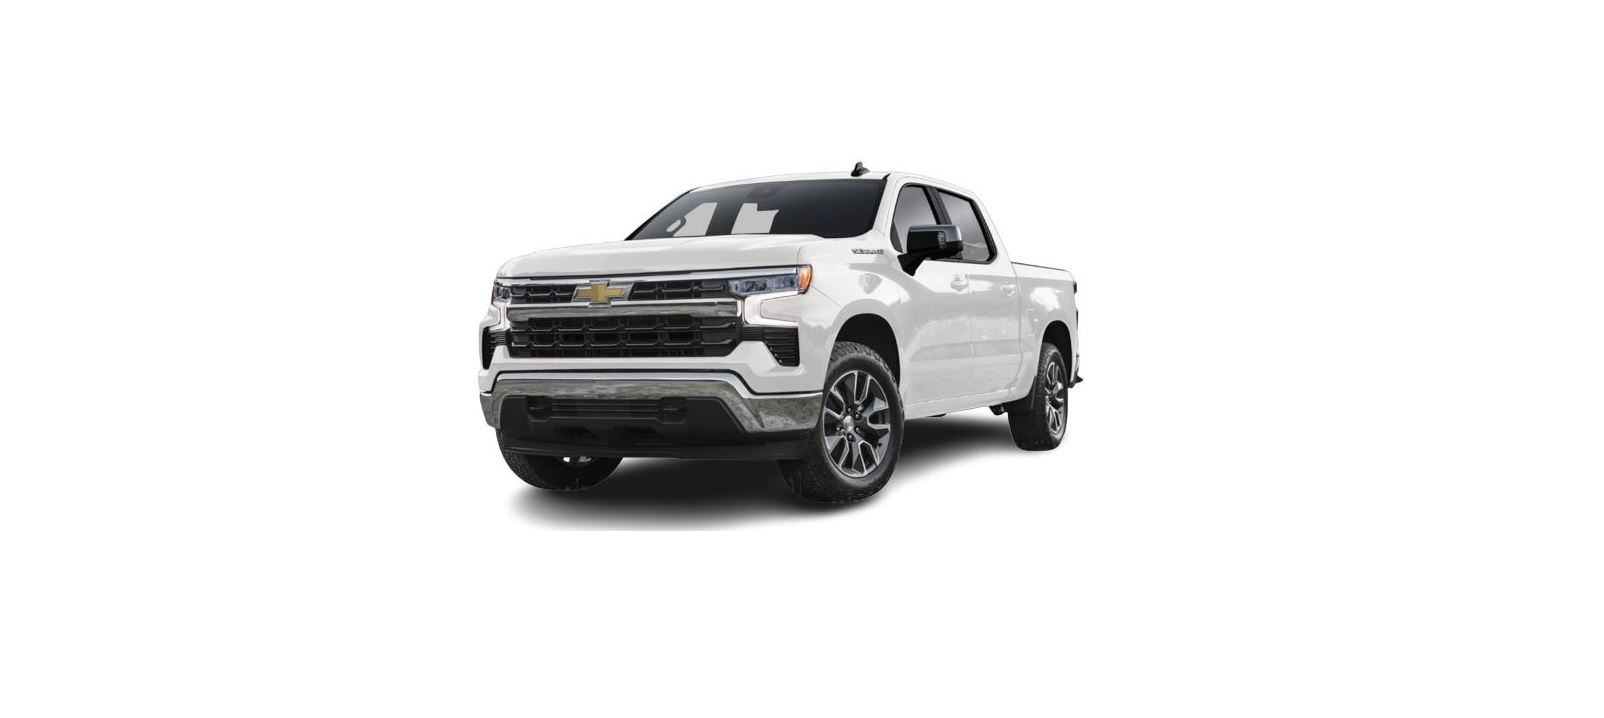
2022 Chevrolet Silverado 1500 Conversions and Add-Ons User Manual


2022 Chevrolet Silverado 1500 Conversions and Add-Ons


Add-On Electrical Equipment
Warning
- The Data Link Connector (DLC) is used for vehicle service and Emission Inspection/ Maintenance testing. See Malfunction Indicator Lamp (Check Engine Light) 0 114.
- A device connected to the DLC — such as an aftermarket fleet or driver-behavior tracking device — may interfere with vehicle systems. This could affect vehicle operation and cause a crash. Such devices may also access information stored in the vehicle’s systems.
Caution
Some electrical equipment can damage the vehicle or cause components to not work and would not be covered by the vehicle warranty. Always check with your dealer before adding electrical equipment.
- Add-on equipment can drain the vehicle’s 12-volt battery, even if the vehicle is not operating.
- The vehicle has an airbag system. Before attempting to add anything electrical to the vehicle, see Servicing the Airbag-Equipped Vehicle 66 and Adding Equipment to the Airbag-Equipped Vehicle 0 66.
- For information on wiring auxiliary switches, see www.gmupfitter.com or contact your dealer.
Adding a Snow Plow or Similar Equipment
Caution
Do not exceed 72 km/h (45 mph) with a snow plow mounted to the vehicle. The vehicle could overheat and be damaged. Before installing a snow plow on the vehicle, follow these guidelines:
Caution
If the vehicle does not have the snow plow prep package, RPO VYU, adding a plow can damage the vehicle, and the repairs would not be covered by the vehicle warranty. Unless the vehicle was built to carry a snowplow, do not add one to the vehicle. If the vehicle has RPO VYU, then the payload the vehicle can carry will be reduced when a snowplow is installed. The vehicle can be damaged if either the front or rear axle ratings or the Gross Vehicle Weight Rating (GVWR) are exceeded.
The plow the vehicle can carry depends on many things, such as:
- The options the vehicle came with, and the weight of those options.
- The weight and number of passengers to be carried.
- The weight of items added to the vehicle, like a toolbox or truck cap.
- The total weight of any additional cargo to be carried. To safely carry a snowplow on the vehicle:
- With a snowplow attached, the enginecoolant temperature gauge may show a higher temperature than while driving without one. The snowplow could block the airflow to the radiator. This could be more noticeable as vehicle speed increases. At speeds above 72 km/h (45 mph), this may cause the engine coolant to overheat. Move or angle the snow plow blade to allow increased airflow to the radiator.
- To increase the airflow, move the snow plow blade position.
- If driving more than 24 km/h (15 mi), angle the plow blade position.
- Make sure the weight on the front and rear axles do not exceed the axle ratingfor each.
- Follow the snowplow manufacturer’s recommendations for any rear ballast that may be required. Rear ballast may be required to ensure a proper front and rear weight distribution ratio even though the actual weight at the front axle may be less than the front axle rating.
- The snowplow manufacturer or installer can assist in determining the amount of rear ballast required to ensure that the vehicle with the attached snowplow does not exceed the GVW rating, the front, and rear axle ratings, or the front and rear weight distribution ratio (refer to the GM Upfitter Manual).
Front axle reserve capacity is the difference between the Front Gross Axle Weight Rating (GAWR) and the front axle weight of the vehicle with full fuel, passengers, and any other cargo. This is the amount of weight that can be added to the front axle before reaching the Front GAWR. To calculate the amount of weight any front accessory, such as a snowplow, is adding to the front axle, use this formula:
- (W x (A + W.B.)) /W.B.= Weight the accessory is adding to the front axle.
- Where
- IW = Weight of added accessory
- IA = Distance that the accessory is in front of the front axle
- IW.B. = Vehicle Wheelbase
- For example, adding a 318 kg (700 lb) snow plow actually adds more than 318 kg (700 lb) to the front axle. Using the formula, if the snow plow is 122 cm (4 ft) in front of the front axle and the wheelbase is 305 cm (10 ft), then
- IW = 318 kg (700 lb)
- IA = 122 cm (4 ft)
- IW.B. = 305 cm (10 ft)
- (W x (A + W.B.)/W.B. = (318 x (122 + 305))/305 = 445 kg (980 lb)
- This means if the front axle reserve capacity is more than 445 kg (980 lb), the snow plow could be added without exceeding the front GAWR.
- Heavier equipment can be added to the front of the vehicle if less cargo or fewer passengers are carried, or by positioning cargo toward the rear. This reduces the load on the front. However, the front GAWR, rear GAWR, and Gross Vehicle Weight Rating (GVWR) must never be exceeded.
Warning
On some vehicles that have certain front-mounted equipment, such as a snowplow, it may be possible to load the front axle to the Front Gross Axle Weight Rating (GAWR) but not have enough weight on the rear axle to have proper braking performance. If the brakes cannot work properly, the vehicle could crash.
Always follow the snow plow manufacturer or installer’s recommendation for rear ballast to ensure a proper front and rear weight distribution ratio. Maintaining a proper front and rear weight distribution ratio is necessary to provide proper braking performance.
See your dealer for additional advice and information about using a snowplow on the vehicle. Also, see Vehicle Load Limits 210.
Pickup Conversion to Chassis Cab
We are aware that some vehicle owners might consider having the pickup box removed and a commercial or recreational body installed. Owners should be aware that, as manufactured, there are differences between a chassis cab and a pickup with the box removed which could affect vehicle safety. The components necessary to adapt a pickup to permit its safe use with a specialized body should be installed by the bodybuilder.
Recent Posts
VW Jetta Engine Fuse Box Diagram
Access the comprehensive 2010-2018 VW Jetta Passenger Fuse Box Diagram to troubleshoot electrical issues effectively.…
VW Jetta Passenger Fuse Box Diagram
Explore the comprehensive VW Jetta Passenger Fuse Box Diagram to troubleshoot electrical issues effectively. Understand…
2023 Ford F-150 Lightning Fuse Box Diagram
Under Hood Fuse Box Location Remove the front luggage compartment cover. Under Hood Fuse Box…
2022 Kawasaki NINJA H2 SX SE Brake Lever Adjuster Owner’s Manual
2022 Kawasaki NINJA H2 SX SE Brake Lever Adjuster Owner's Manual NOTICE Only adjust the front…
2023 Land Rover Range Rover Evoque Exiting The Vehicle Owners Manual
2023 Land Rover Range Rover Evoque Exiting The Vehicle SINGLE LOCKING WARNING Before exiting the…
2023 Land Rover Range Rover Evoque Front Seats Owners Manual
2023 Land Rover Range Rover Evoque Front Seats FRONT SEAT SAFETY Make sure to read…


