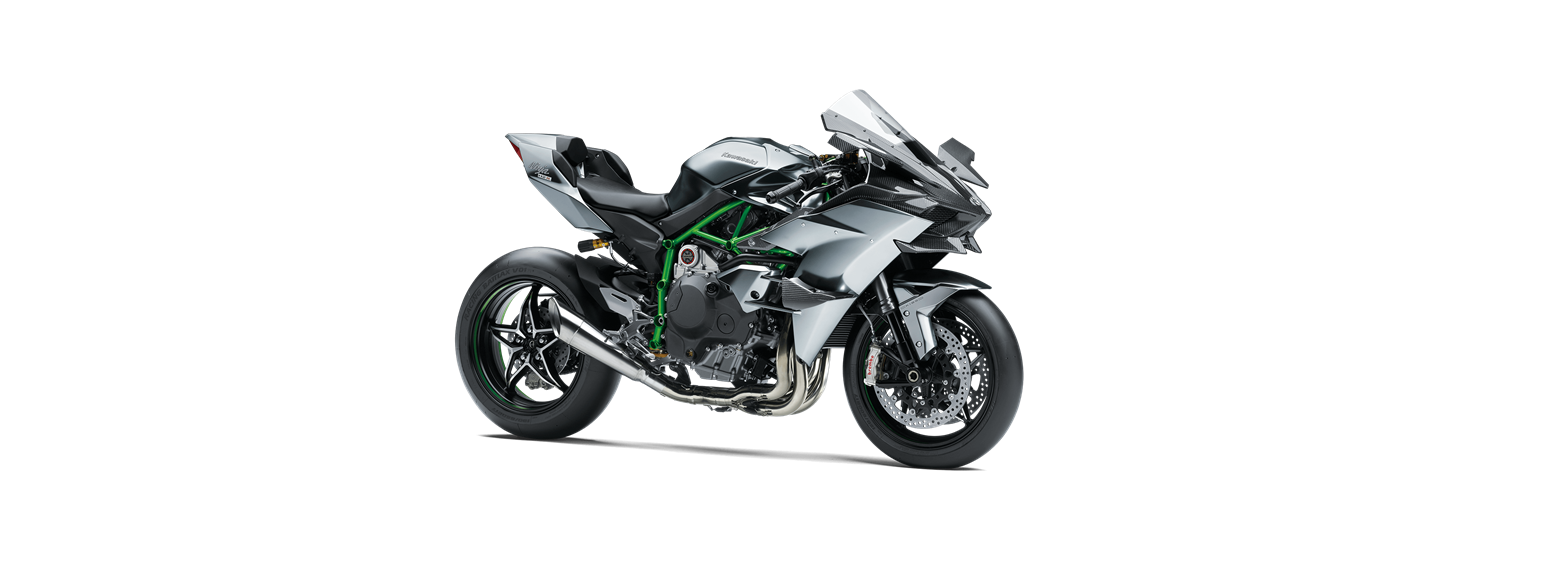
2022 Kawasaki NINJA H2 R Seats
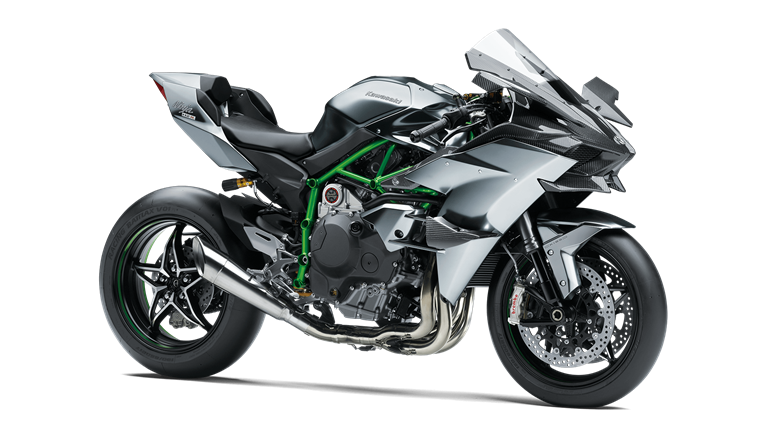
Seat
The seat can be removed by order of the seat pad and then the seat.
Seat Pad Removal
WARNING
- The muffler quickly becomes very hot soon after the engine is started and can cause serious burns. To avoid burns, be care- ful not to touch the muffler when operating the seat lock.
- Insert the ignition key into the seat lock.
- Remove the seat pad while turning the key clockwise and moving the seat pad a little to the right and left.
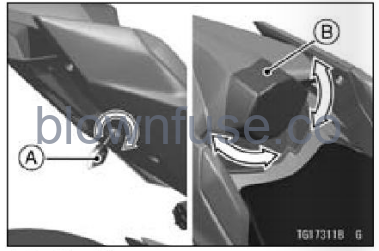 A. Ignition Key
B. Seat Pad
Seat Pad Installation
- Insert the seat pad bracket into the slot of the frame.
- Insert the seat pad hook into the latch hole.
- Push the seat pad until the lock clicks.
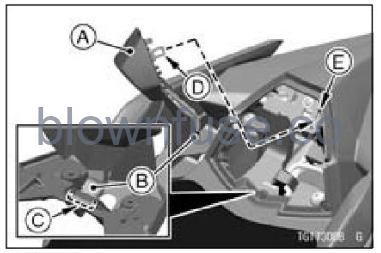 A. seat Pad
B. Bracket
C. Slot
D. Hook
E. Latch Hole
NOTE
- lf the seat pad is not installed in the correct position, there is a gap be- tween the seat pad cover and the seat cover. If there is a gap, reinstall the seat pad.
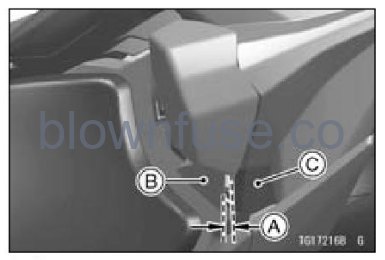 A. Gap
B. Seat Pad Cover
C. Seat Cover
Seat Removal
- Remove the seat pad (see Seat Pad Removal).
- Remove the hexagonal wrench.
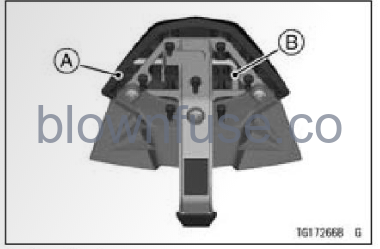 A. Seat Pad
B. Hexagonal Wrench
- Using the removed hexagonal wrench, remove the seat bolts and washers.
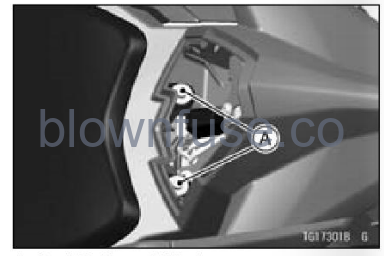 A. Seat Bolts and Washers
- Pull the seat rearward to clear the hooks.
- Remove the seat.
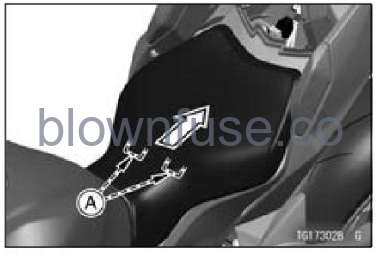 A. Hooks
Seat Installation
- Insert the rear part of the seat under the seat cover.
- Insert the tabs at the front part of the seat under the fuel tank bracket.
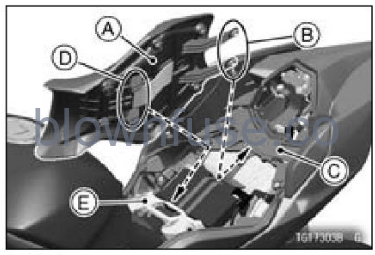 A. Seat
B. Rear Part Of Seat
C. Seat Cover
D. Tabs
E. Fuel Tank Bracket
- Using the removed hexagonal wrench, tighten the seat bolts with the washers to the specified torque. Tightening Torque
- Seat Bolts
- 6.9 N.m (0.70 kgfrm, 61 in•lb)
NOTE
- If a torque wrench is not available, this item should be checked after installation by an authorized Kawasaki dealer.
- Install the hexagonal wrench to the seat pad.
- Install the seat pad (see Seat Pad Installation).
