Contents
hide
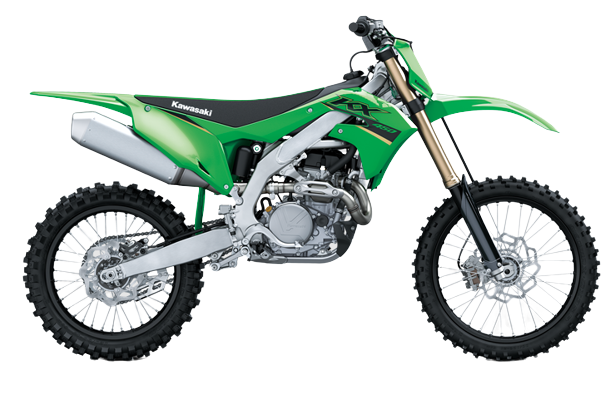
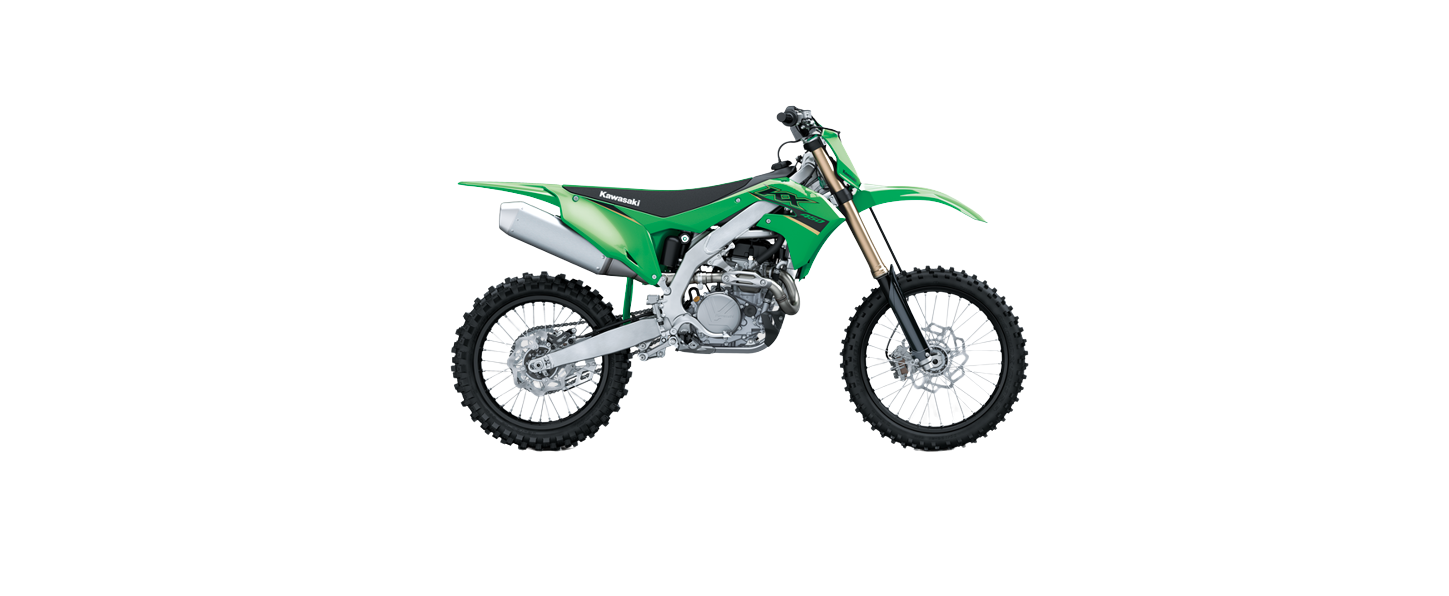
2022 Kawasaki KX450 Footpeg

Footpegg
The right and left footpegs can be mounted onto one of two positions.
- Support the motorcycle using a stand.
- Remove the cotter pin, pivot pin, washer, spring, and footpeg.
- A. Cotter Pin
- B. Pivot Pin
- C. Washer
- D. Spring9
- E. Footpeg
- Remove the footpeg bracket bolts and bracket. (This position is standard.)
- A. Footpeg Bracket Bolts
- B. Footpeg Bracket
- Apply a non-permanent locking agent to the bracket bolts.
- Select either footpeg position and tighten the bracket with the two bolts.
- Tightening Torque
- Footpeg Bracket Bolts (Upper):
- 35 Nm (3.6 kgf m, 26 ft b)
- Footpeg Bracket Bolts (Lower):
- 17 Nm (1.7 kgfm, 13 ft:b)
- Footpeg Bracket Bolts (Upper):
- Apply grease to the pivot pin.
- Install the footpeg, spring, and pivot pin. Insert the pivot pin from the front.
- Position the spring ends as shown.
- Replace the cotter pin with a new one.
- Install the washer and new cotter pin.
- Bend the longer end of the cotter pin.
- A. Pivot Pin
- B. Spring Ends
- C. Washer
- D. Cotter Pin
NOTE
- Install the footpegs with the same height on both sides. Do not ride the motorcycle with footpegs installed unevenly.
- Adjust the positions of the shift pedal and the brake pedal to suit the rider’s preference.
- Installing the footpegs in the lower position will reduce the amount of ground clearance and lean angle.

